We’re back again with another wonderful 4 seasons project for kids to make, we have a wonderful four seasons agamograph template you can print (or use as inspiration to make your own with your kids or students).
This is a pretty easy art paper craft project that always manages to impress the kids so do give it a go.
*this post contains affiliate links*
We love making agamographs (have you checked our summer agamograph or dog and cat agamograph? They are super fun) and as we got many requests to make more four seasons crafts we just knew a four seasons agamograph would work out really, really well.
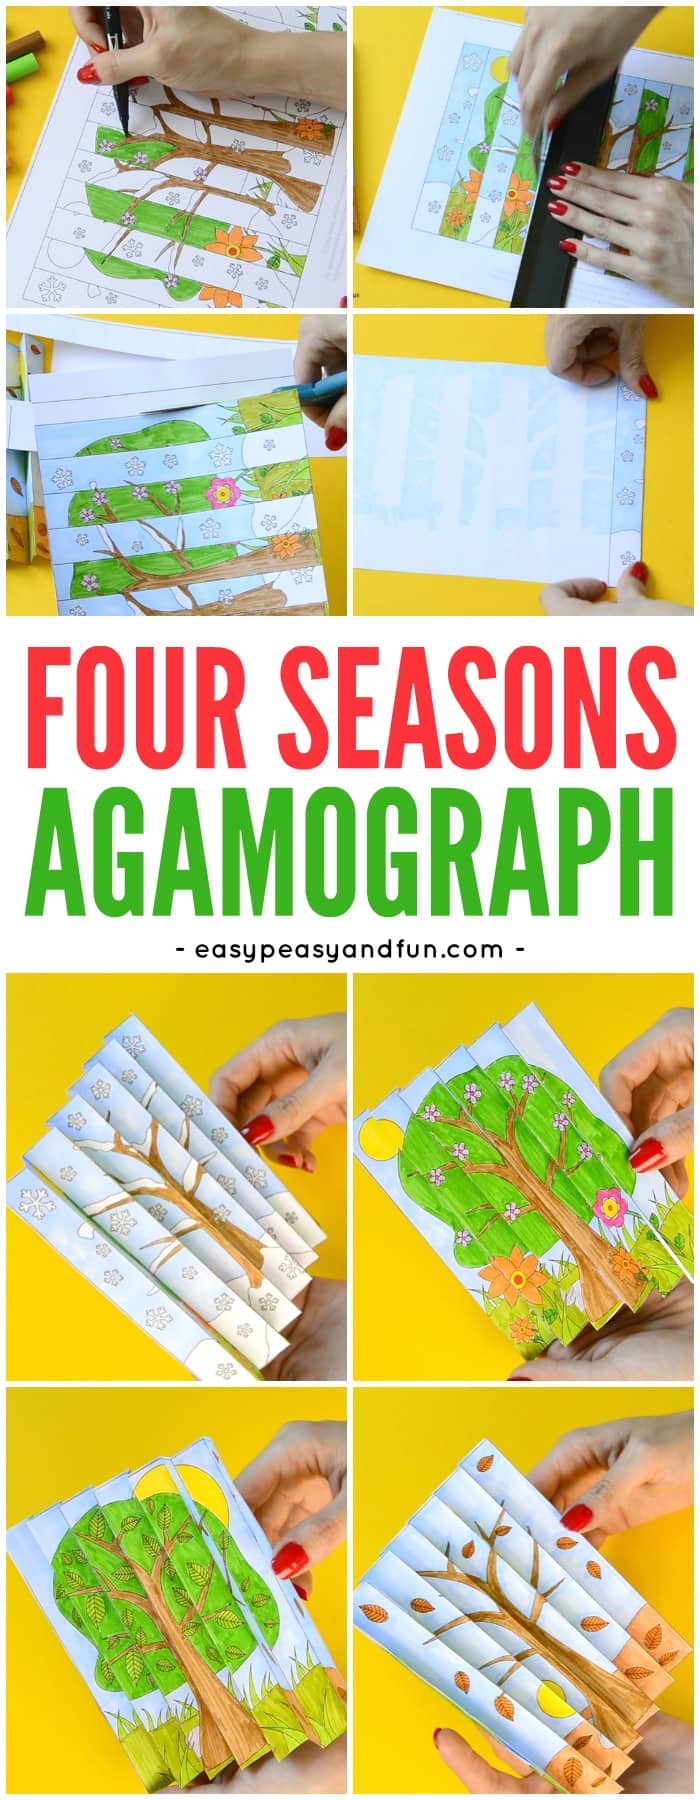
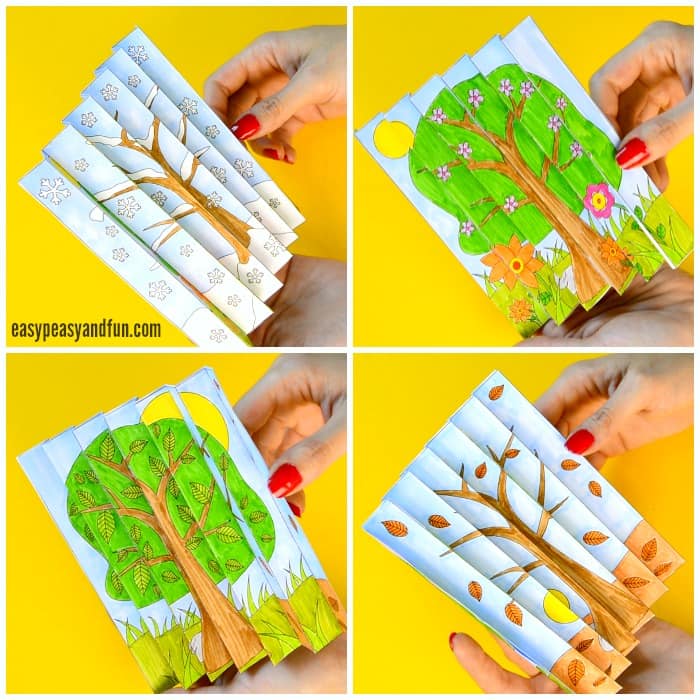
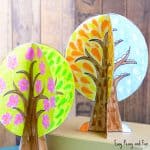
There is one picture for each season and you can combine all 4 pictures into a wonderful agamograph that will make fun shifts through seasons as you turn it.
There is the same tree pictured on all 4 images, but as the seasons change so does the setting and background.
Winter: the tree is covered in snow and there is a whole bunch of snow on the ground. Snowflakes complete the picture.
Spring: Our tree is full of leaves and is in full springy bloom. The grass is growing and you can find a whole bunch of spring flowers.
Summer: Flowers have left the scene. But the sun sure is hot!
Fall: Time for those leaves to fall of the tree.
Ready to make your own? Grab our printable template(you can find it at the bottom of the tutorial) and let’s make this project together.
How to Use our Four Seasons Agamograph Template
What you need
- our printable template (you can find it at the end of this tutorial)
- printer
- paper (heavier print paper if you are using markers, regular print paper will work if you use crayons or coloring pencils)
- coloring medium
- scissors
- glue
- scoring tool (we used pair of rulers, simple and inexpensive)
Watch the Video Tutorial
Or Follow These Step By Step Instructions on how to Make Four Seasons Agamograph
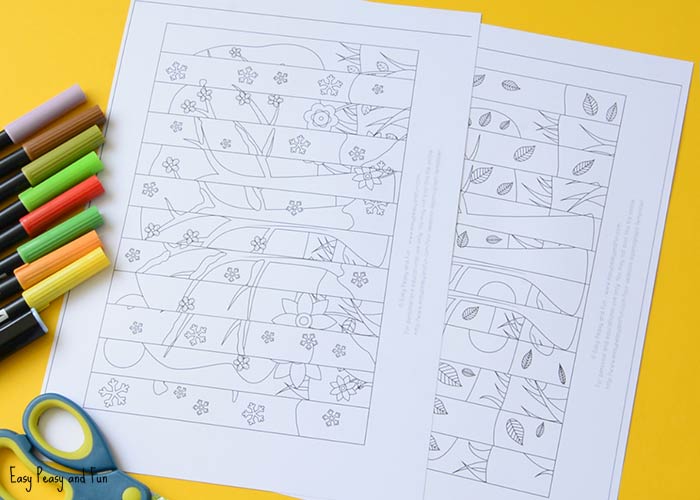
Print one of our templates (we have two versions available). You can grab both versions at the end of this tutorial.
Color in the pictures.
The version shown in this tutorial already has the pictures “sliced” so you just need to color them in and fold them. As some younger kids struggle with coloring a “sliced” image we also prepared a “non-sliced” version (kids color it in, cut the strips and glue them on the template).
This next step is optional but will make things easier.
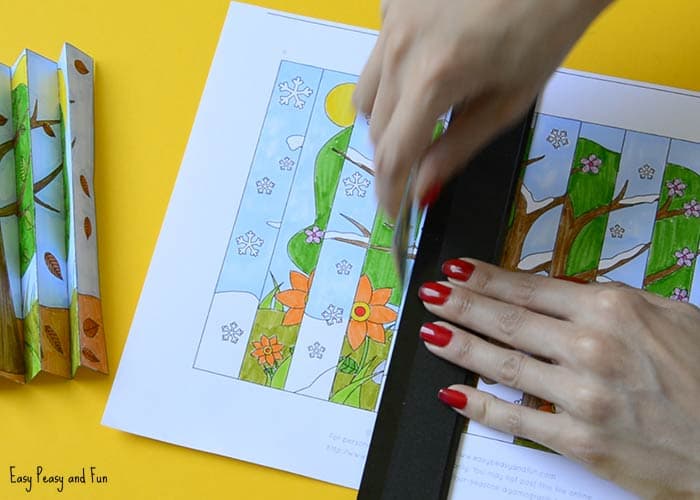
Score the lines! We used a long ruler to go along the lines and a triangle ruler to score the lines (you can use any other tool that would work, or an actual scoring tool). Scored lines will fold easily.
Cut out the agamographs (the big square).
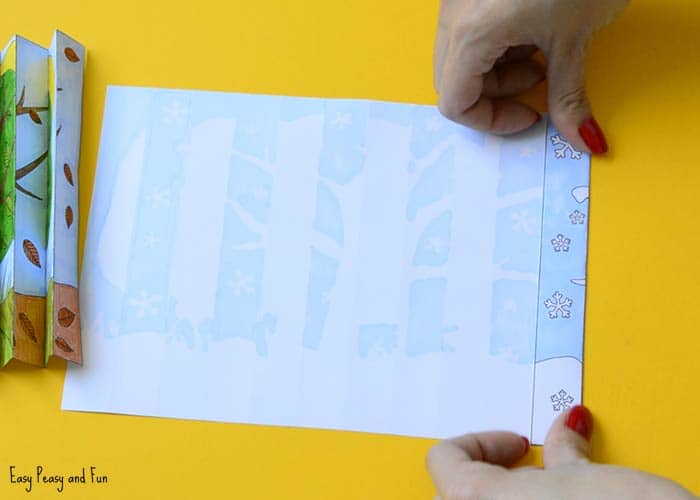
With the accordion fold technique fold from one side to the other. If you scored the lines this will be easy peasy.
All the way to the end.
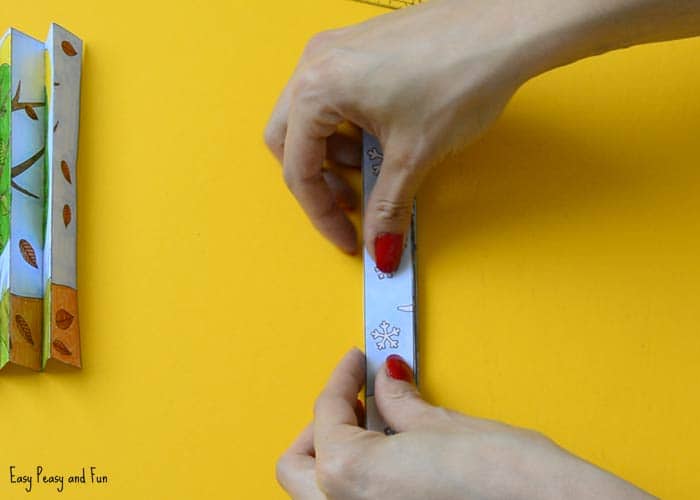
There are two ways to go about it. You can glue them together before you start folding them or you can glue them together after you have fold them both.
Grab your Four Seasons Agamograph Templates Here
Get your free printable Four Seasons Agamograph Paper Craft Version One here.
Get your free printable Four Seasons Agamograph Paper Craft Version Two here.
Want instant access to all of our printable crafts, activities, and resources?
With thousands of crafts, activities, worksheets, coloring pages, and drawing tutorials to print, you will always have just the resource you need at your disposal. Perfect for parents and teachers alike!




Zaista odlično!
Thank you