We have another fun project for your kids (or you) to do during the hot summer months, this time we are sharing a fun summer agamograph template with you.
Making an agamograph is really, really fun and we hope this template will inspire your kids to start making their own.
*This post contains affiliate links*
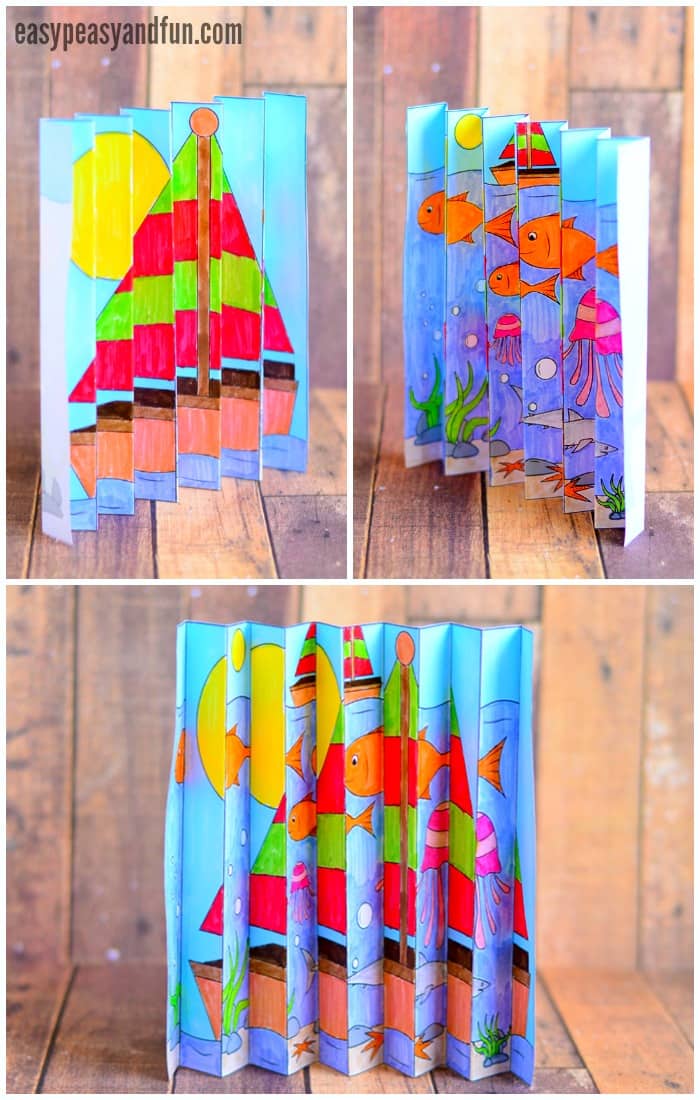
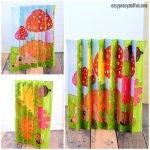
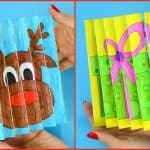
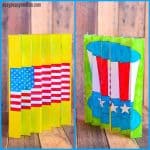
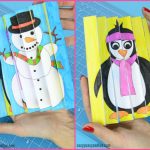
So what is an agamograph? Well, it’s two pictures in one, and depending on which side you view it from you will see one picture appear. There are millions of possibilities on how to make one. Once you know how it’s done your kids will be creating their own.
This technique is super fun for making DIY gifts – just think of how fun family photos would look if they would be presented like this.
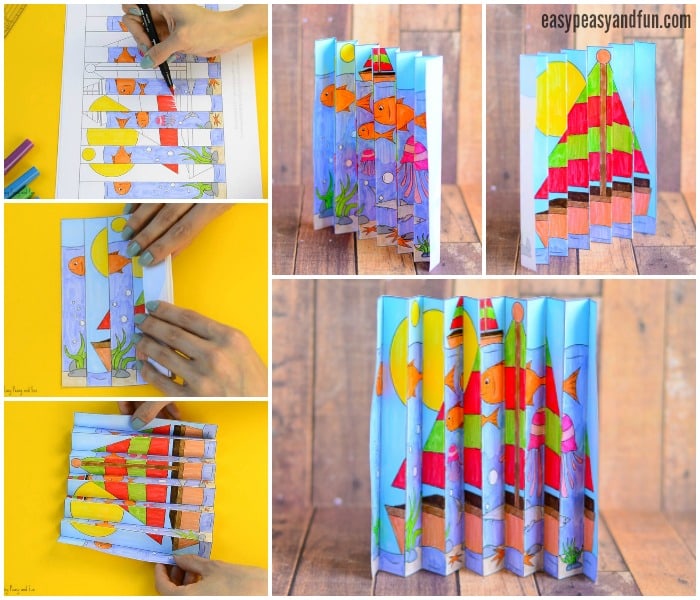
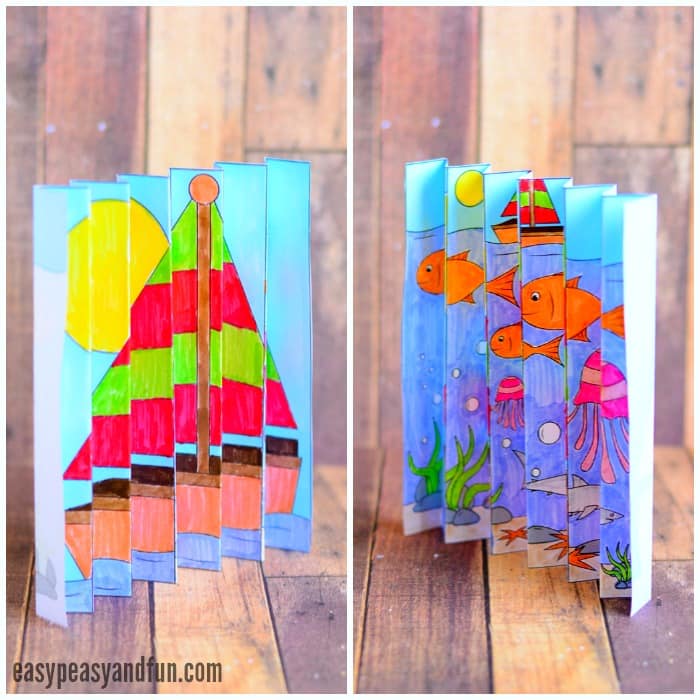
With the summer temperatures being as high as they are (at least here) we are sharing a summer agamograph printable template (you can find the printable at the end of this tutorial). There are two summer designs on it, both sharing the same scene but from a different viewpoint.
The first picture shows a sailboat on the sea and the sun in the background (aka a view from the above).
The second one shows an under the water scene with lots of fish and other sea creatures. You can also spot the same boat and sun in this scene (aka a view from down bellow).
Ready to make your agamograph? We sure are!
How to Make an Agamograph with our Summer Agamograph Template
What you need:
- our printable summer agamograph template
- coloring medium (pencils, markers, crayons…) (we love Tombow Dual Brush Markers)
- scissors
- ruler
- scoring tool (we usually use something at hand, in this case another ruler)
- printer
- paper (heavier paper is best, but the regular print paper will work out fine)
Ready? Let’s start!
Watch the Video Tutorial
Or Follow These Step by Step Instructions with Tips and Tricks
Print our summer agamograph template.
We recommend using heavier paper (we used 120 gsm) but regular print paper will work out just as well.
You can grab our printable template at the end of this tutorial.
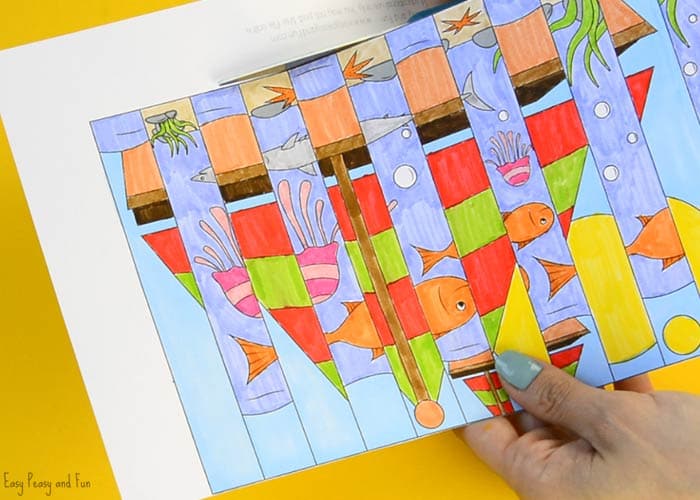
Color in the template.
Score along the lines.
We used a long ruler that we placed along the lines and scored them with another ruler. Easy peasy. You can also just fold along each line, without scoring, however scoring the lines will make the folds nicer.
Cut out the agamograph (just around the outer border).
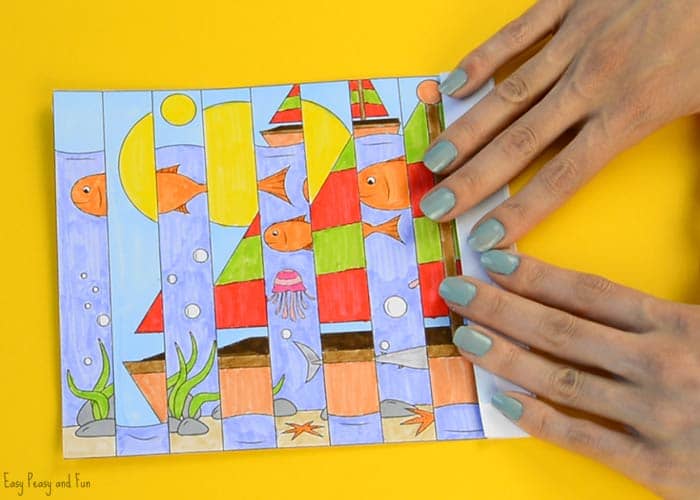
Make the accordion folds along the scored lines.
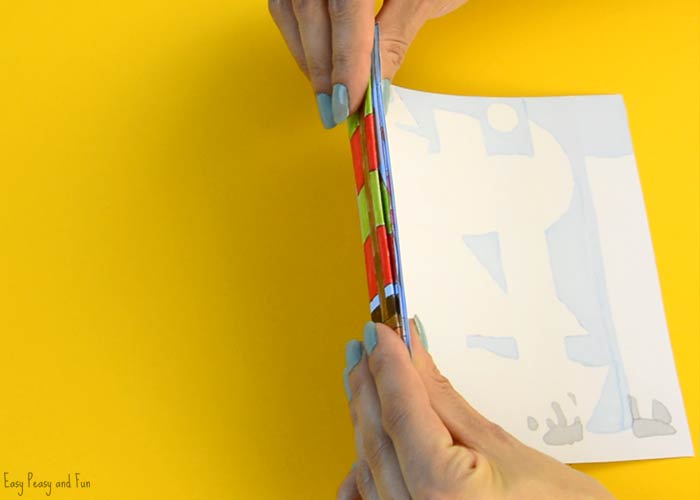
Keep folding.
Once the whole agamograph is folded you are done. It’s ready to be displayed.
Also check: Fish Paper Weaving Craft
Want instant access to all of our printable crafts, activities, and resources?

With thousands of crafts, activities, worksheets, coloring pages, and drawing tutorials to print, you will always have just the resource you need at your disposal. Perfect for parents and teachers alike!




Such a remarkable idea andreja <3
Excellent work 👍🏻
Very creative. I like this.
I love this. My little brother and my mom are doing it and they love it. You should do another one.
We are creating more (adding one today) and a few more soon! 🙂
Excellent way to make children curious
Hi there, I love this craft but I can’t seem to connect to the link though I’ve refreshed many times. Could you check yo see if it’s working? And thanks for the awesomeness of this site.
Well that’s embarrassing. Immediately after posting my comment I checked the link again and it worked. So please ignore my previous comment or delete it. Thank you and have a great day.
Oh no worries at all 🙂 the links are usually there but for some weird reason they sometimes do not load properly (we are trying to fix this but it’s really one of those things that has no clear cause for the issues and it should not be happening). Glad it worked!
Leuk! Ik wil het graag in de klas gebruiken!