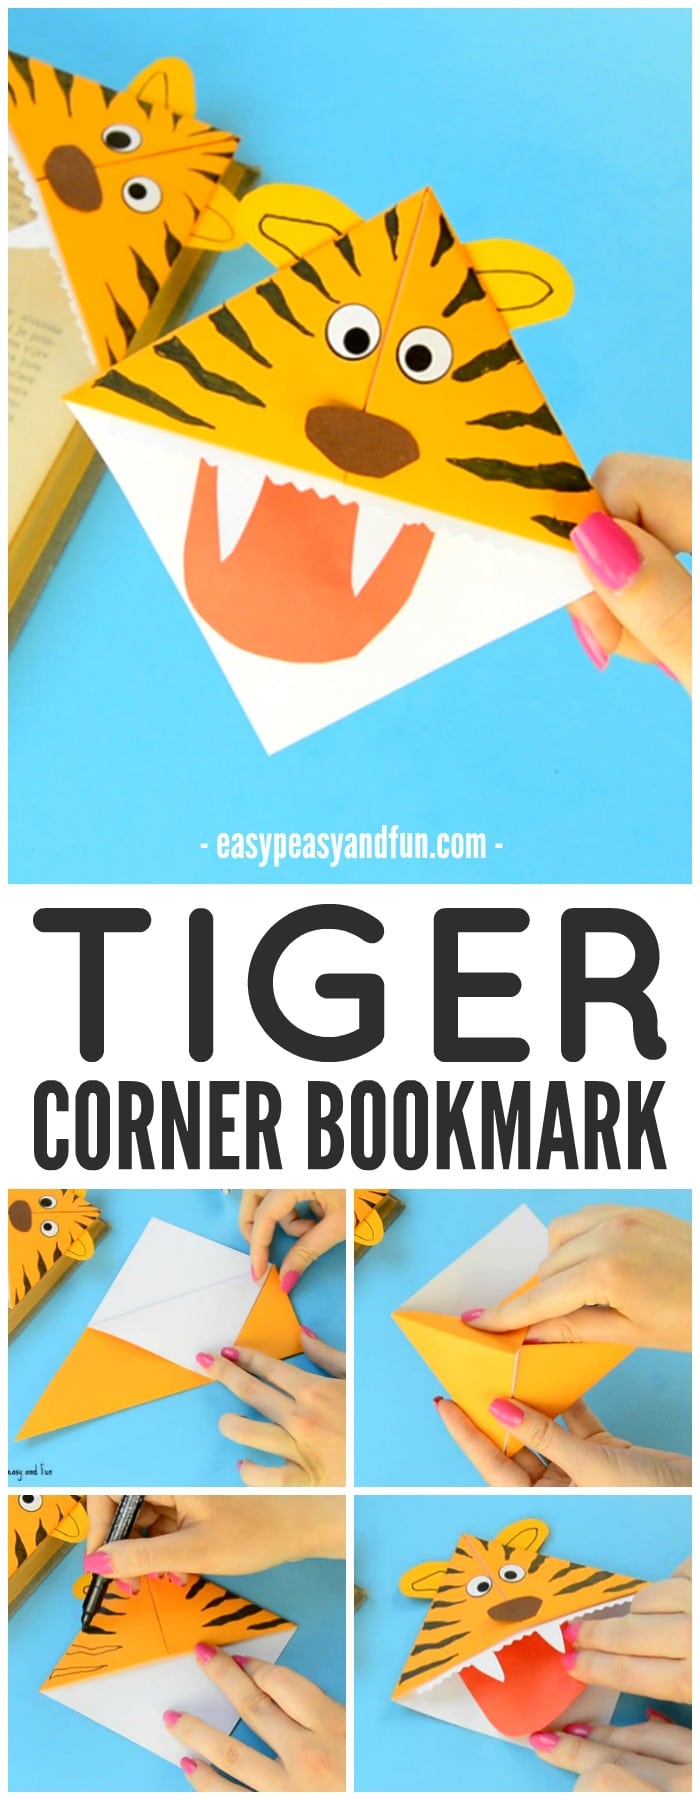
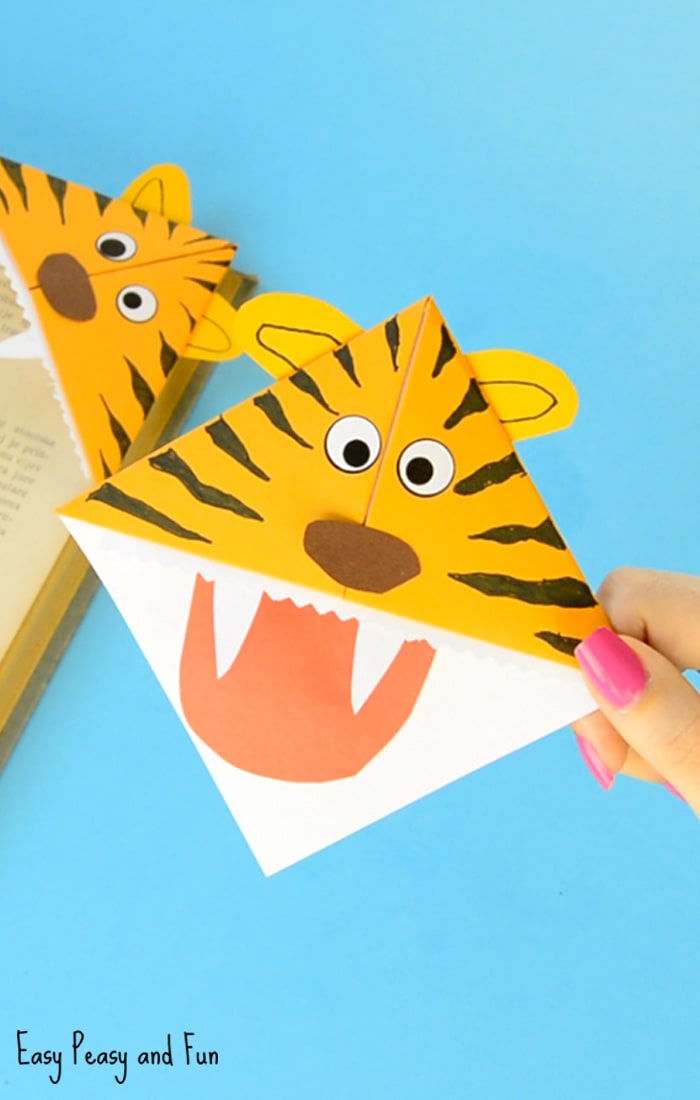
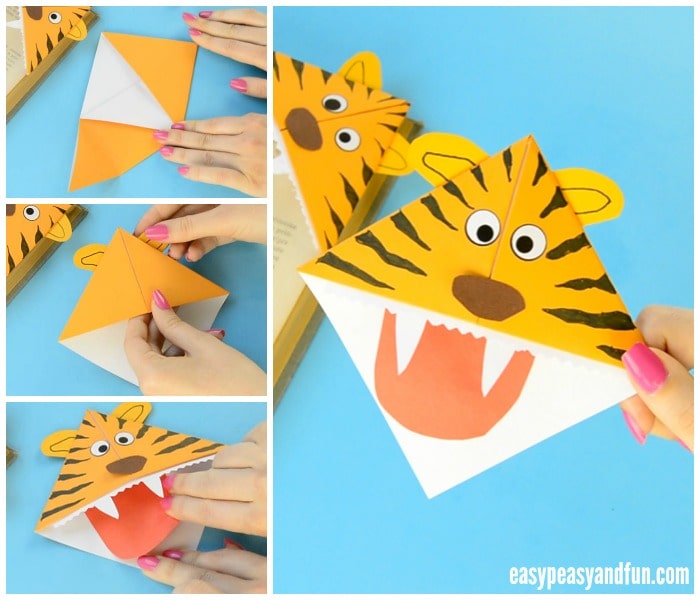
We are back with another awesome corner bookmark design, this time we are making a fierce tiger corner bookmark tutorial!
You will quickly learn how to make an origami corner bookmark and decorate it to look like a tiger. Raawr!
*this post contains affiliate links*
We wanted to do this corner bookmark idea for a while now, as tigers are one of the most amazing animals in the world if you as us.
Folding these is insanely easy so they make a great beginner origami to get the kids interested in folding paper. There are so many ways to decorate them and we are sure your kids will come up with a wide selection of their own designs. We are always here to spark the imagination though!
Naturally these are not just for kids! If you are an avid book reader (or just a fan of simple origami) we are sure your books will appreciate a variety of fun DIY bookmarks. You can easily make a themed one for each of your reads.
Ready to get crafting? Let’s do some folding!
How to Make the Tiger Corner Bookmarks
While origami paper is certainly handy for this project, you can swap it up for regular print paper. All you need to do is to cut a square shape and you are ready to go!
What you need:
- orange origami paper (or square paper)
- a bit of orange paper for the ears
- brown paper for the nose
- red paper
- white paper
- black marker
- scissors
- zig zag scissors
- glue
- optional: wiggle eyes stickers
You also, and this is a must, need a wonderful and engaging book to go along with this bookmark ;).
Watch the Video Tutorial
Or Follow These Step by Step Folding Instructions
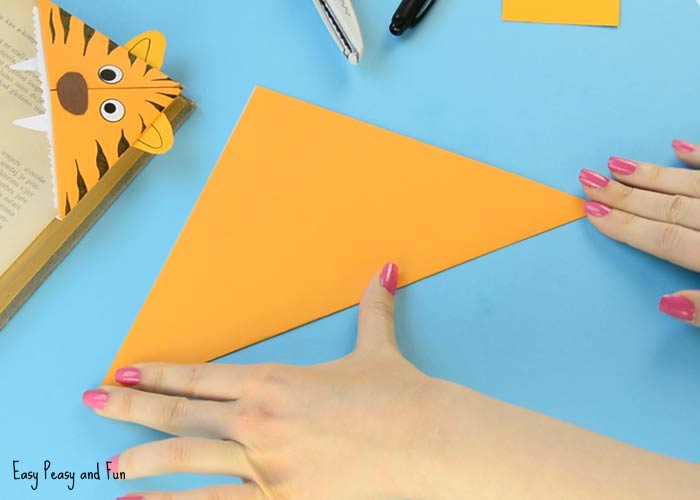
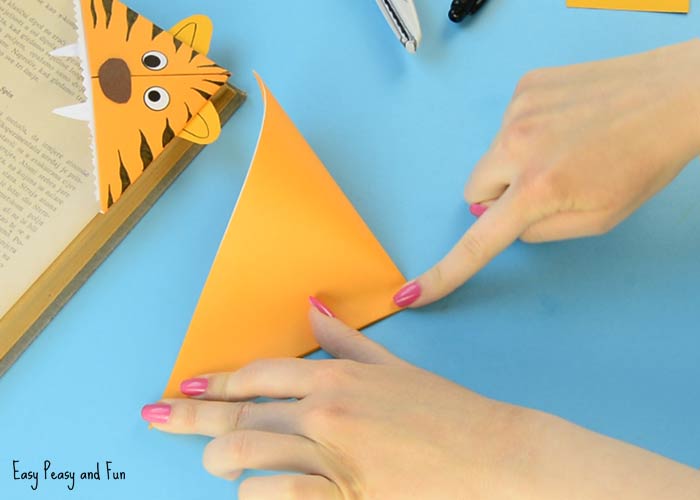
Start by folding the orange origami paper in half diagonally to form a triangle shape – the colored side on the outside.
Fold in half again to mark the middle of the triangle. Unfold to the previous triangle shape.
This step can be skipped, but it is helpful for younger kids.
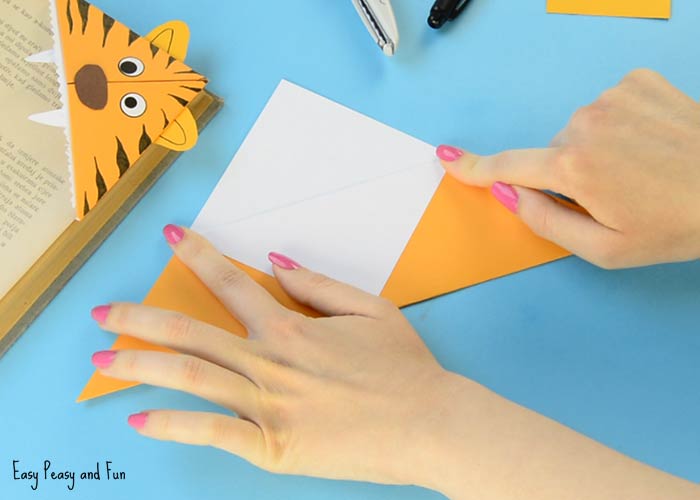
Take one layer of the folded paper, grab hold of the top of the triangle and fold it downward toward the middle bottom.
You should be seeing a white square if you are using origami paper.
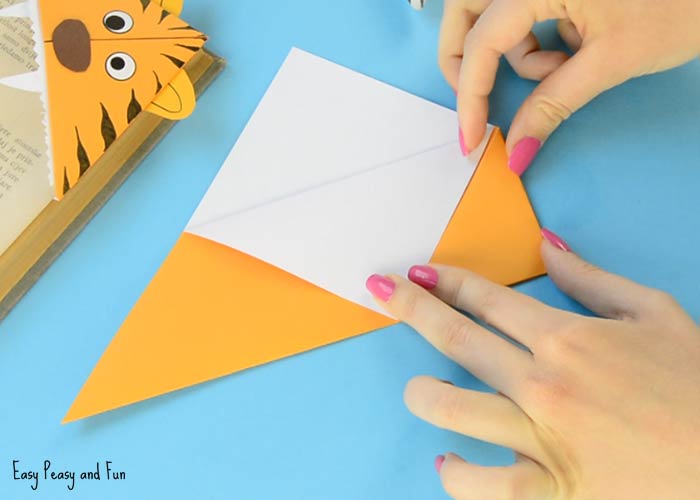
Now fold the bottom corners of the triangle towards the bottom middle of the triangle.
Crease and unfold.
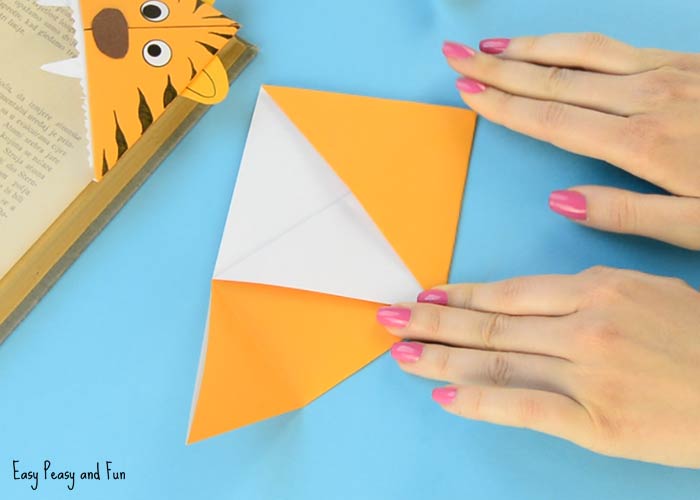
Next, take the same corners of the triangle and fold them towards the top of the triangle.
As you fold both of them you will see an orange square shape.
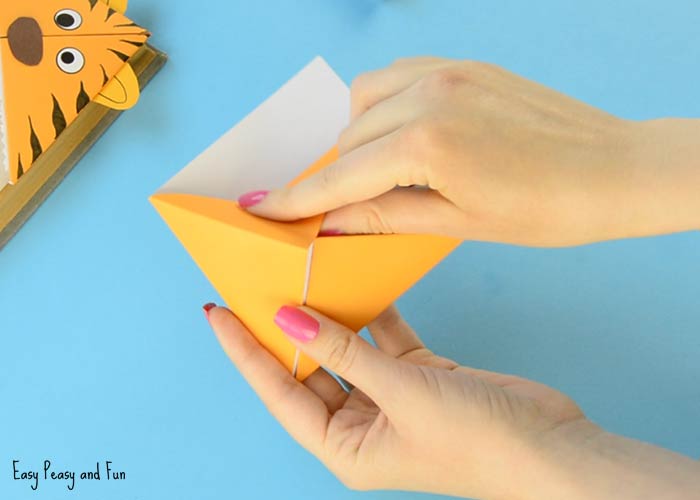
Next, and this is the last step in the corner bookmark base, you have to tuck in the flaps into the pocket.
You have just made a corner bookmark.
Now let’s decorate!
Decorating the tiger corner bookmarks
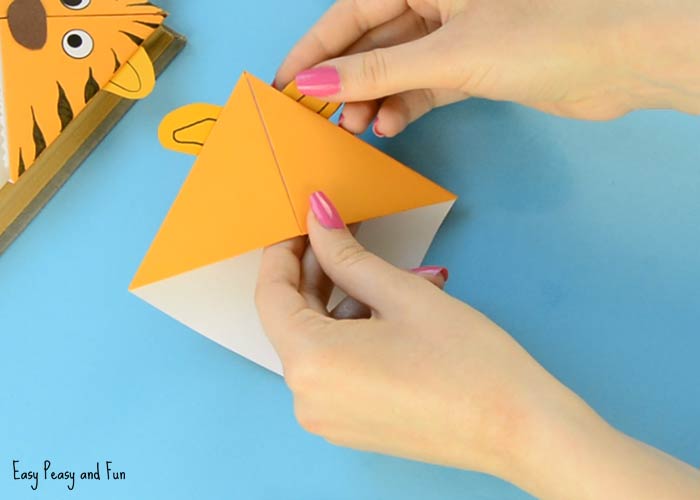
Cut two ears out of orange paper.
Draw in the details with a black marker.
Glue them to the bookmark.
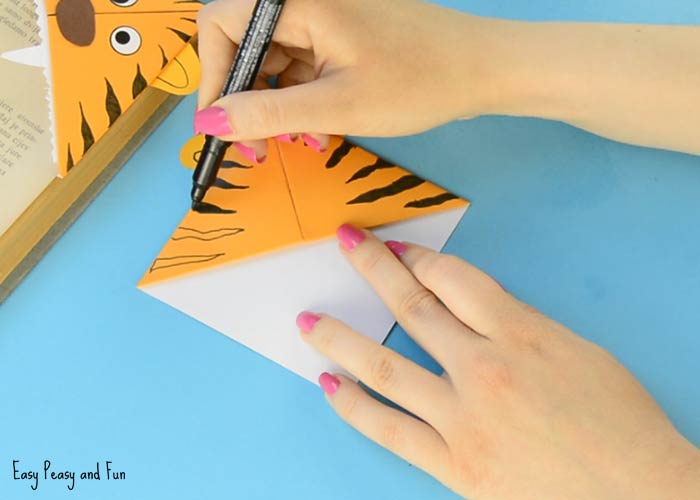
Draw tiger markings with a black marker.
Color them in.
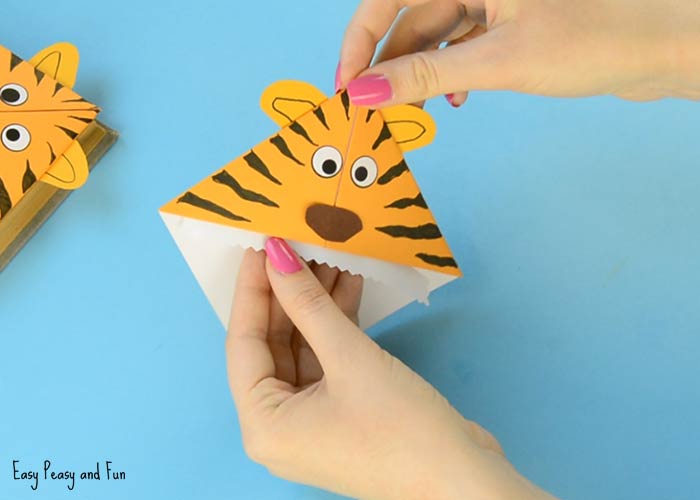
Cut a line of teeth with the help of zig zag scissors (you can also use regular scissors, it will just take a bit more time). Glue them inside the bookmark.
Glue two eyes (you can use stickers or cut the eyes out of white paper and draw them). Also cut out the snout and glue it onto the bookmark.
Cut two fangs out of white paper and glue them on the inside of the bookmark.
Almost done!
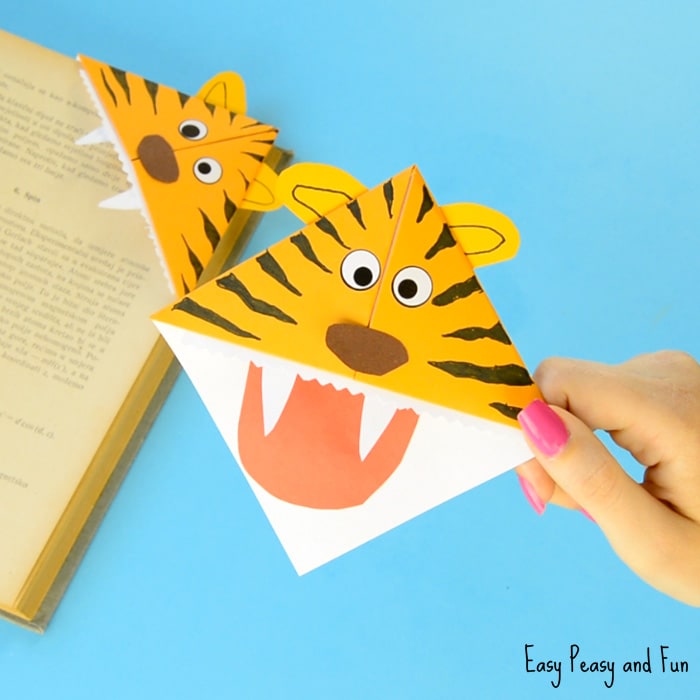
Last, but not least as this step really adds character to these tiger corner bookmarks – cut the tongue and glue it inside the corner bookmark – one the bottom layer.
All done your tiger corner bookmarks are ready to take a bite at your favorite book!
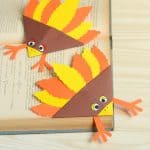
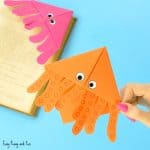
We hope you loved this idea, we do have quite a few more corner bookmark ideas to share with you, here there are just a few of them
Want instant access to all of our printable crafts, activities, and resources?

With thousands of crafts, activities, worksheets, coloring pages, and drawing tutorials to print, you will always have just the resource you need at your disposal. Perfect for parents and teachers alike!

