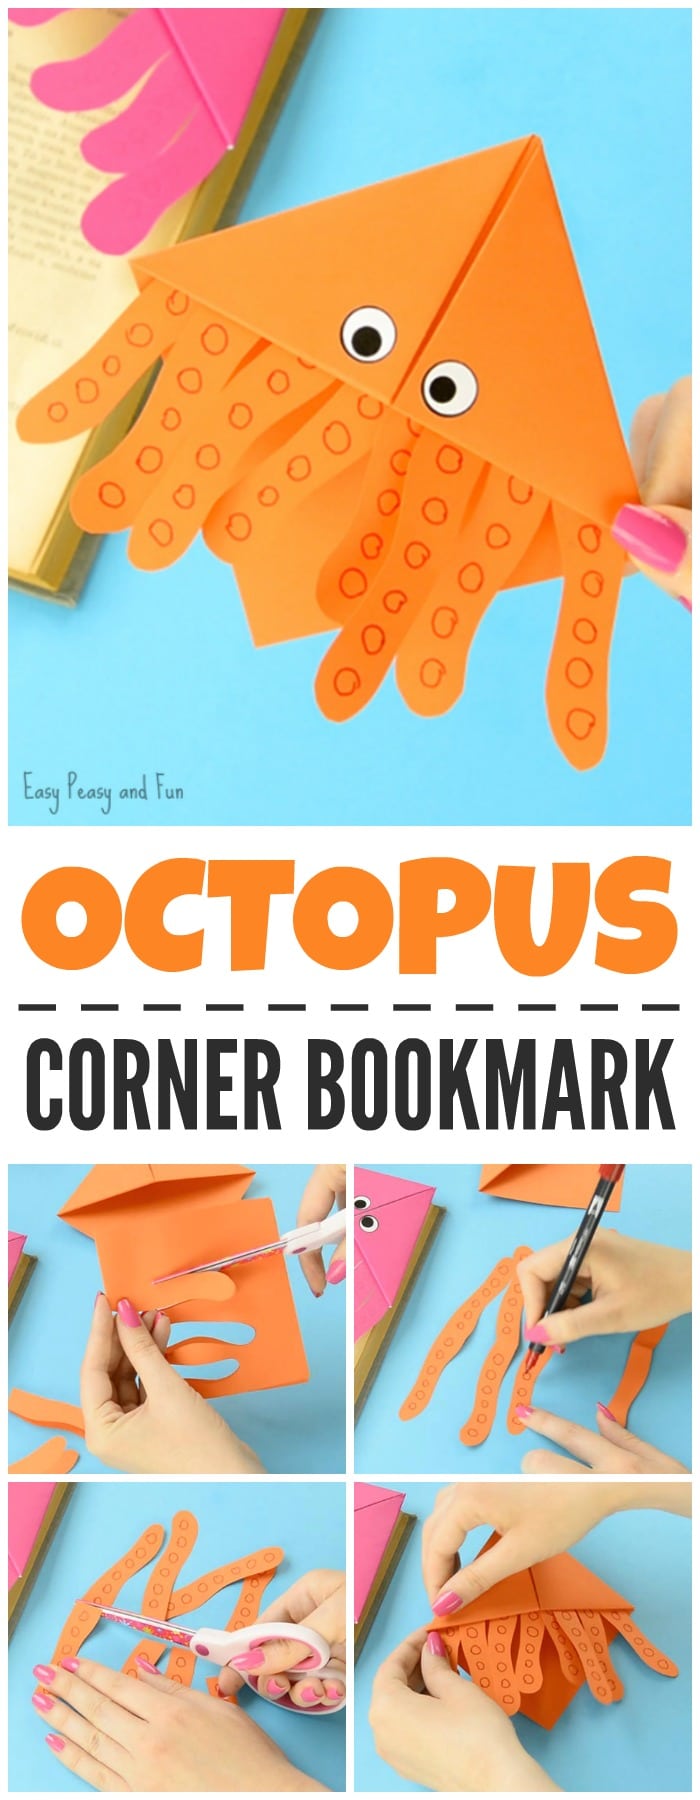
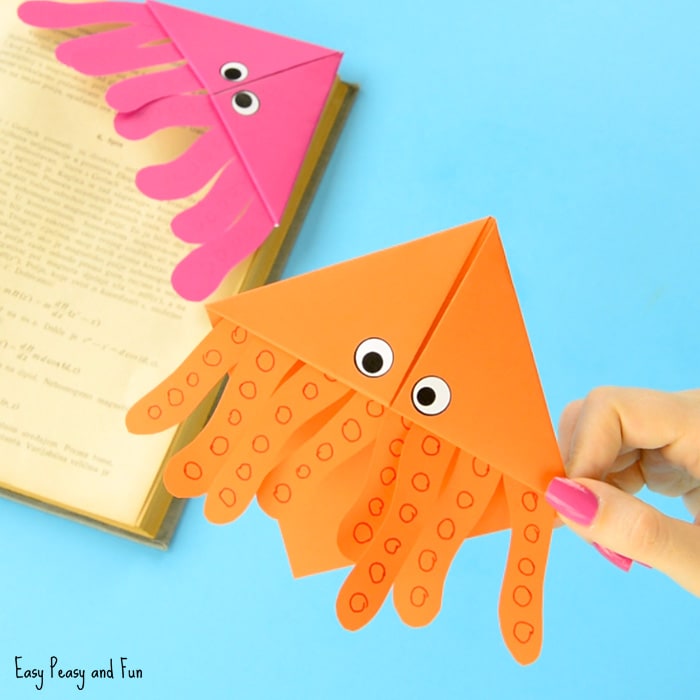
We have another corner bookmark ready for you, this time around we are making a silly octopus corner bookmark (that can also pass as a squid).
So grab your origami papers and let’s start folding!
*this post contains affiliate links*
We do love simple origami for for kids, we have a bunch of tutorials on the website that are perfect for beginners. But we do love making these origami corner bookmarks the most.
We already made one sea dweller last year, a fierce looking shark corner bookmark, but with the summer approaching we though it was about time to add more (fish is still in the works).
So we have these fun looking octopus corner bookmarks to share with you today.
 How to Make Octopus Corner Bookmarks
What you need:
- origami paper (orange, pink, purple or whatever else color you want your octopus to be)
- scissors
- glue
- marker
Optional: wiggle eye stickers
Watch the Octopus Corner Bookmarks Video Tutorial
Or Follow These Step by Step Folding Instructions
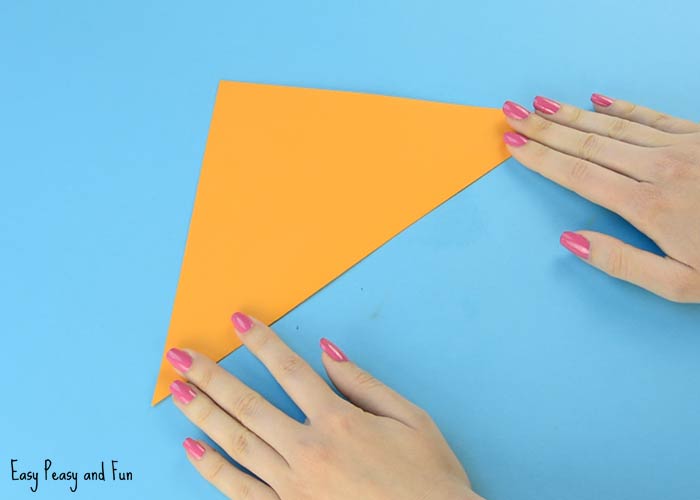
Fold the origami paper into a triangle with the colored side on the outside.
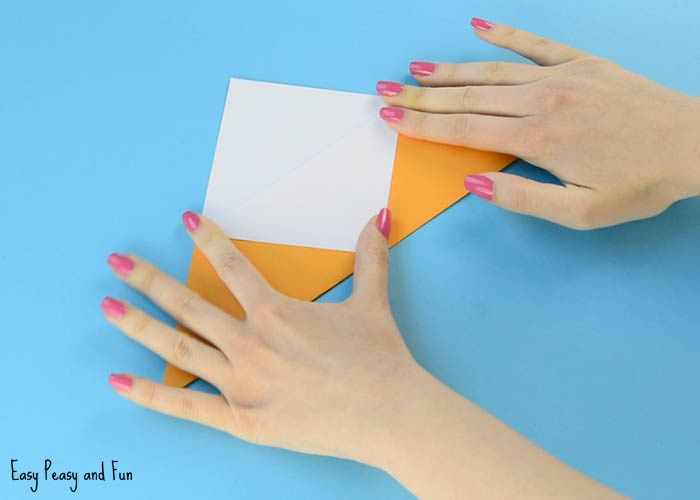
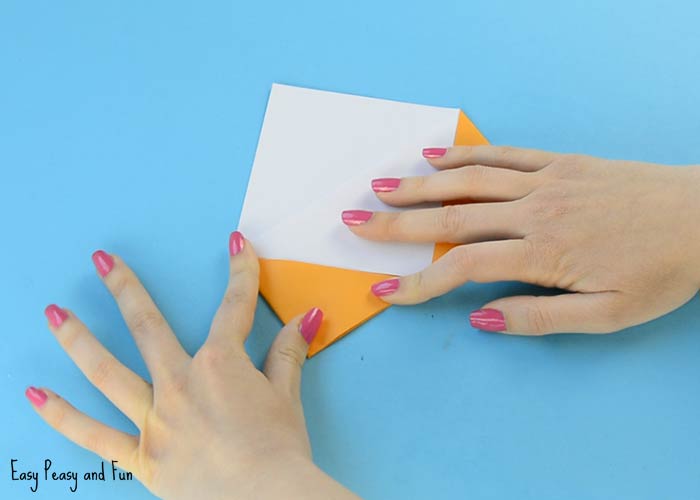
Fold top of the triangle towards the bottom (one sheet of paper only). A white square should form.
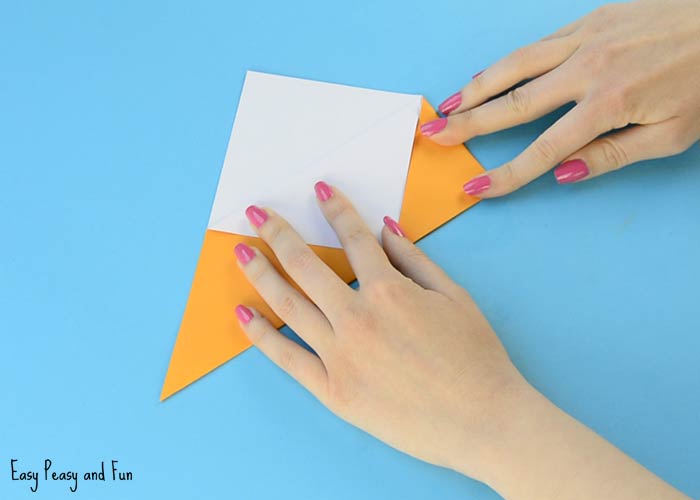
Fold the right corner towards the middle.
Do the same with the left one.
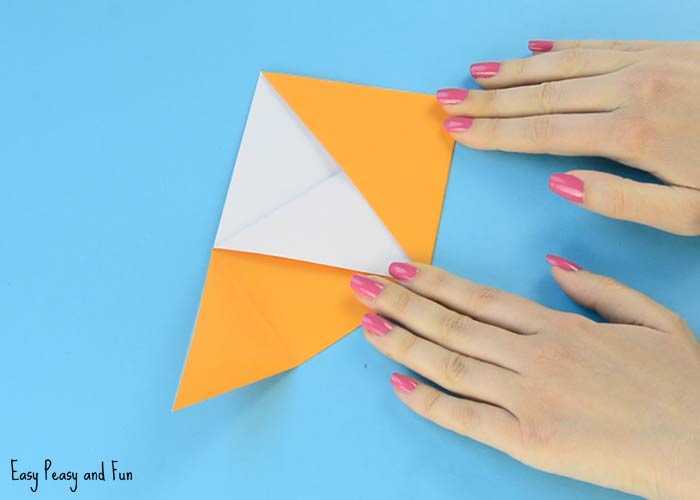
Unfold both.
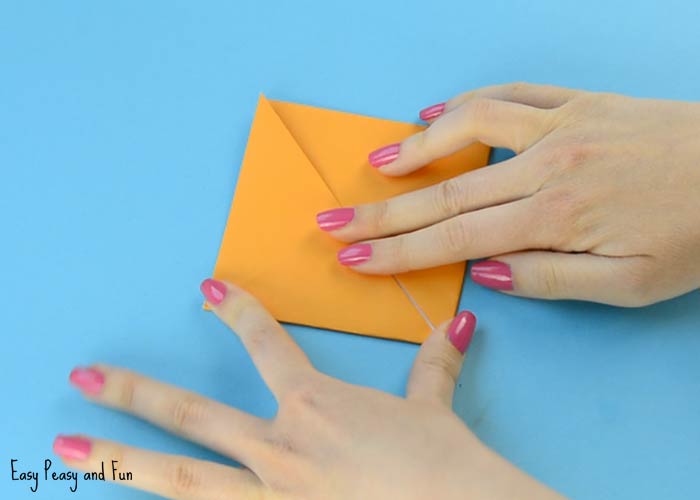
Fold the same corners again, this time folding them towards the top.
A square will form.
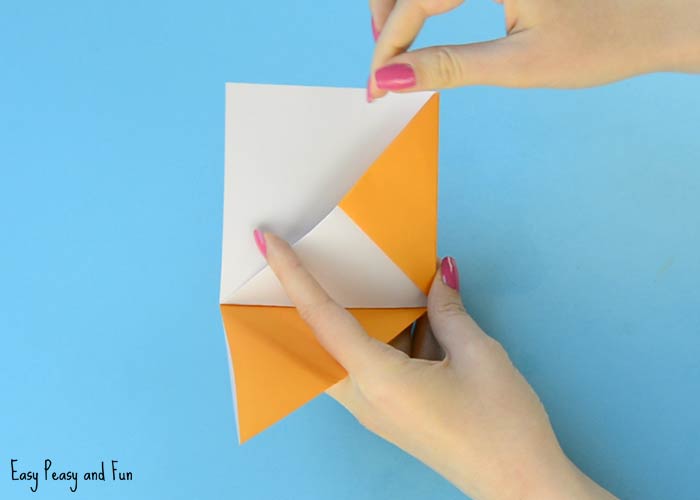
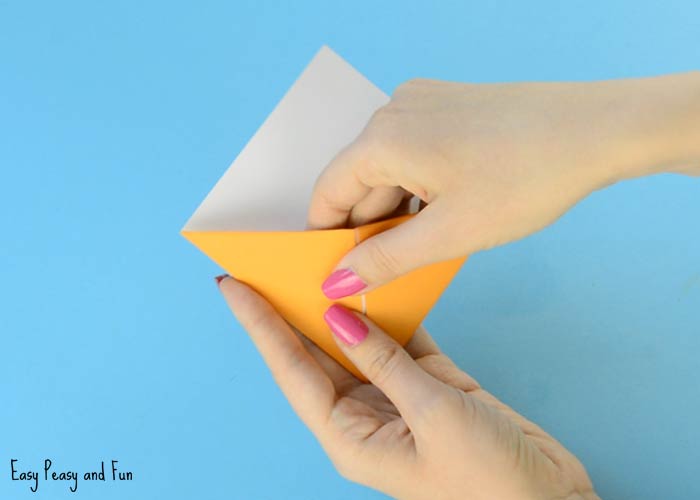
Lastly t+grab the same corners (now on top) and tuck them inside the pocket that has formed.
Time to make octopus corner bookmarks
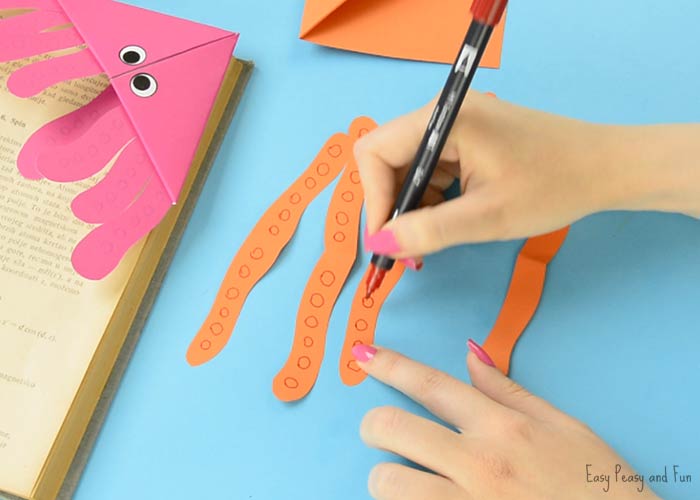
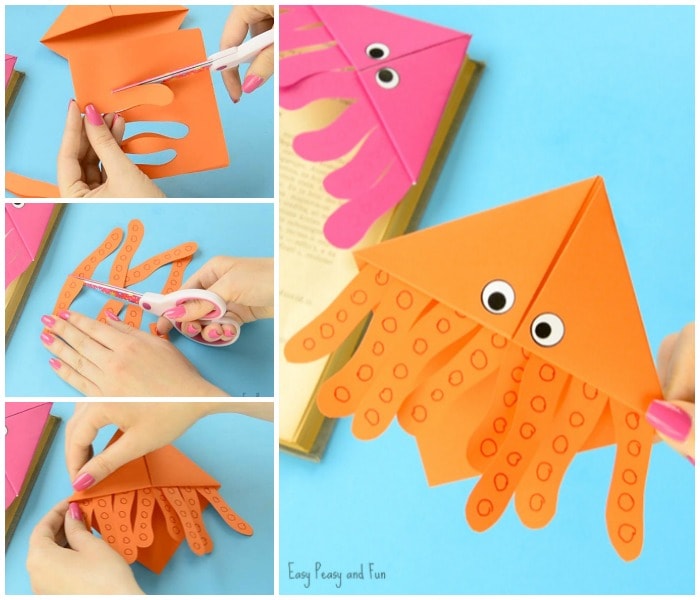
Cut 8 tentacles out of paper.
Draw circles with a marker.
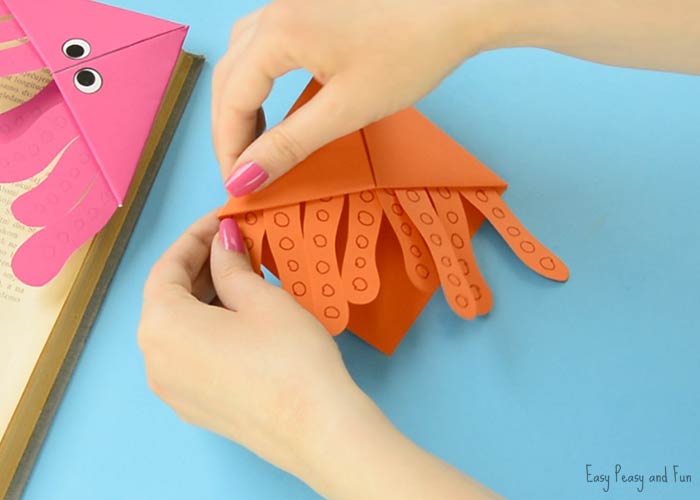
Glue them inside the bookmark.
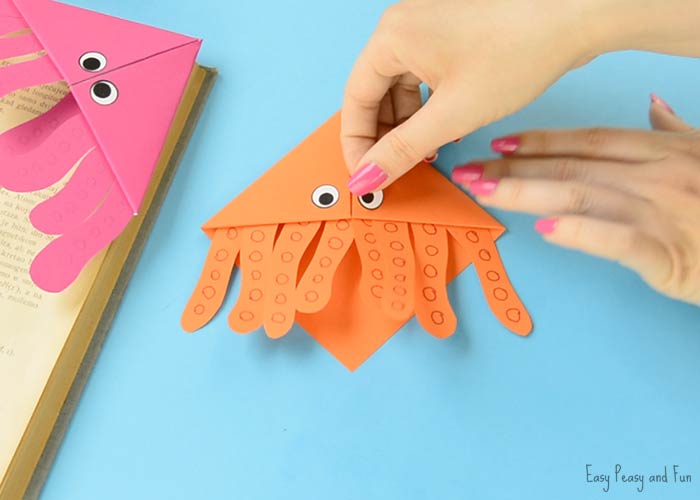
Draw eyes or use wiggle eyes stickers.
Want instant access to all of our printable crafts, activities, and resources?

With thousands of crafts, activities, worksheets, coloring pages, and drawing tutorials to print, you will always have just the resource you need at your disposal. Perfect for parents and teachers alike!






I visited your website today and viewed the octopus corner bookmark…too cute for little people! I’m looking forward to returning for more of your other corner bookmarks. Thank you for this idea and for posting the instructions. 🙂