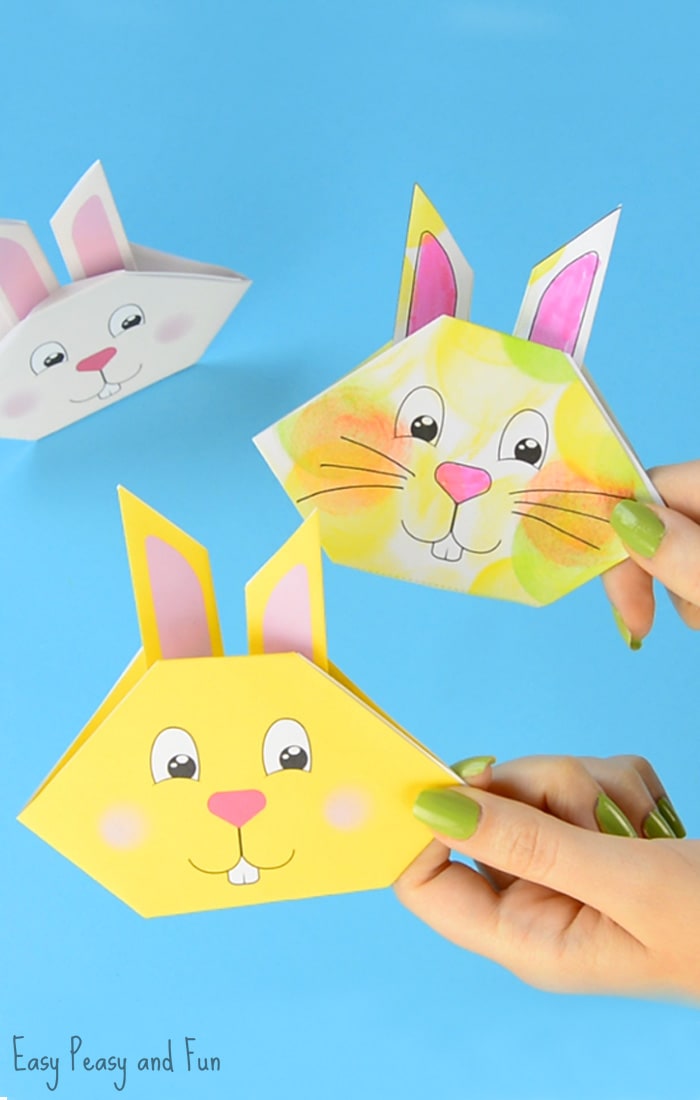
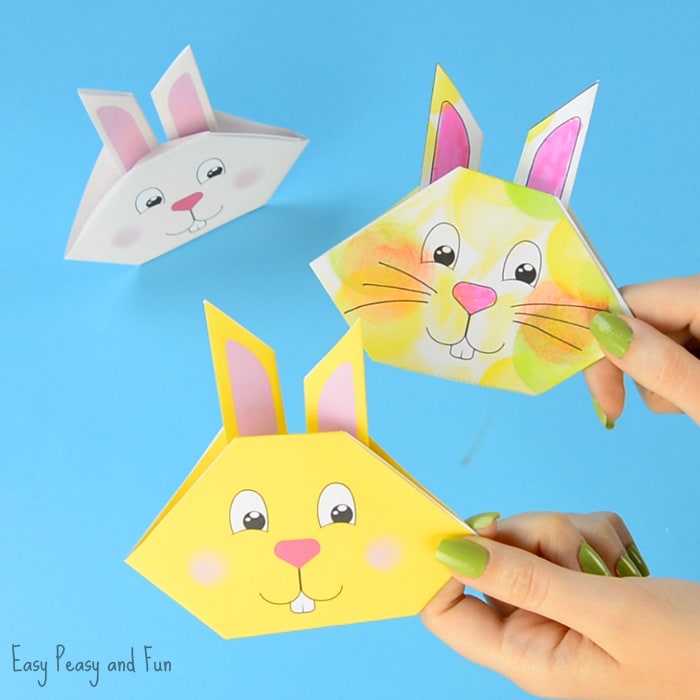
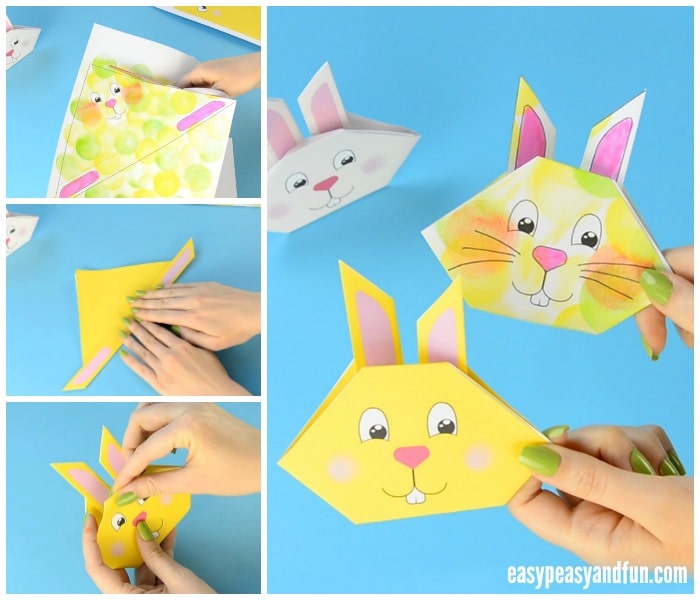
Need a cute Easter origami? We will be showing you how to make an origami bunny today. Oh but there’s more! Why use regular origami paper if you can print out our cool origami templates.
We prepared a set of pre-colored ones and a black and white one kids can totally personalise and color as they see fit! How’s that for a cute origami idea for kids?
*this post contains affiliate links*
We really think this origami bunny face craft is a great origami for beginners. It has easy to follow steps and not a lot of patience is required in order to fold it. And you can’t get past it’s cuteness, can you? The little pointy ears! So cute, even if they are made with “regular” origami paper.
They are fun to make all year round, but naturally as Easter is near their popularity soars!
This can be a fun classroom project for the kids, especially with our black and white template where they can really make a fun bunny of their own. An army of little cute rabbit faces will look adorable as a classroom display don’t you think?
We have prepared a variety of pre-colored templates, most with colors that are easy on the printer. They certainly are fun but we really hope you will go for the black and white one :).
Ready to fold your paper craft? Just print the templates and follow the step by step folding instructions.
Origami Bunny Folding Instructions
What you need to make this craft;
- our printable templates (you can find them at the end of this tutorial) – or regular origami paper
- scissors (if you are using our templates)
- coloring supplies – markers, ink, crayons, coloring pencils, glitter (let the bunnies sparkle!!!)
Let’s get cracking!
We have both a video tutorial and photo folding instruction ready for you!
Watch the Origami Bunny Video Tutorial
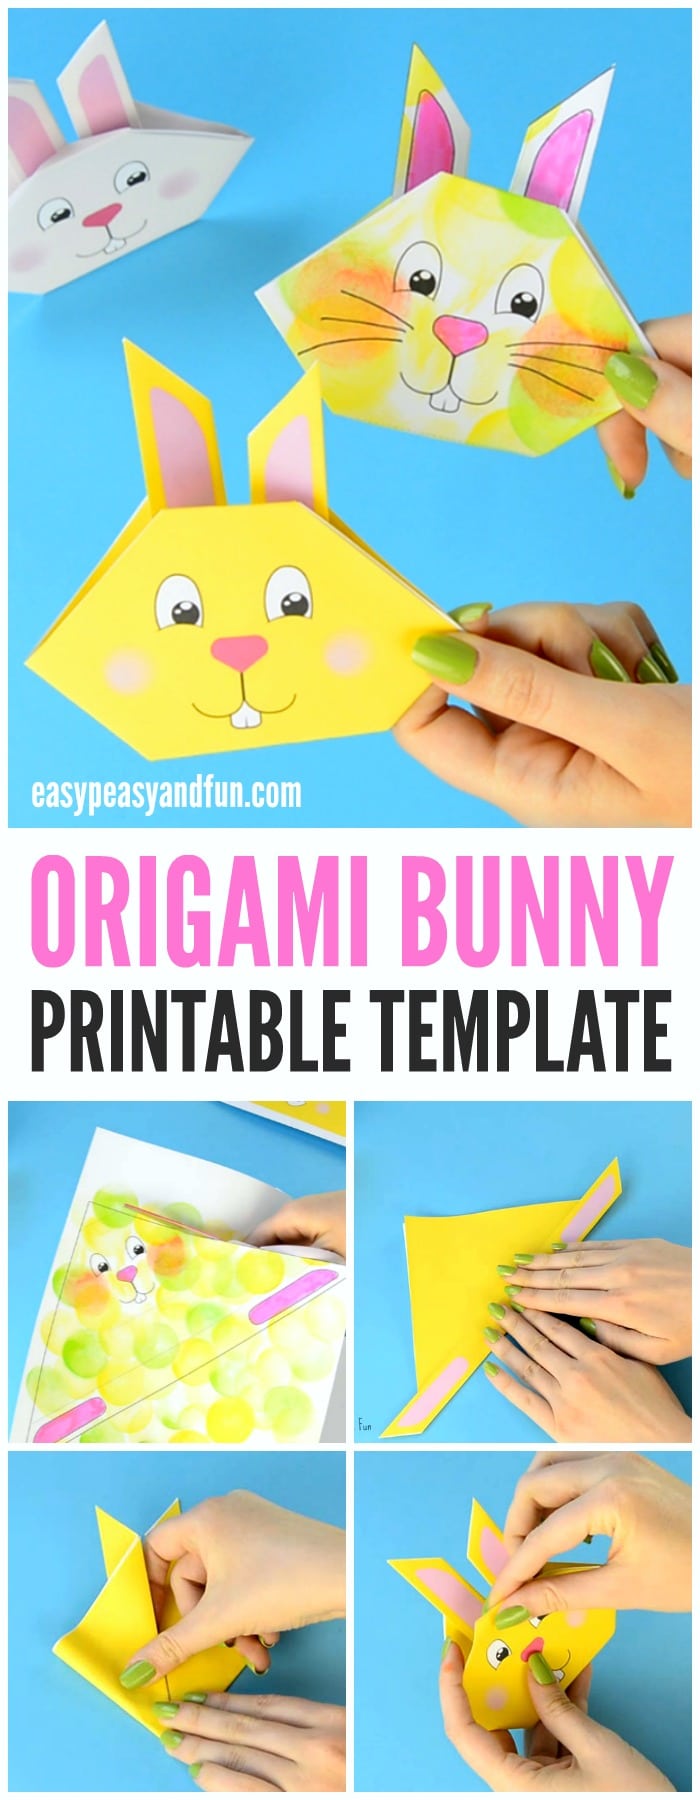
Or Follow These Step by Step Folding Instructions
First of print one of our origami templates.
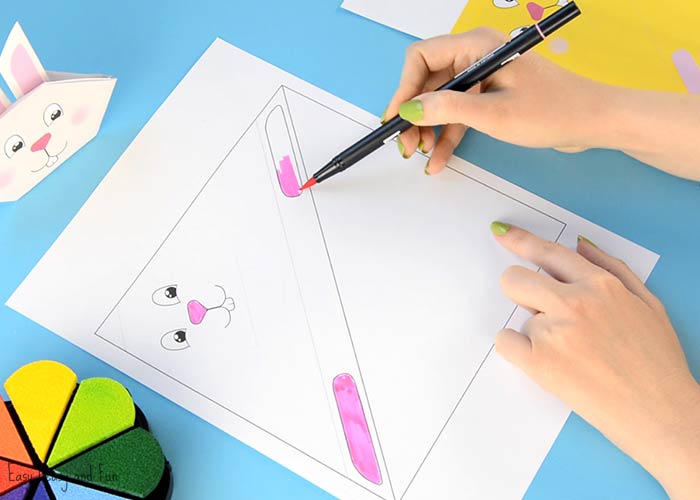
If you decided to print our black and white one (go, go creativity) first thing to do is to get crazy and color it.
We just know your kids will come up with some amazing bunny rabbit designs.
Ours was colored with a marker (ears and nose) and we wen’t a bit stamp crazy! Stamping really gives a nice effect don’t you think?
Once your template is nicely colored it’s time to cut it out.
If your kids worked with markers or ink it might be good to let the colors dry a little before moving forward.
Time to Fold the Origami Bunny
If you used our pre-colored templates you there’s no wait ;).
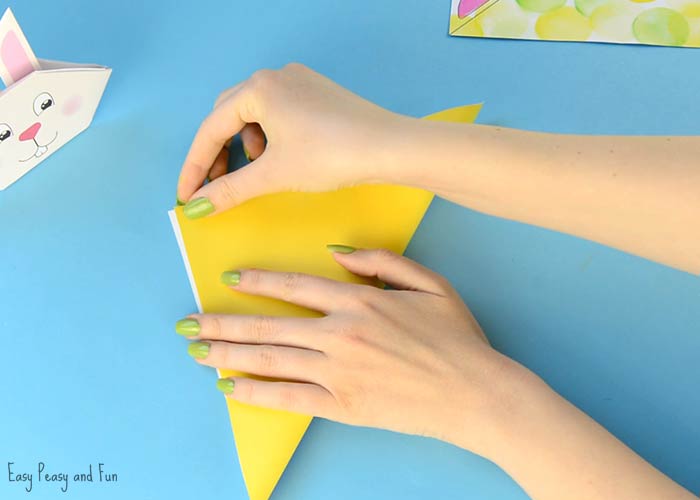
Fold the square paper in half, the bunny face and ears have to be on one side.
There is a dashed line along the bunny ears. Fold along that line.
Crease.
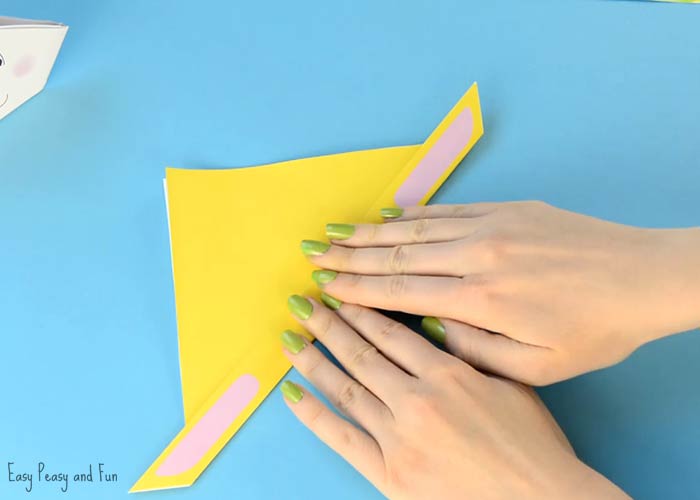
Gently fold the triangle in half again, pinch at the bottom.
We do this only to mark where the middle is, as it will make the folding a bit easier.
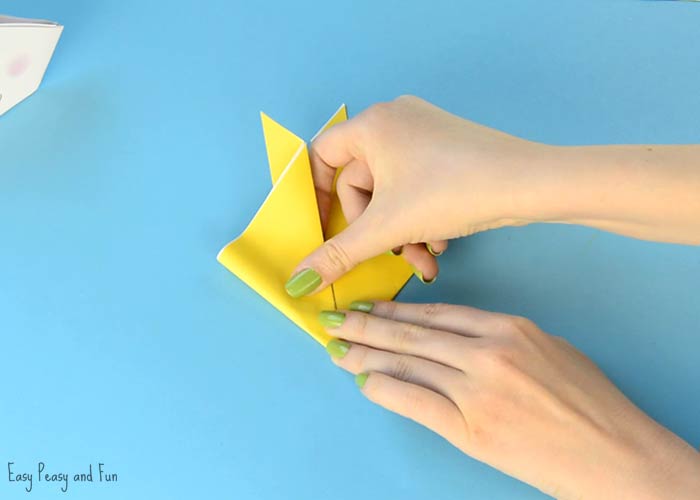
Unfold. Position the bunny face down.
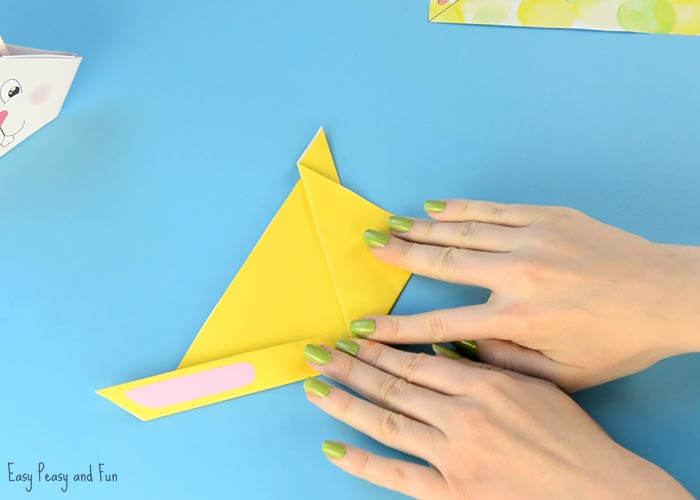
Take one side of the triangle (ear) and fold it towards the top (the middle we marked in the previous step will be helpful here).
Do the same with the other side.
Crease.
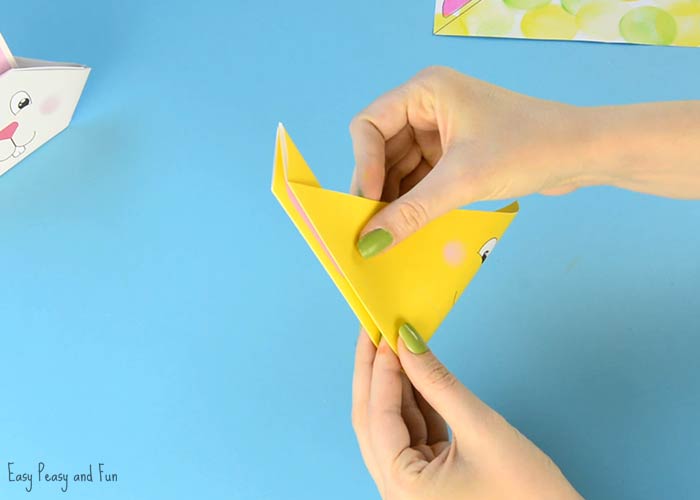
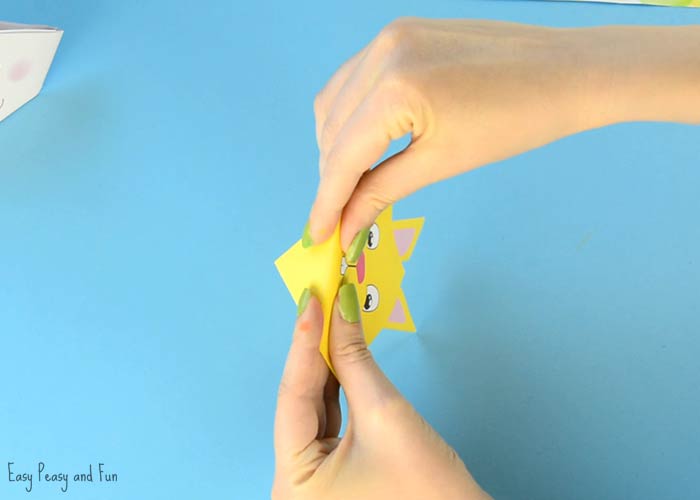
Flip around – with bunny face looking straight at you.
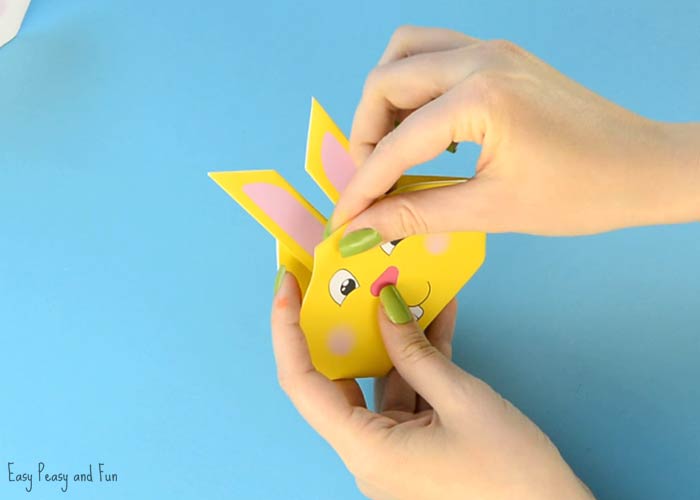
You will notice a dashed line at the bottom of the bunny face. Fold along that line (fold it backwards).
There is another dashed line at the top of the bunny face.
Fold along that line too, again folding it backwards.
Your origami bunny is all done!
We really hope your kids will get super creative when it gets to decorating their own origami bunny.
They can use crayons, markers, pencils or go even beyond that and use paper scraps, nature materials you name it. Let their imagination soar!
Get the Printable Bunny Origami Template Here
Want instant access to all of our printable crafts, activities, and resources?
With thousands of crafts, activities, worksheets, coloring pages, and drawing tutorials to print, you will always have just the resource you need at your disposal. Perfect for parents and teachers alike!


Thanks for all the lovely inspiration Andreja!
Can you please share where you got the triangle stamping set please?
It’s the ColorBox Pigment Ink Petal pad.
Thank you, the children at church group will love these x