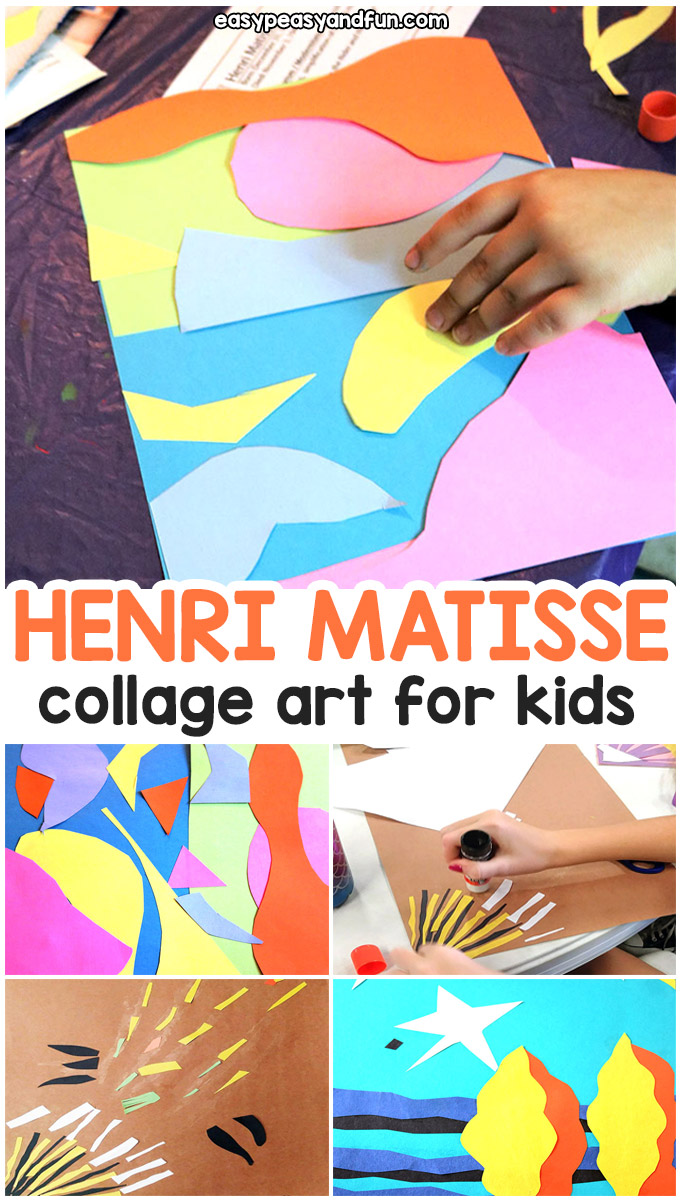
Whether you teach a group of youngsters or just your own kids, this Henri Matisse for Kids is an easy art lesson to do.
Matisse is a wonderful artist with an art style kids will love to learn about.
*this post contains affiliate links*
We will give you a brief history on Matisse and then go over the basics of creating a Matisse-like piece of artwork. The main idea here is a collage technique, but this could also be done with paints.
Acrylics or watercolors in more of an abstract style, looking at the type of shapes Matisse liked to use, could easily be done instead, or in addition to, the paper collage art.
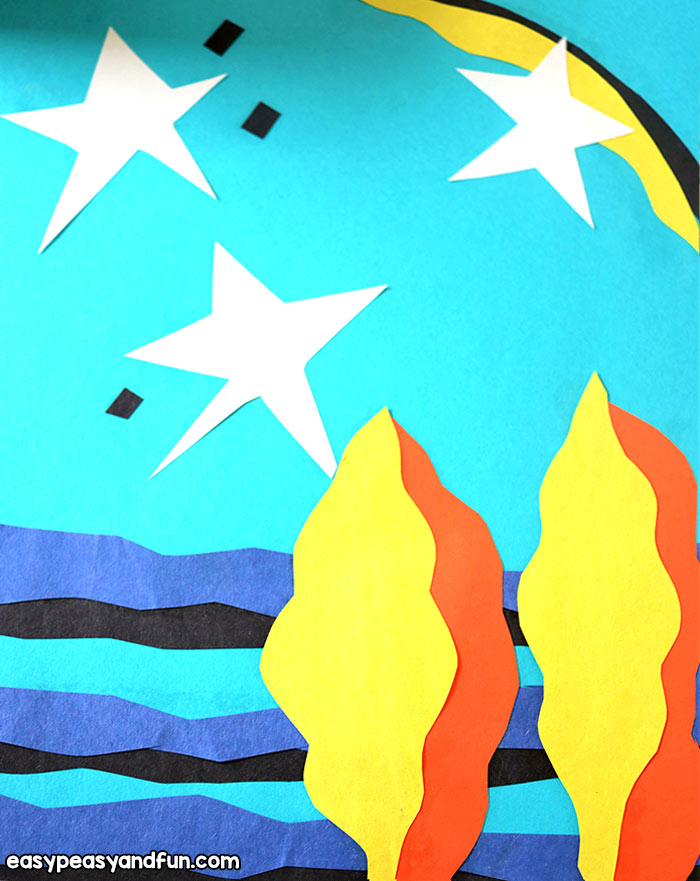
Starting the Art Lesson with Information About Henri Matisse
Henri Matisse was born in 1869 and died in 1954. He was a talented French artist who was known for his sculpting, painting, and drawing. His style helped take the expected type of art you would’ve seen at his time, to a new place with his use of bright colors and textures in his artwork.
He would’ve been regarded as a Fauvist, which was an artist referred to as “wild beast” for the out-of-the-ordinary use of color. His work focused more on pattern and color than it did achieving a subject that looked “real”.
He was regarded as a very talented, classical painter in the 1920s. We know he had the talent to do those types of paintings. He later developed his own style that he became so well known for. When he was older and got ill, he used collage instead of paint as his medium.
Some of his most striking work was done at the end of his life with his cutout shapes and patterns created with paper. He then became regarded as a leader in Modern Art.
A few great examples of his work are Woman with a hat, The joy of life, Two dancers, Jazz – Le Cirque, and La Perruche – et la Sirene.
To complete a Henri Matisse for Kids -style artwork, you will need:
- scissors
- construction paper in various colors
- glue sticks
- cardstock or thick paper for the base (enough for each child to have a variety if teaching multiple children.)
Directions:
Go over Matisse’s life and show some examples of his work. Ask the kids questions about what stands out and point out his use of bright colors.
I like to use the color wheel when I teach on artists like this and remind them about the complementary colors, so they will think about that when they choose the colors for their piece.
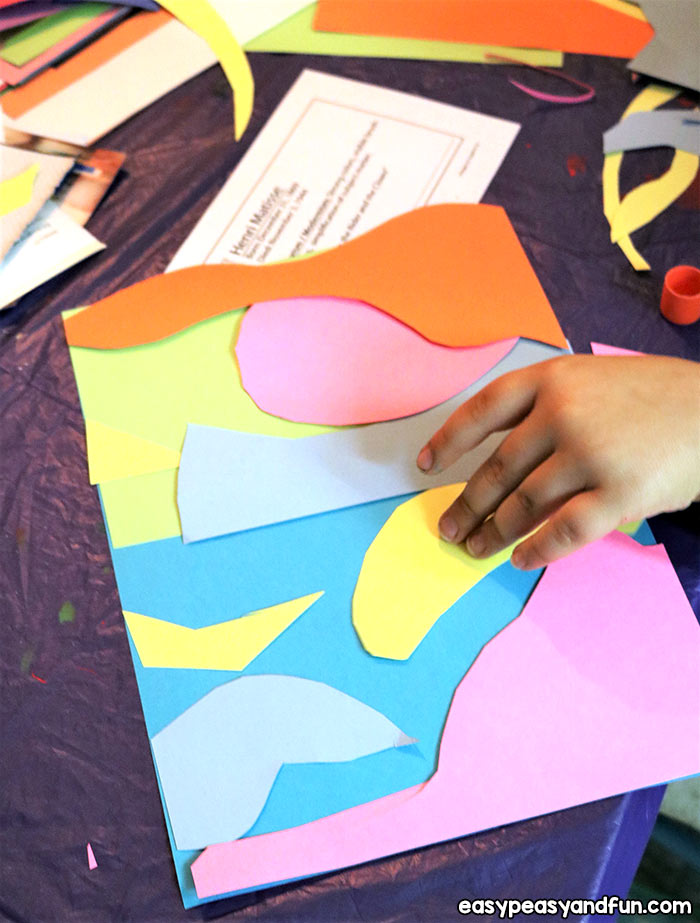
Then, give them a base paper, thicker like card stock or cardboard if possible. Also have them choose a color for a solid background. Glue that paper down first, to the cardstock, using the glue stick.

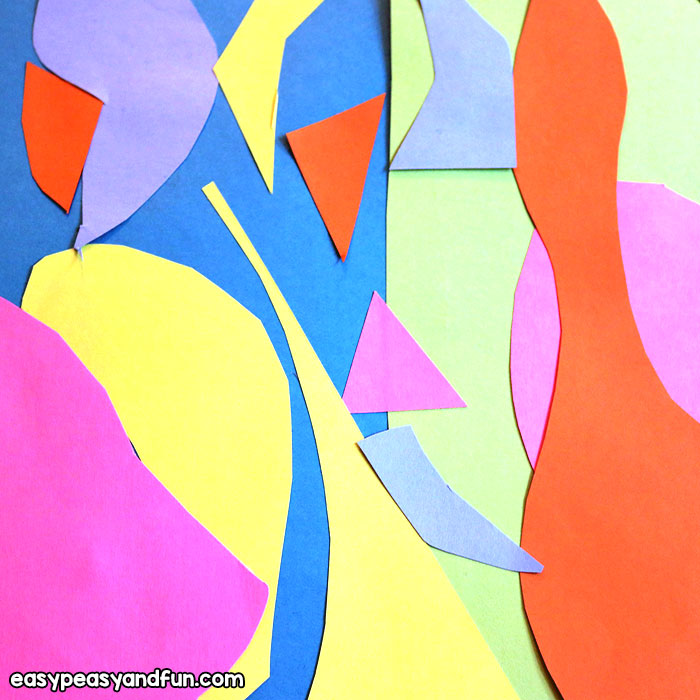
Then, have them create an abstract style collage. If they can, have them just start cutting out random shapes and then as they go, they may start to see a scene form, or have something come to mind that they want to illustrate.
If nothing comes to mind, it’s ok though, it can be abstract, with no subject too.

Remind them to choose bright colors that coordinate well together in picking out their paper and have them use the color they want to show the most as their focal pieces. The largest or ones that stand out in shape should be the focal point.
Using black accents helps to make the shapes stand out and give accents too. Adding small dots or shadows to the shapes with black paper is a nice touch.
Overall, they should use at least 3 colors or more.
Doing collages can be very relaxing. Some children who are more literal in their learning style have challenges sometimes with abstract art, so just help those who need it to find a subject if they need to.

Making the collage
Glue down the shapes after placing them on the paper and arranging them loosely first.
If the kids glue a few down and then change their mind, it tends to end up tearing the paper if they try to pull it up. Be sure to explain this before they begin cutting.

The last step, once all the pieces are glued is just to check the edges of the paper. Be sure none are popping up or need any more glue.
Let the glue dry before moving and placing in a backpack or taking home if possible.
Note – if you’d like to do this lesson with paints instead, as mentioned in the beginning, have them sketch out the shapes lightly in pencil first, on canvas or paper, and then paint the background color, and then the shapes.
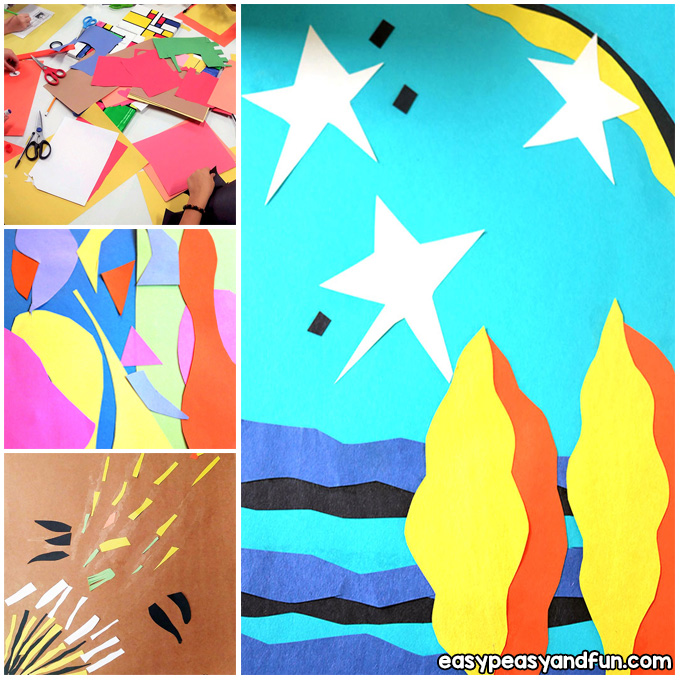
Henri Matisse for kids lessons opens up so many possibilities for creativity.
Want instant access to all of our printable crafts, activities, and resources?
With thousands of crafts, activities, worksheets, coloring pages, and drawing tutorials to print, you will always have just the resource you need at your disposal. Perfect for parents and teachers alike!

