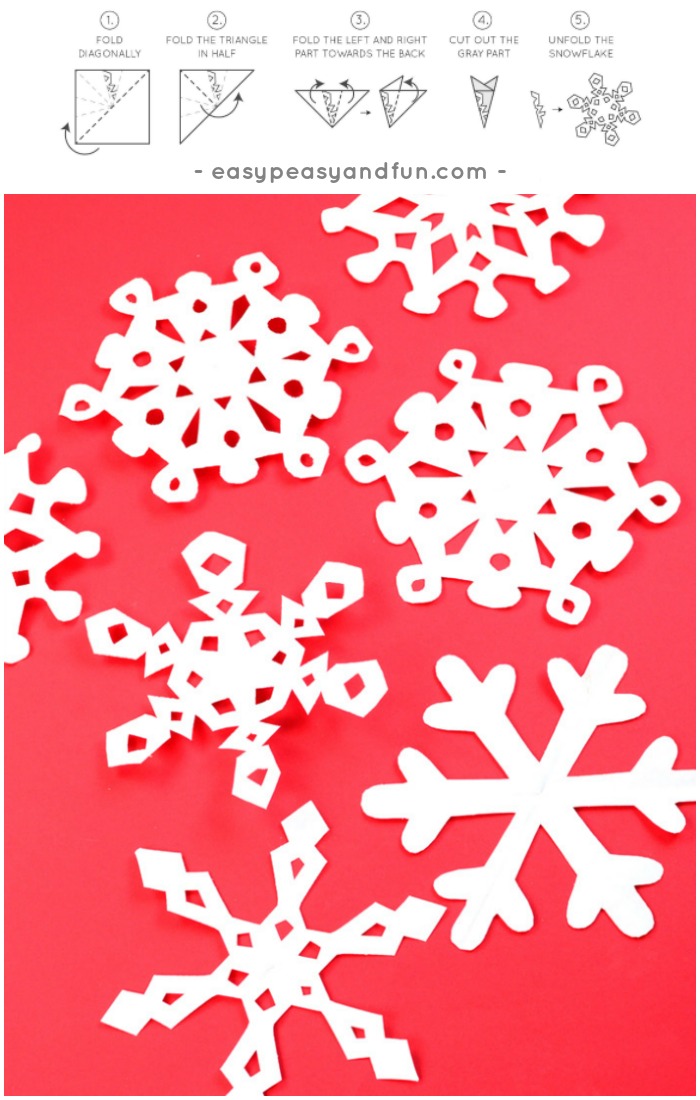
Love making simple crafts that can also be used as home decor? Then it’s time to learn how to make paper snowflakes , as these are the best DIY winter decoration, and with our 20 printable templates – a super easy one to make.
From easy to detailed, we are sure you will find a paper snowflake pattern just right for you.
*this post contains affiliate links*
Remember catching a snowflake on your hand and observing its shape before it melted away? It’s totally amazing when you see the perfection of this tiny ice crystal. If you never did this, we urge you to take a magnifing glass and go on a snowflake hunt the first chance you get. You will be mesmerised.
The snowflakes really are something special, and as they say – every snowflake is unique, so we made sure to capture some of this uniqueness by creating a variety of paper snowflakes in this “how to make paper snowflakes” pack (hopefully first of many).
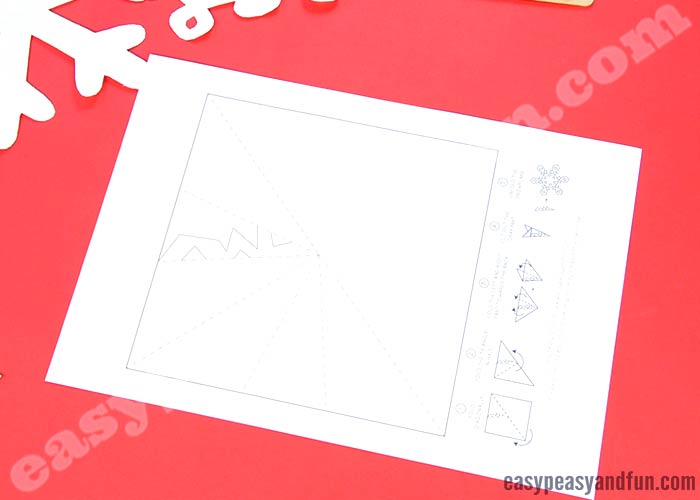
This pack includes 20 different snowflake designs with a short tutorial at the bottom of each page, also demonstrating how the end paper snowflake should look like.
We love making simple crafts, so we made sure there are enough simple designs to make. All you need to is to choose the ones you like (or all of them, of course), print them out and cut out the marked area. As we know you like intricate designs too, a few of advanced printable patterns are included too!
If you want, you can use a colored paper, or simply use a regular one and color the whole square with your favorite markers before cutting.
After you get to know the concept of folding the snowflakes, your kids can try and do their own snowflake designs to make your collection really unique.
Making snowflakes is a fun and simple indoor activity, and what is best, you can use them as a lovely winter decoration on your windows or walls.
Ready to make them? Let’s go!
How to Make Paper Snowflakes
What you need:
- our printable paper snowflake templates (you can grab it at the end of this tutorial)
- regular paper (the lighter the better as heavier paper is tricky to cut)
- scissors
We also use a craft stick to make folds crisper.
You can also embellish your paper snowflakes with glitter glue to make them even fancier.
Watch the Video Tutorial
Follow the Step by Step Instructions
Choose your favorite snowflake patterns and print them out (grab the template at the end of the tutorial). Simplified version of instructions is included on every page, which makes this a great classroom project.
We used a regular print paper, but we do recommend using the lightest paper you got, to make the cutting easier.
Use your scissors to cut out the square.
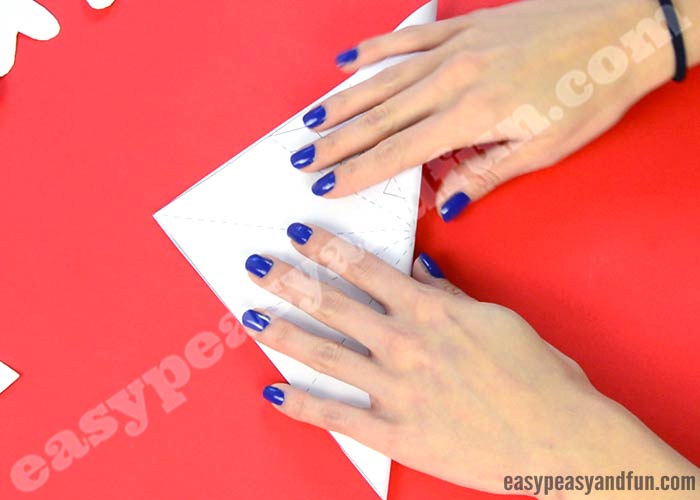
First, we need to fold the square in half to get a triangle.
Fold this triangle in half, as shown in the picture below.
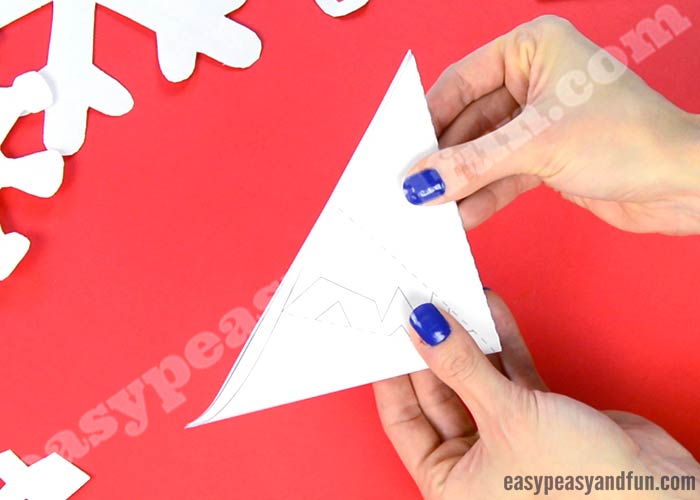
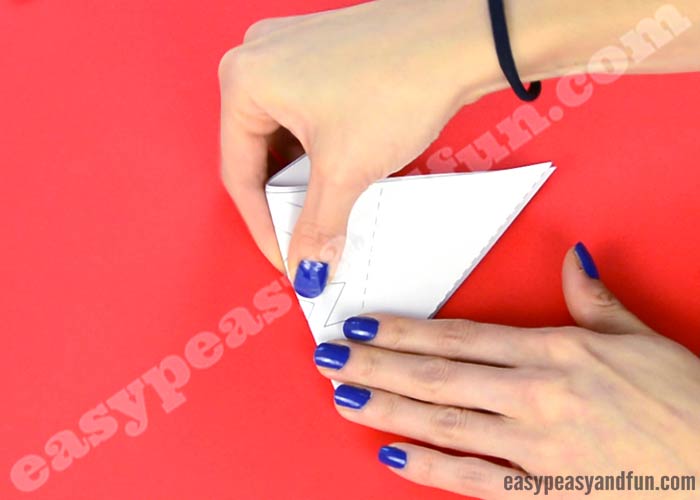
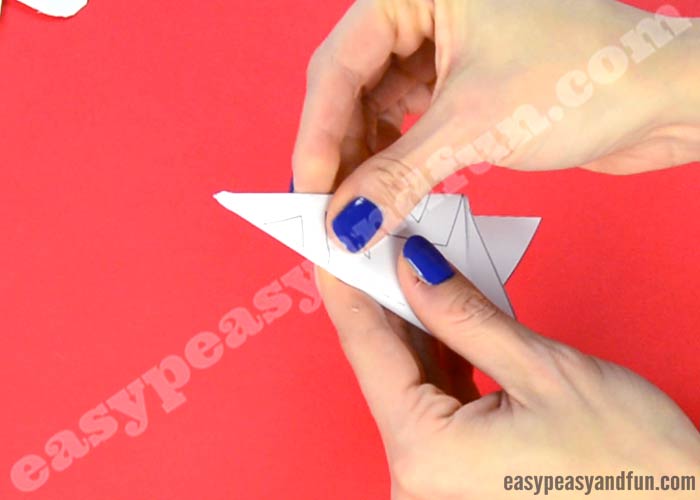
You will need to fold the left and right part of the triangle towards the back.
Your future snowflake should look like this.
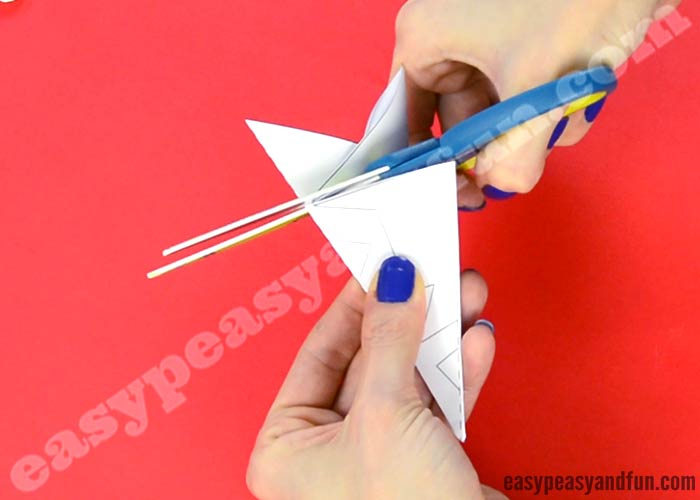
Cut off the parts you don’t need.
You can start by cutting off the top of the folded snowflake.
Cut along the lines in order to cut out the “gray” area – the area is marked in the short tutorial at the bottom of each page.
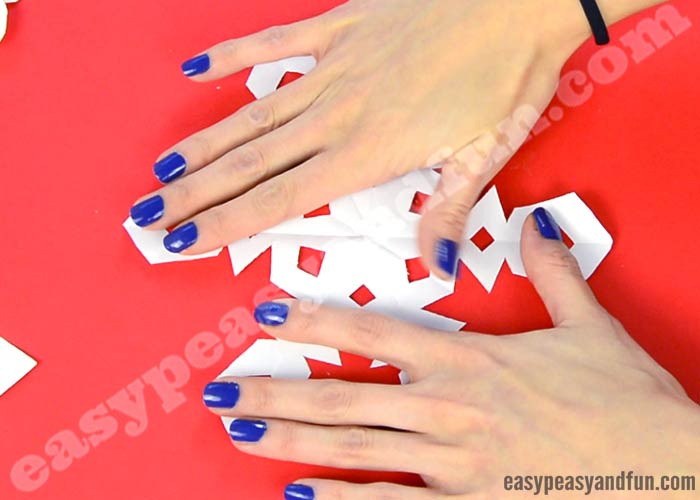
Unfold the finished snowflake gently and slowly.
Your snowflake is done and ready for display.
Get the Paper Snowflakes Patterns Here
Get the templates here.
Want instant access to all of our printable crafts, activities, and resources?

With thousands of crafts, activities, worksheets, coloring pages, and drawing tutorials to print, you will always have just the resource you need at your disposal. Perfect for parents and teachers alike!


