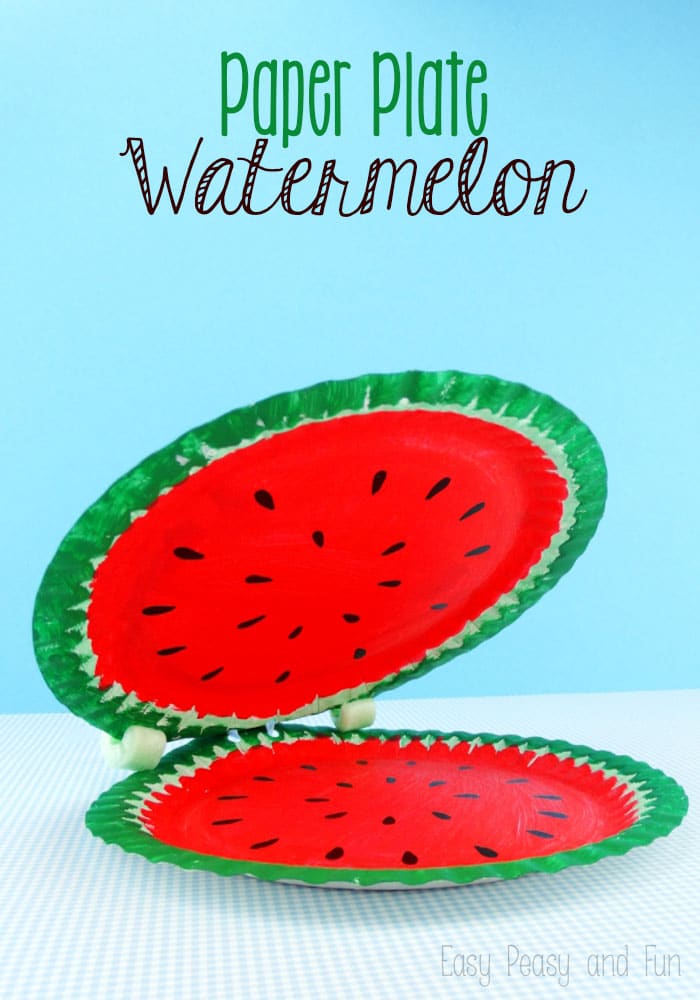
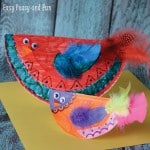
So do we have any watermelon lovers here? I sure am, especially when it’s hot! We’re starting a paper plate fruit “series” and fist one on the menu is this paper plate watermelon craft!
Paper plate crafts are great as they can be done by kids of all ages and most of us usually have a spare paper plate or two in the house all the time!
Paper Plate Watermelon
There’s quite a few different paper plate watermelon craft tutorials out there but I wanted to take it a bit further, adding a special twist that will hopefully make the kids even more excited about making this one!
You’ll need:
-
- two paper plates
- single hole punch
- red and green color (green and dark green – you can also use a dark green marker)
- black marker
- ribbon
- brush
Start by coloring the bottom sides of paper plates green (lighter green). Let it dry. Once they dry you can continue with darker green color or dark green marker to draw the details of watermelon’s rind. Flip the plates over. Color the outer edge of the paper plate green and the middle part red. Let it dry. Once dry use the black marker to draw the seeds.
Using a single hole punch make two holes on the edge close to one another. Reapeat on the other paper plate making sure the distance and position of the holes is fairly similar as is on the first paper plate.
Threat the ribbon through the holes on both plates and tie them together.
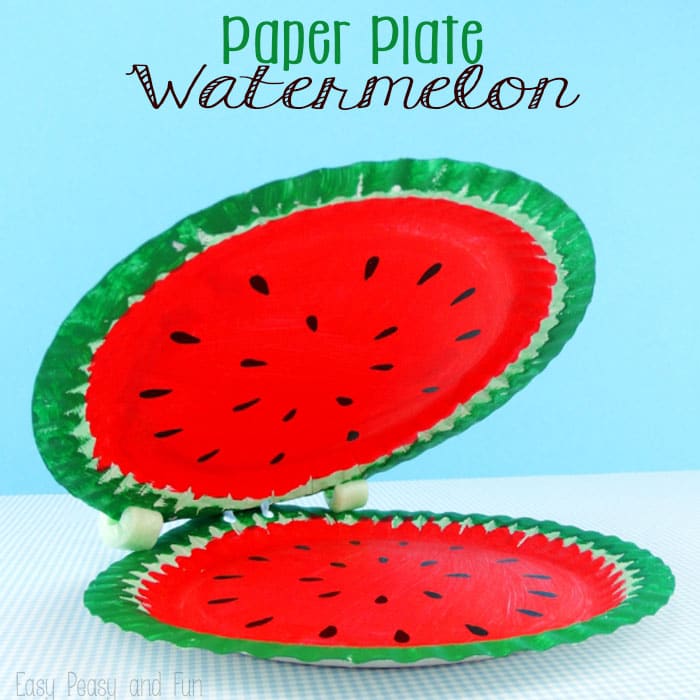
This crafty project is fun to make and can also be used in pretend play, learning about fruits. When kids look at the plates from the outside they’ll see the rind and once they pull it apart they will see the inside of the melon!
Want instant access to all of our printable crafts, activities, and resources?
With thousands of crafts, activities, worksheets, coloring pages, and drawing tutorials to print, you will always have just the resource you need at your disposal. Perfect for parents and teachers alike!

