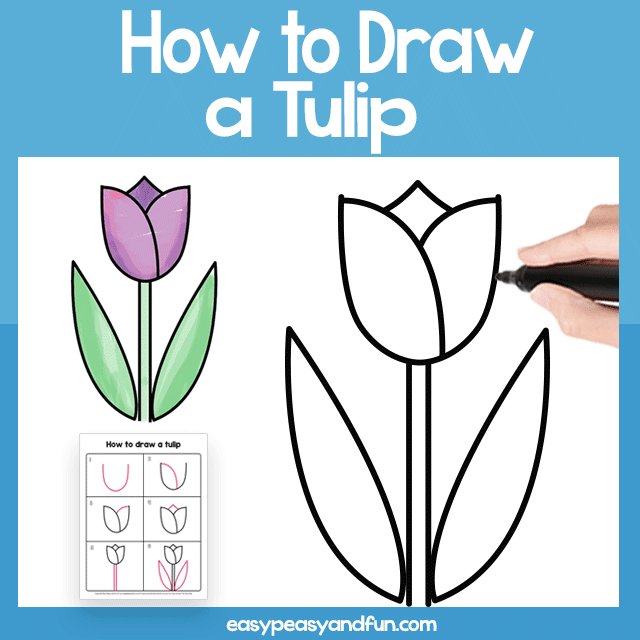
Learn how to draw a tulip with our easy step by step drawing tutorial. This tulip drawing is suitable for young kids and is a perfect one for beginners too.
So if you are teaching a class, or just want a simple tulip to draw on your greeting card, do give this tutorial a go.
Once done with this one go check all of our other how to draw tutorials.
*this post contains affiliate links*
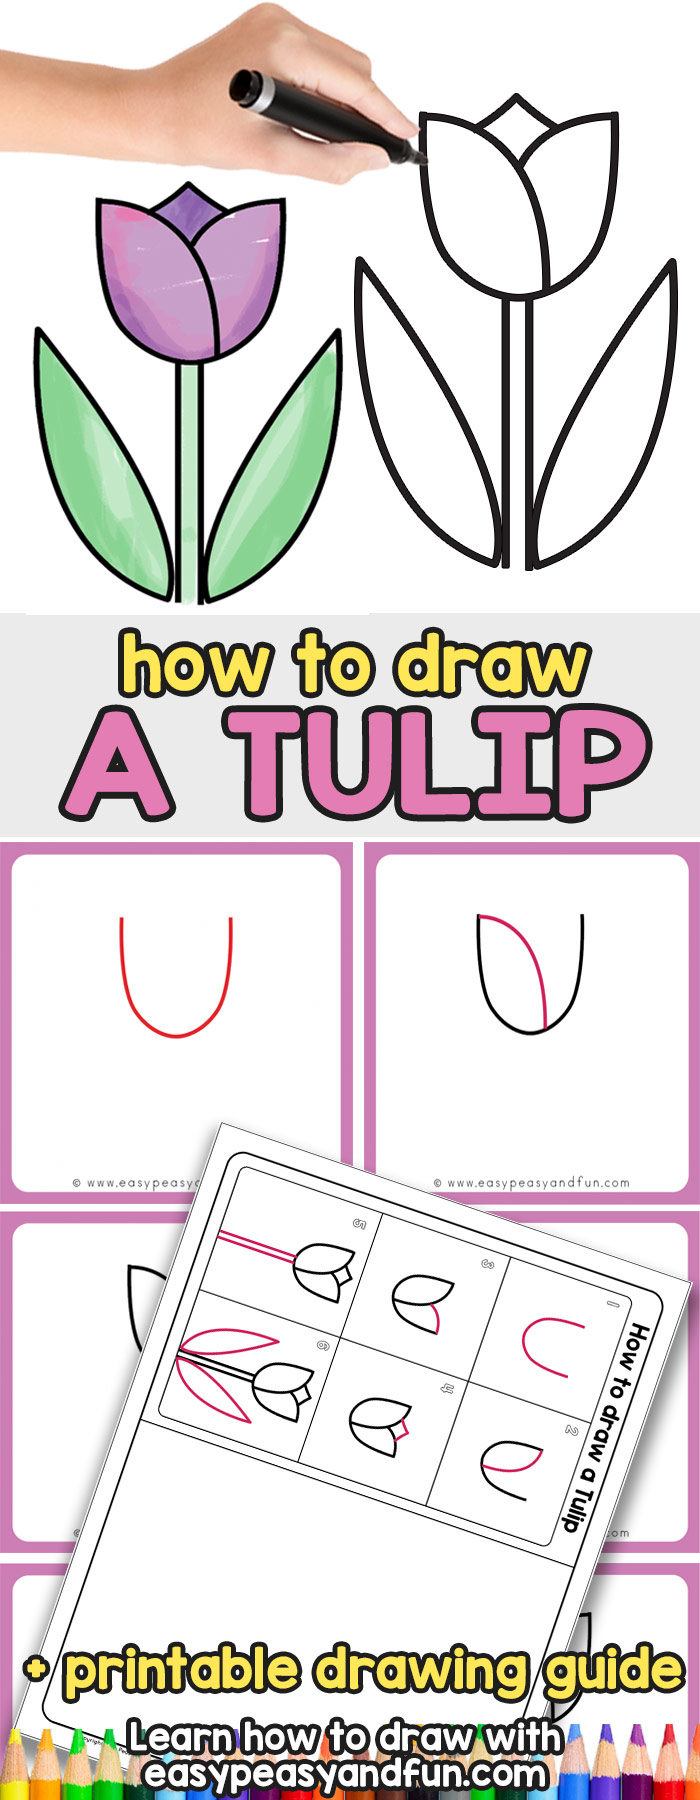
In this tutorial you will learn the easiest way to draw a tulip. 6 simple steps and you are done. Even more, most of the steps have super simple and familiar shapes so this is the perfect project to give the kids to draw to build their drawing confidence.
Once they are more confident why not have them learn how to draw an easy rose.
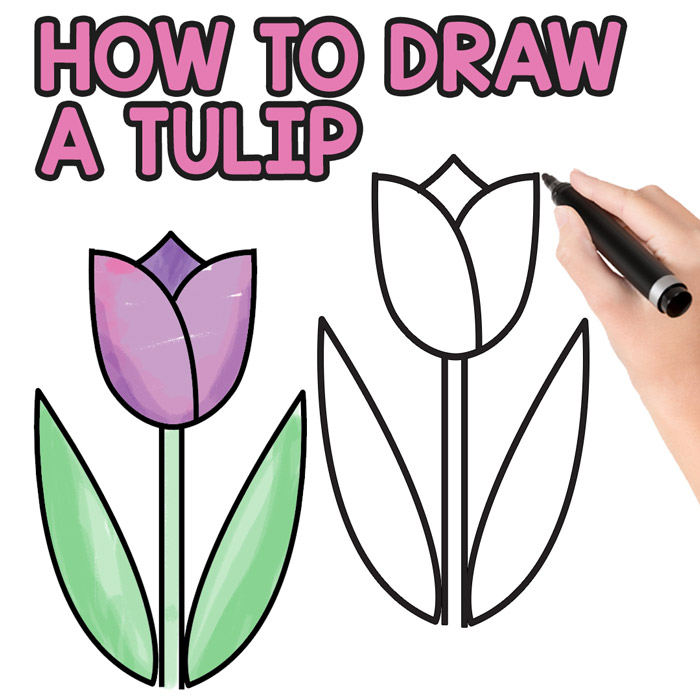
How to Draw a Tulip – Step by Step
What you need:
- our printable template (optional – you can grab it at the end of these instructions)
- marker
- coloring supplies
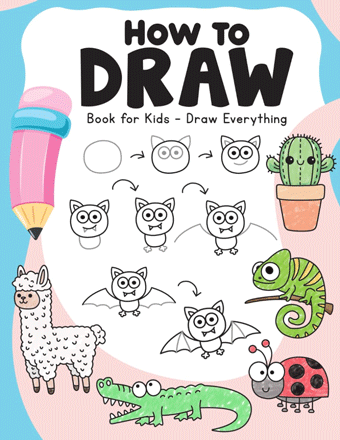
Our How to Draw Book is Here!
A must-have book with just over 100 easy-to-follow directed drawing guides for kids. With a variety of animals, magical creatures, vehicles, foods, plants and more your kids will never get bored.
Step 1
Draw an U shape.

Step 2
Draw a curved line. Start at the top (left or right) and draw the line, bringing it to the bottom of the U shape.

Step 3
Now draw a curved line from the other side. There are many ways you can end the line – it can touch the line from the previous step, or by it touching the U shape. All is OK.
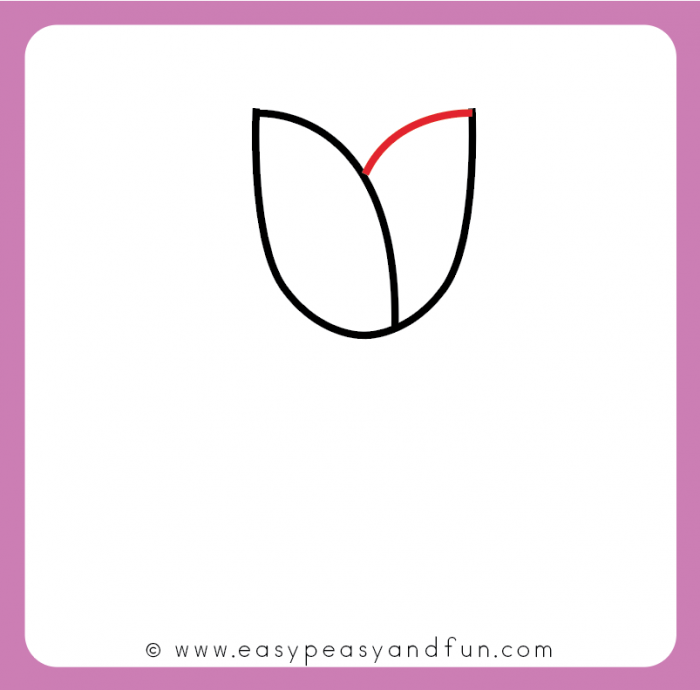
Step 4
Draw the last part of the tulip blossom.
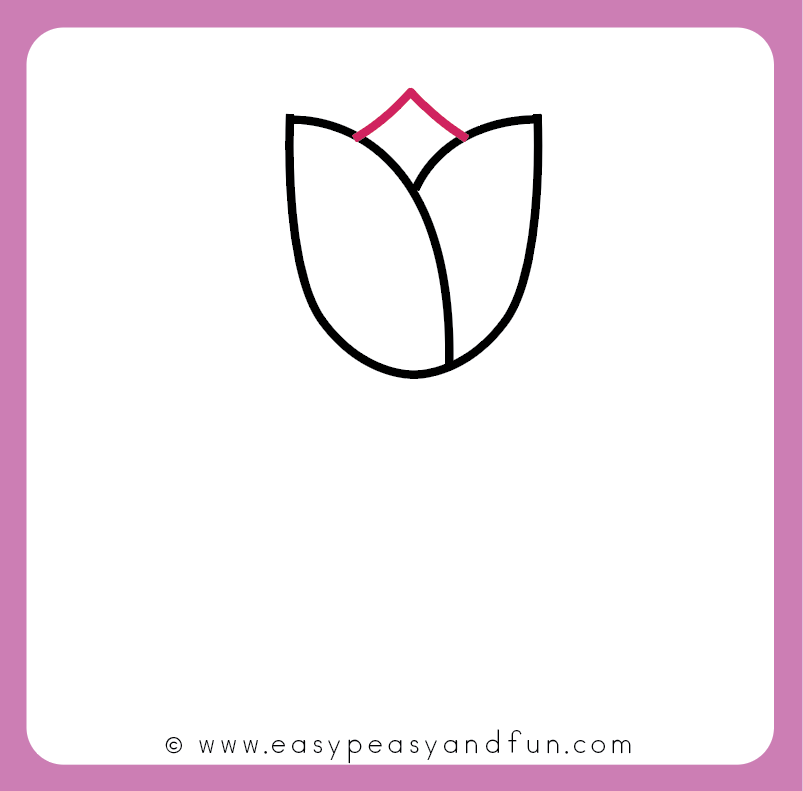
Step 5
Draw the stem. Two straight lines from top to bottom.
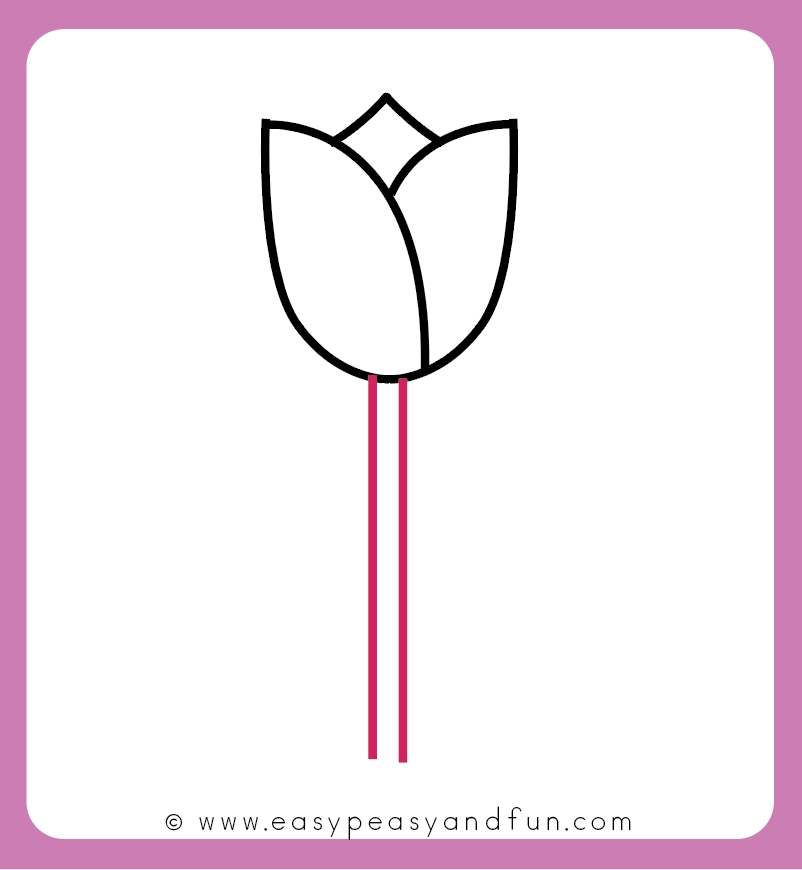
Step 6
Finish up your tulip by drawing a leaf or two.

Step 7
Completely optional, color in your tulip drawing.

Get the How to Draw a Tulip Directed Drawing Printable
Happy drawing!
Want instant access to all of our printable crafts, activities, and resources?

With thousands of crafts, activities, worksheets, coloring pages, and drawing tutorials to print, you will always have just the resource you need at your disposal. Perfect for parents and teachers alike!

