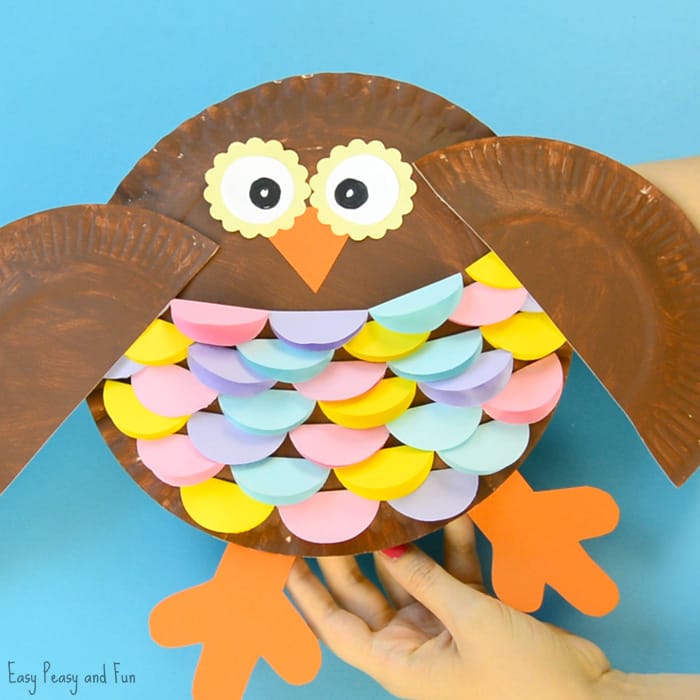
It’s owl time! We love owl crafts and this idea for making this colorful paper plate owl craft might just be our favorite as of jet.
This one will make a great classroom craft for fall or for the spookiest time of the year.


We love to give our crafts some dimensions, and room for kids to get a bit more creative so we though long and hard on how to make a paper plate owl craft a bit… Different.
You loved our paper plate rainbow fish (and we certainly did too) and as paper circles felt like they would work pretty well as feathers we decided to give it a go. And we love it.
Our owl loves to rock her pastel feathers, but it can be done in many different color schemes (or just using one color). Not only does it look great, handling a punch and punching circles is always a fun process for kids to do. And gluing circles on the owl craft will give your little ones a good fine motor exercise.
Ready to get crafty? Let’s make our owl!
How to Make Colorful Paper Plate Owl
What you need:
- two paper plates (one bigger than the other – if not you can trim one to make it smaller, two that are the same size will work out just as well too)
- brown paint
- paint brush (we do love sponge brushes)
- colorful print paper for feathers
- orange paper for beak and legs
- white paper for eye
- marker
- circle punch
- scallop circle punch (optional)
- glue
- scissors
If you want to make your owl even fancier some glitter is always welcome (when I say glitter I mean glitter glue – life saviour, well saviour from glitter explosions).
Watch The Video Tutorial
Or Follow these Step by Step Instructions On How To Make This Colorful Paper Plate Owl
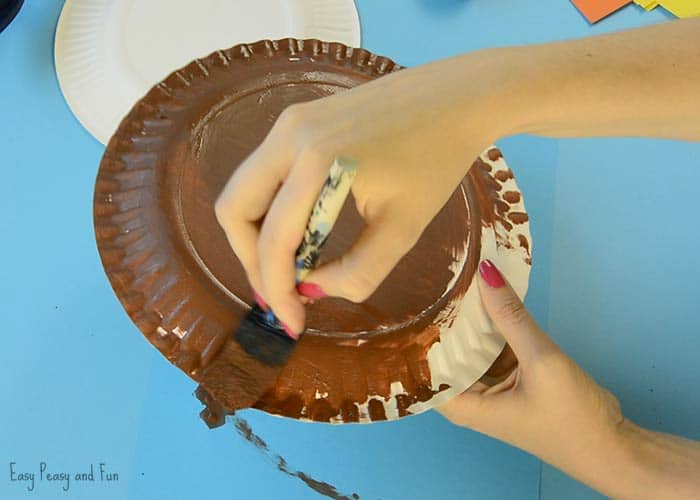
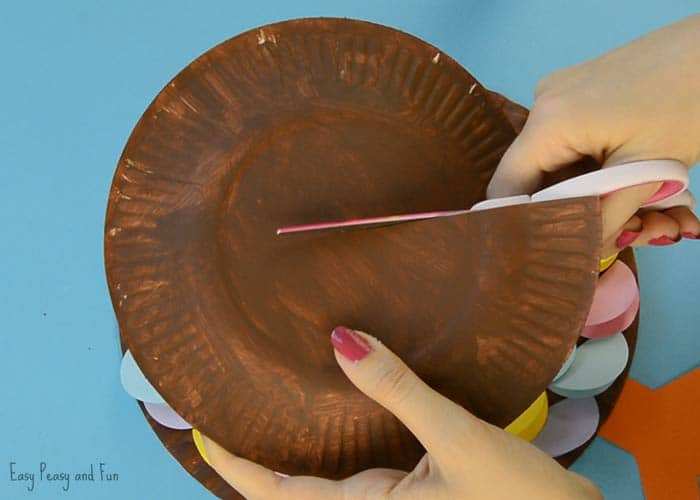
Paint the paper plates brown. Let the paint dry before you continue.
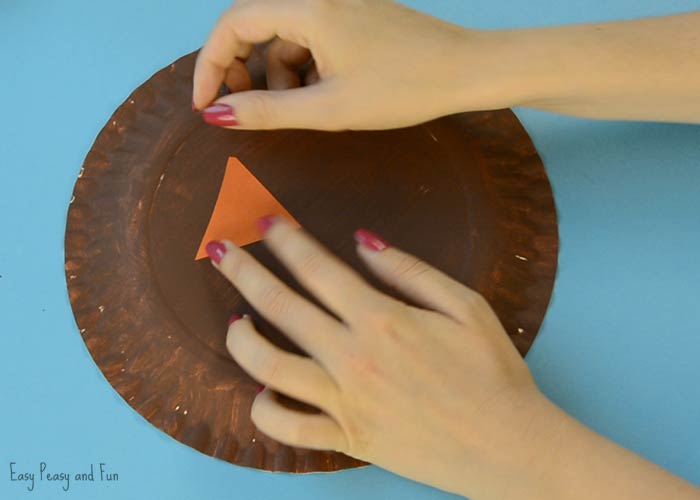
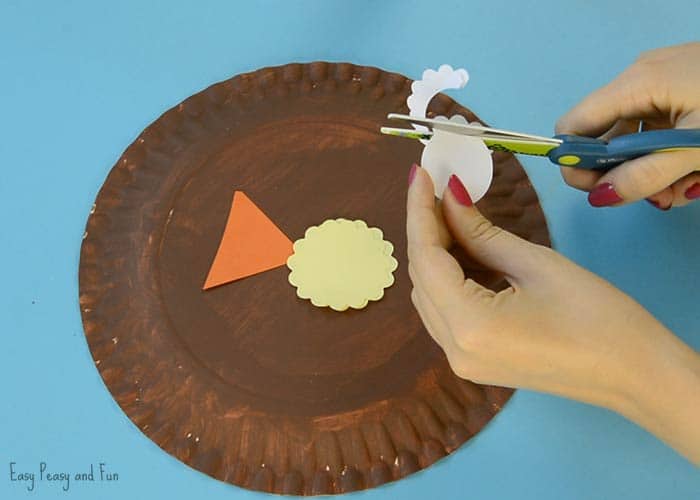
You can naturally just go with the regular circles, but we thing scallop edge gives it a more owly look.
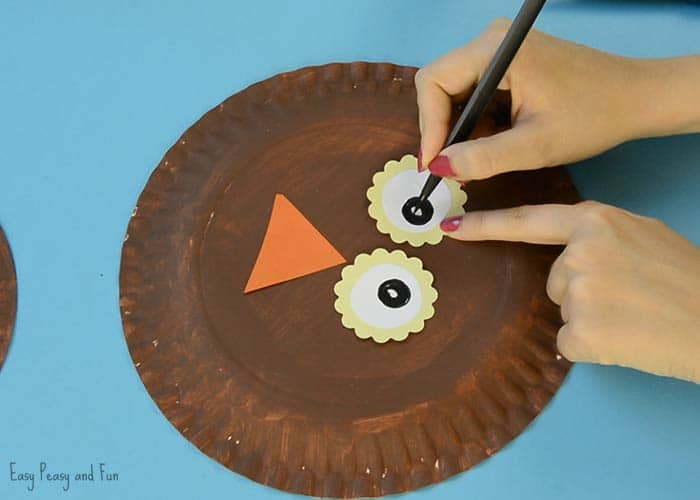
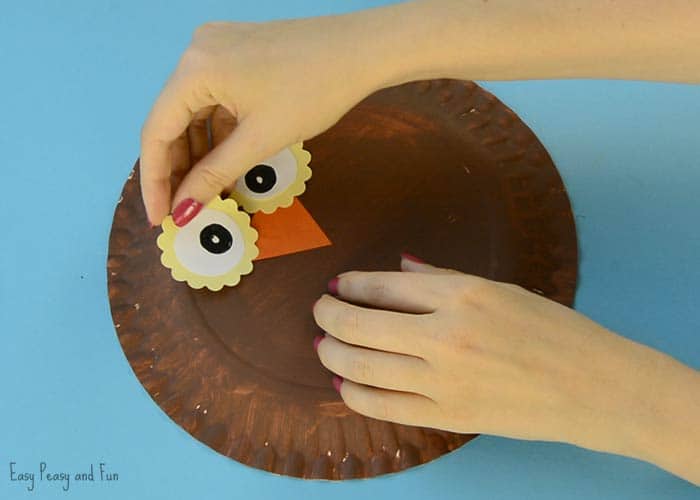
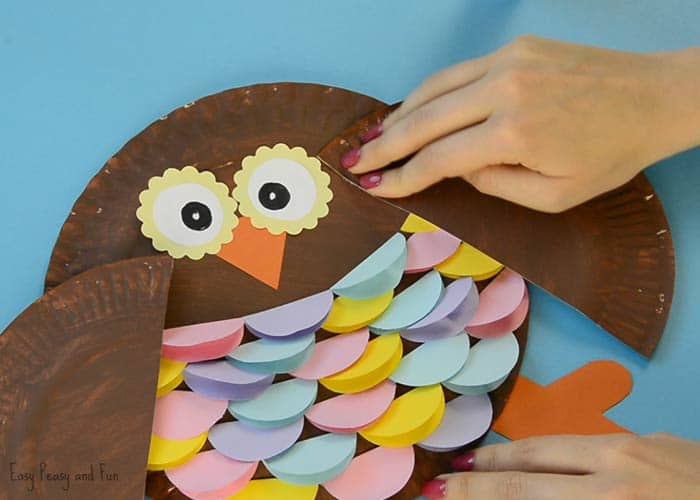
Finish up the eyes and glue them on the paper plate.
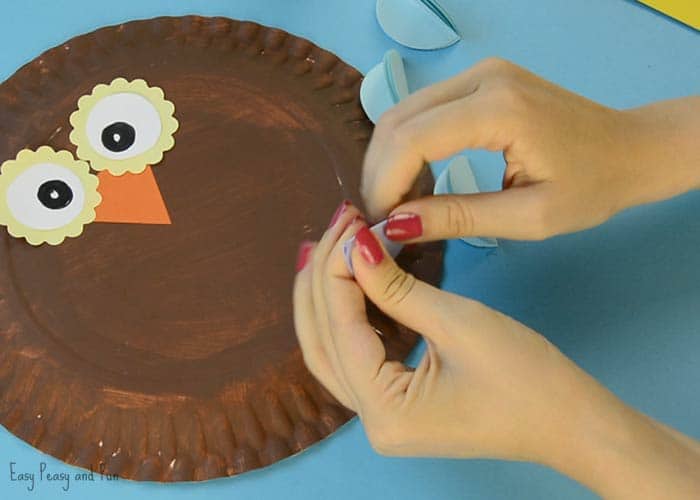
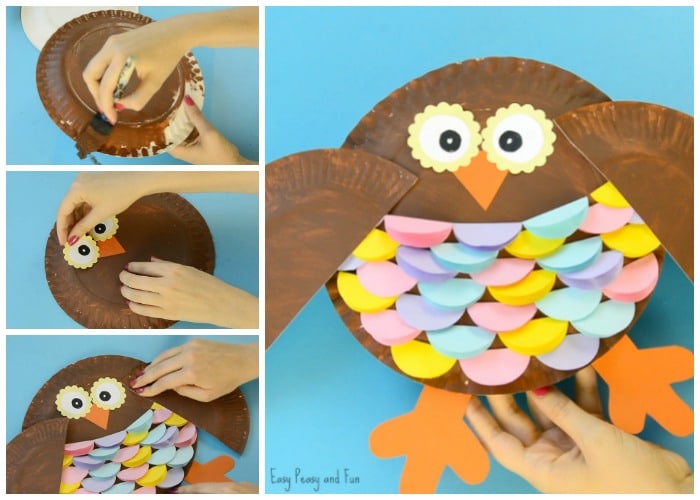
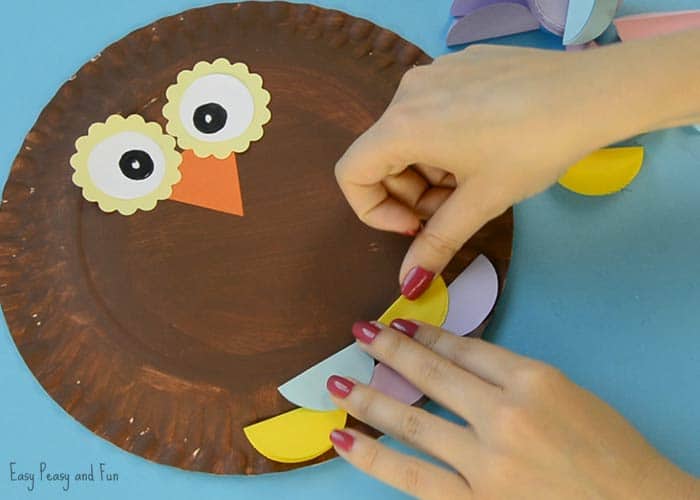
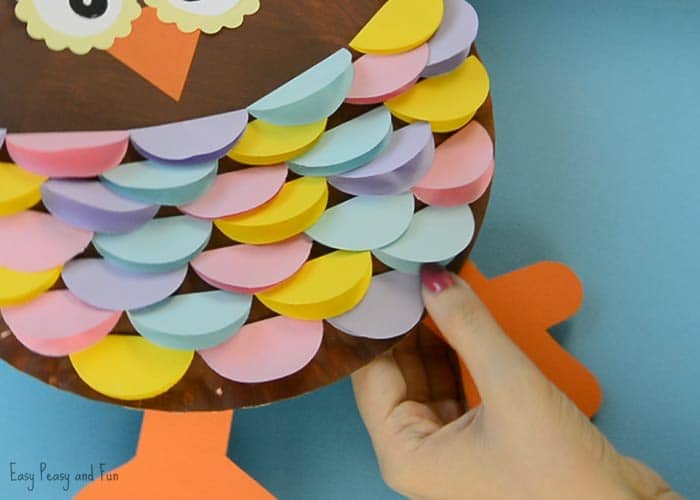
Work your way to about the middle of the paper plate (when you are happy with how the feathers look).
Want instant access to all of our printable crafts, activities, and resources?

With thousands of crafts, activities, worksheets, coloring pages, and drawing tutorials to print, you will always have just the resource you need at your disposal. Perfect for parents and teachers alike!

