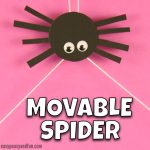
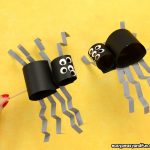
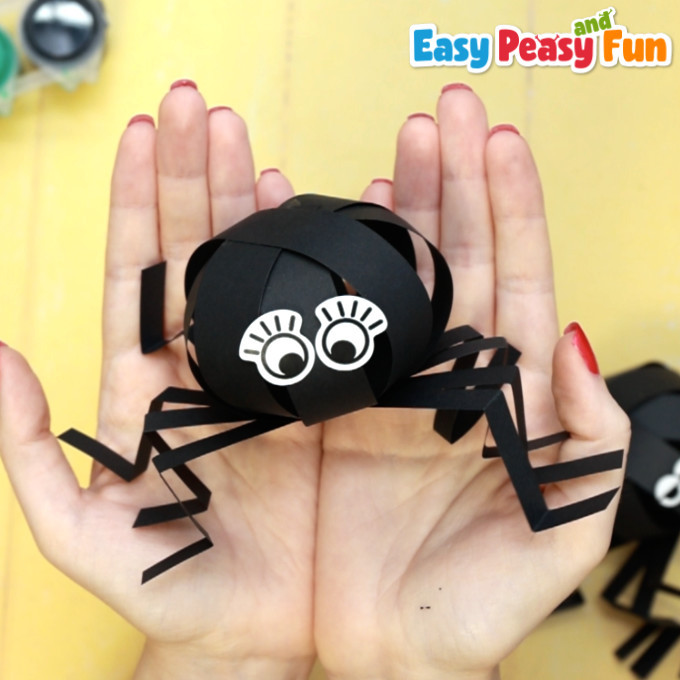
It is amazing what little wonders you can create from regular paper, just look at this easy paper spider craft and it’s funny little legs. Easy peasy!
Combined with a little bit of yarn this 3D paper spider makes the coolest DIY Halloween decoration. Just imagine hanging a bunch of them all over your home.
*this post contains affiliate links*
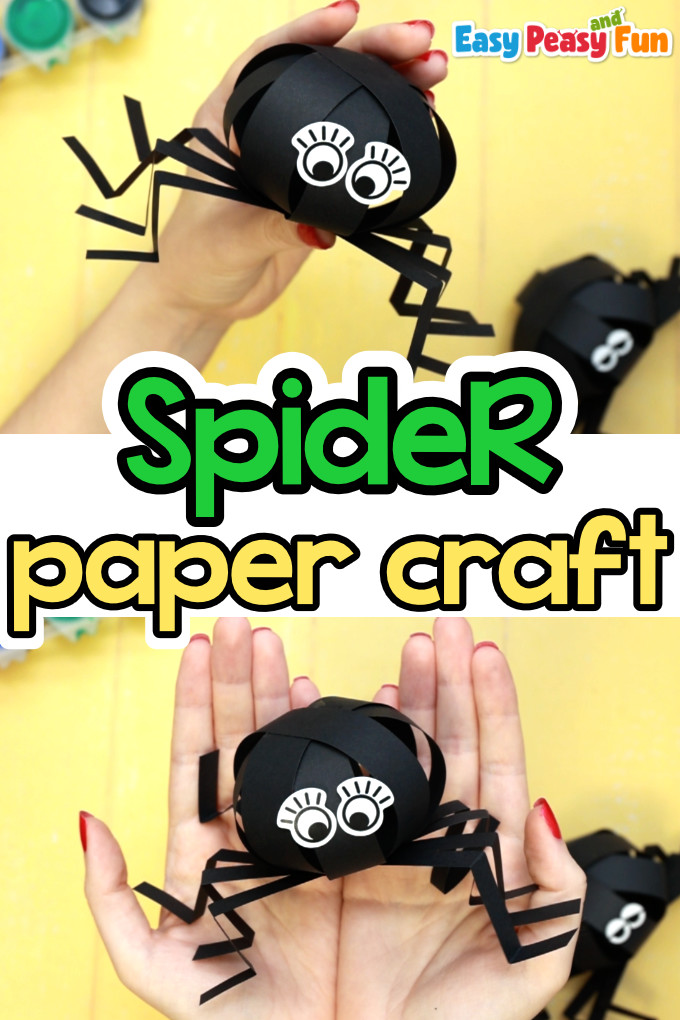
Even if you have all of your Halloween crafts and activities already planned, there is still room for this little creepy crawlie. What makes this paper spider craft great is that you don’t need many supplies and it can be made with kids as young as preschool and kindergarten.
If you are making this project with younger kids, all you need to do is cut the paper strips for them, while older kids will manage on their own. To make it really easy, use a paper cutter to make even strips.
This is a wonderful Halloween project to do in the classroom, if you are making it, you can have the kids do a garland out of their 3D paper spiders. Also, do print out some cool Halloween coloring pages or even a how-to-draw spiderweb tutorial for early finishers as some kids will finish this project faster than others.
How to Make a 3D Paper Spider Craft
What you need:
- black paper (regular paper, you can also use other colors naturally)
- scissors
- glue
- googly eye stickers or regular white paper and a black marker
Step by Step Tutorial
You will need 6 strips of paper that are roughly the same size.
We made ours by cutting a sheet of black paper across the shorter side using a paper cutter and cutting them to be about “thumb” wide. This means our paper strips are 8.5 inches (22 cm) long and about 3/4 inch wide (2 cm).
We don’t recommend making them smaller than this size (this one turns out really great) but you can go bigger.
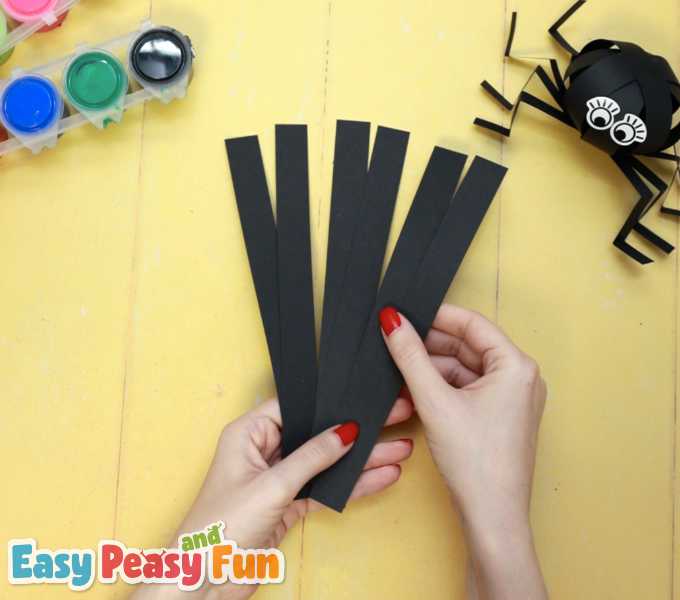
This step is optional but it will make the assembly a little bit easier. Align all paper strips and fold them in half.
This will make a crease that will serve as a guide to always apply glue on just the right spot.

Set aside two paper strips. With the four we will make the body of this paper spider craft.
Take the first paper strip and apply glue on the crease (or if you skipped that step, somewhere in the middle of the paper strip).
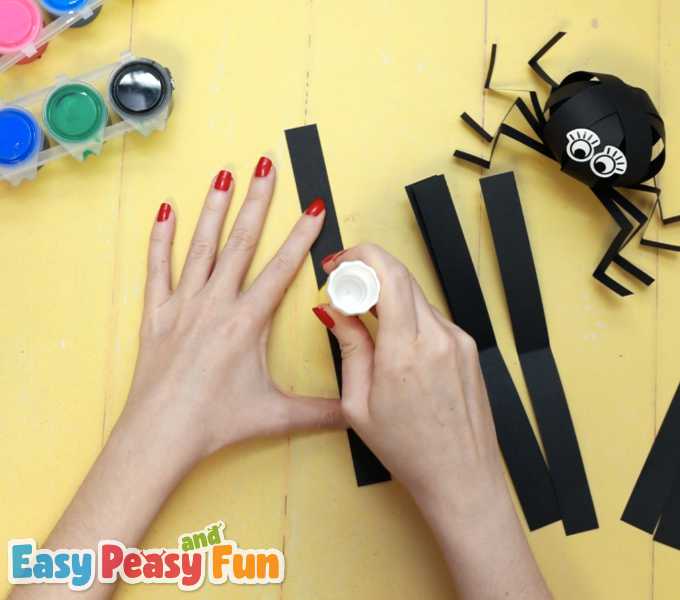
Stick on the second paper strip, making a cross shape.
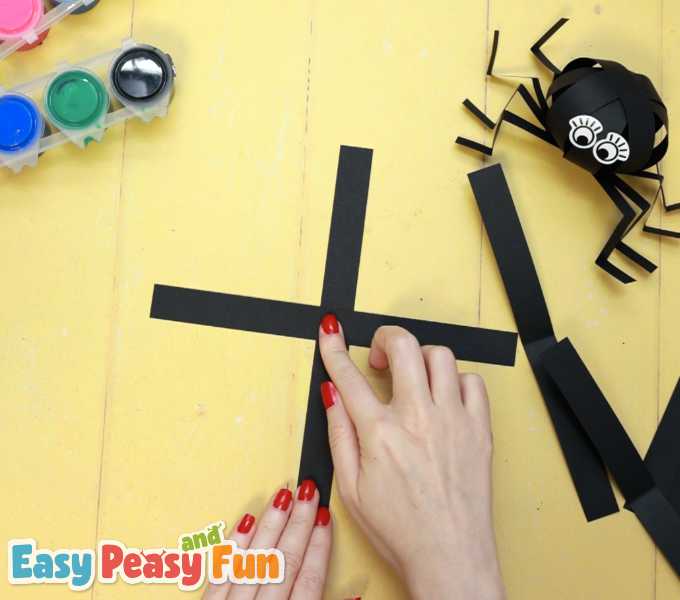
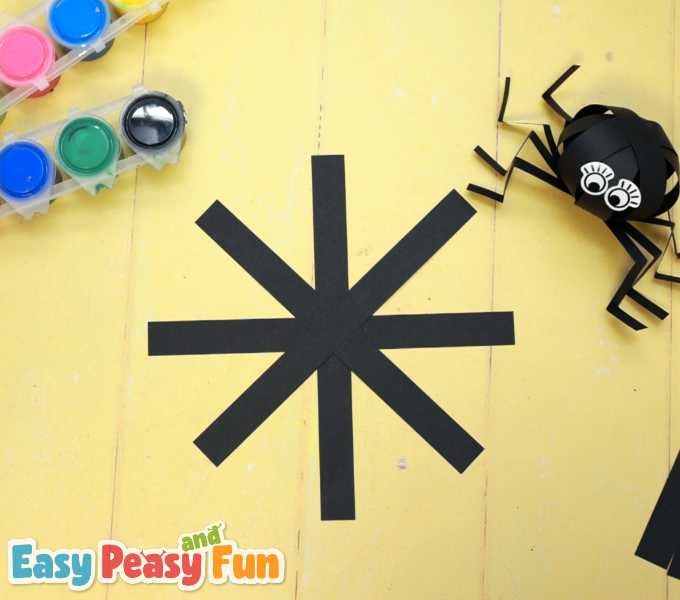
Apply glue again, and add another paper strip between the first two (45° angle). And another.
You should get a nice snowflake-like shape.
Now it’s time to make this paper spider craft a 3D one! Loop the ends of one paper strips together (making a circle) and glue them together.
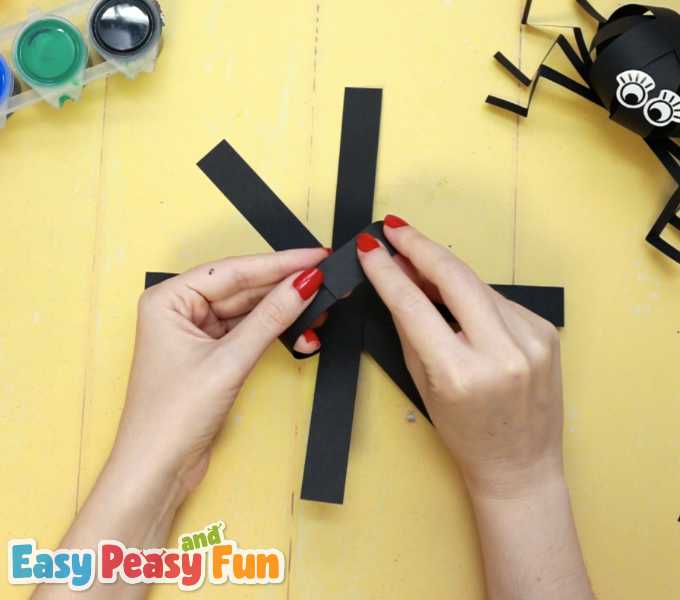
Repeat with all of them. For the last one, to make things easier and for the glue to stick, press down the paper ball at the top, gently flattening it. Hold it in place for a little while for the glue to set.
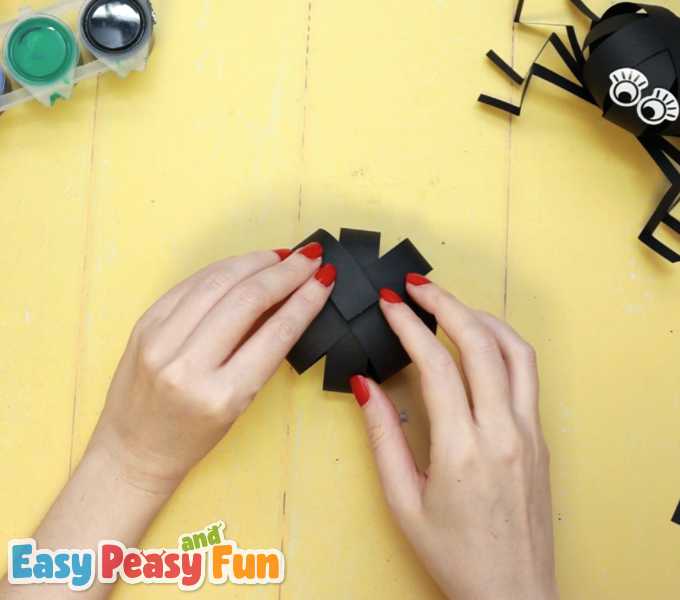
We’ve got a bouncy ball in our hands, now it’s time to transform it into a spider (or, at this point into a cute bat craft).
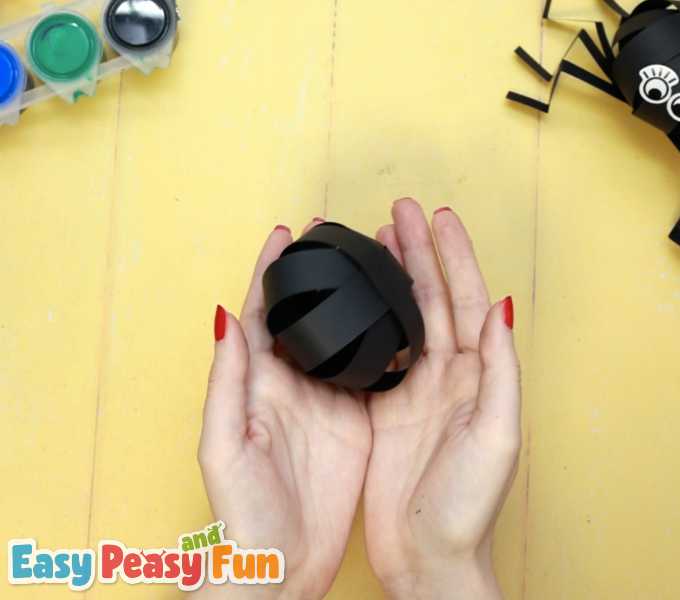
Make the spider legs
Take the two paper strips you have set aside and cut them in half along their length. You will get four thinner paper strips, perfect for spider legs.

Glue them together in a similar way as you did the body, but this time arrange them at an acute angle when you glue them (making a bow shape).
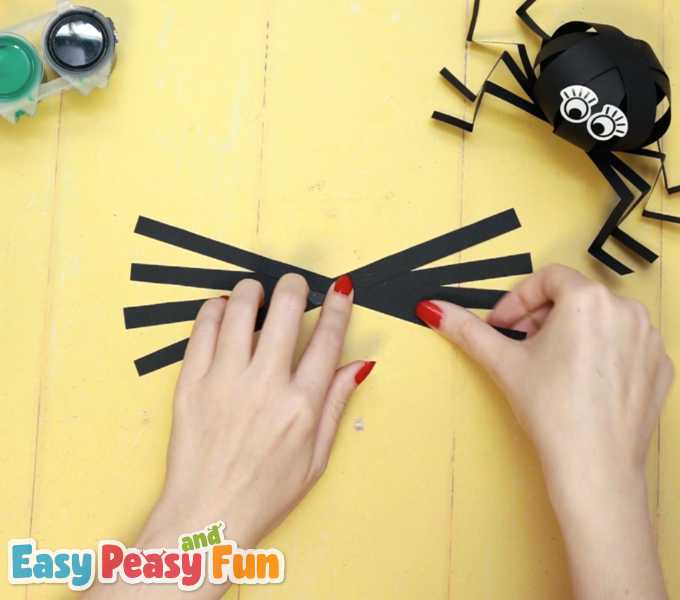
Apply a generous amount of glue at the center of the paper strips (where they meet) and stick it on the paper ball. Hold in place for a little while for the glue to set.
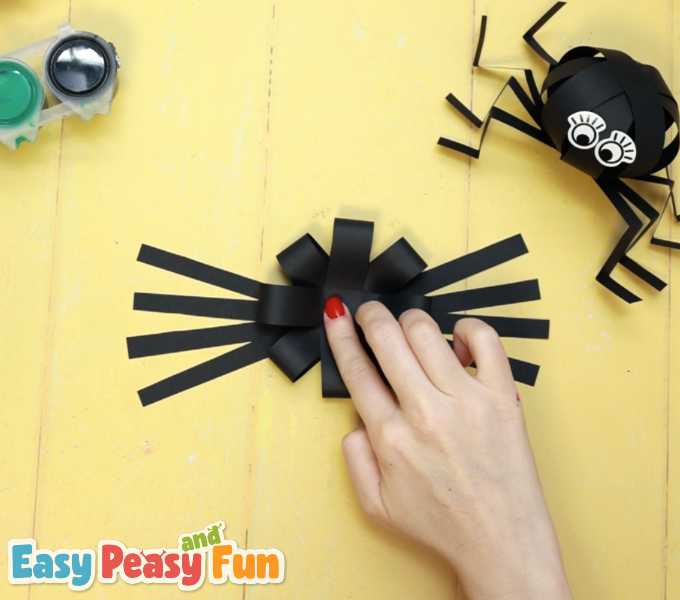
How cute is this? It’s already looking fantastic and we’re not even done.
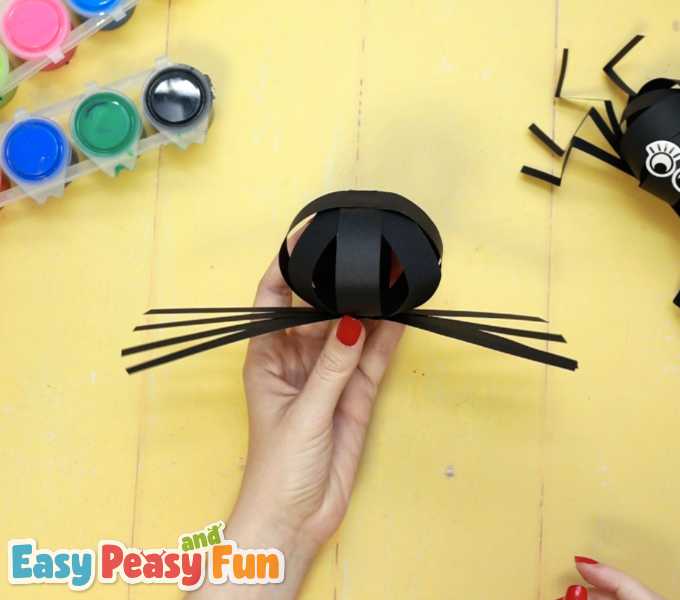
To make the spider legs worthy of creepy crawlies, fold each paper strips in two places.

Add a pair of googly eye stickers or a pair of eyes you have drawn and cut out of white paper and we’re done.

Now isn’t this the coolest paper spider craft you have ever seen? It’s so bouncy! And you can attach string (with tape) and hang these cutie pies everywhere.
Want instant access to all of our printable crafts, activities, and resources?
With thousands of crafts, activities, worksheets, coloring pages, and drawing tutorials to print, you will always have just the resource you need at your disposal. Perfect for parents and teachers alike!

