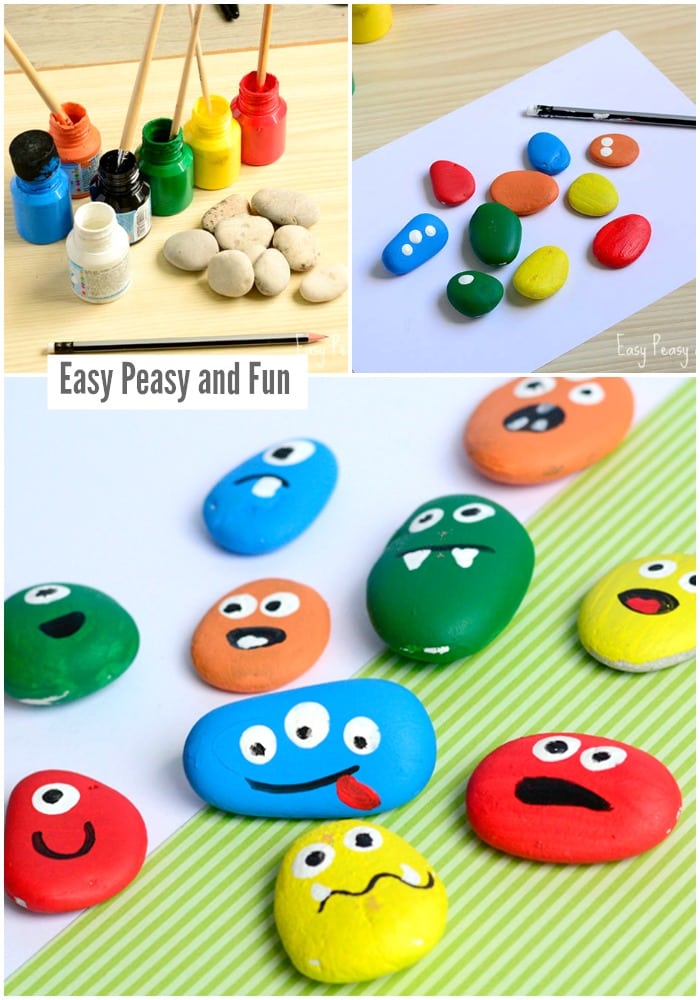
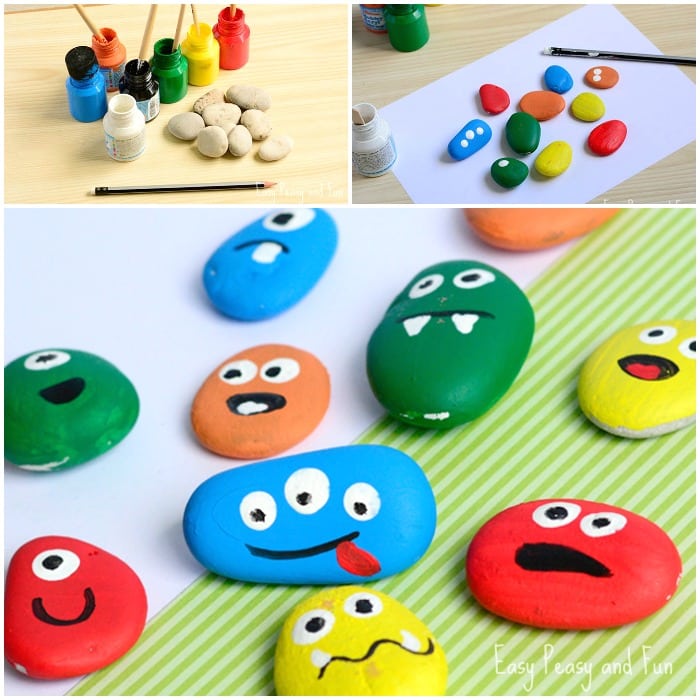
Have a whole bunch of river stones and are asking yourself what to do with them? Well a whole bunch of painted monster rocks, naturally, especially now that Halloween is near.
These little fellows will look cute laid out around your home.
Painted Monster Rocks
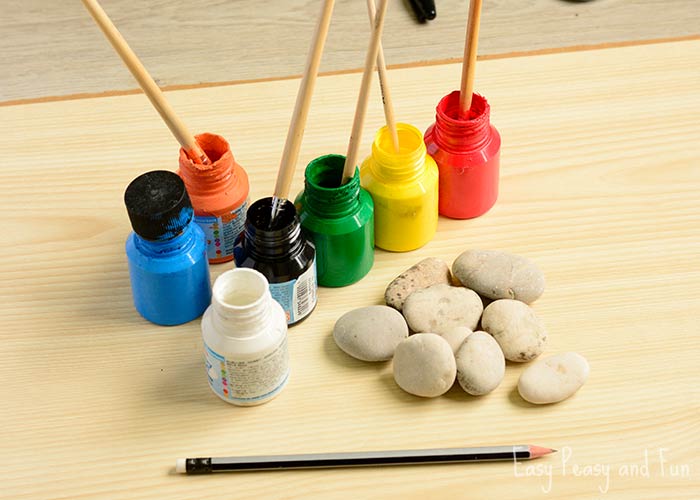
What you need:
- stones, either gathered on your walk or from the craft/dollar store
- acrylic paints (white, black and colors)
- paintbrushes
- pencil with an erasor
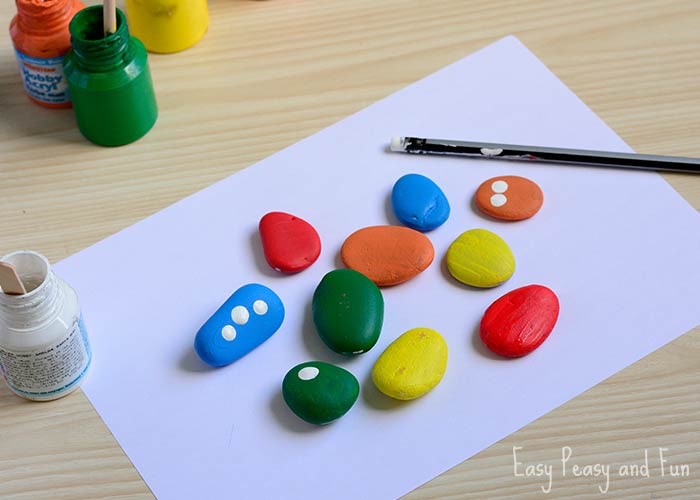
First clean the rocks, removing dust and dirt. Once they are clean and dry paint them with acrylic colors. Depending on brand and color you might need to apply more layers (for example I had to apply just one layer of blue but multiple layers of yellow). Let the paint dry.
Now its time to work on the eyes. We made the eyes with the help of an pencil with the eraser. Dip the eraser into white paint and press it onto the rick. Cute eyes everywhere. Once the white paint dries, add a black spot. Continue your monster cretion by adding more facial details – mouths, teeth, tongues, scars…
If you only used acrylic colors these babies are ready to go outside, if not you might want to use some clear varnish to seal the colors and make these painted monster rocks waterproof.
More Monster Crafts for Kids
- yarn wrapped monster rocks
- monster corner bookmarks
- monster cootie catchers
More Stone Painting Ideas
Want instant access to all of our printable crafts, activities, and resources?

With thousands of crafts, activities, worksheets, coloring pages, and drawing tutorials to print, you will always have just the resource you need at your disposal. Perfect for parents and teachers alike!

