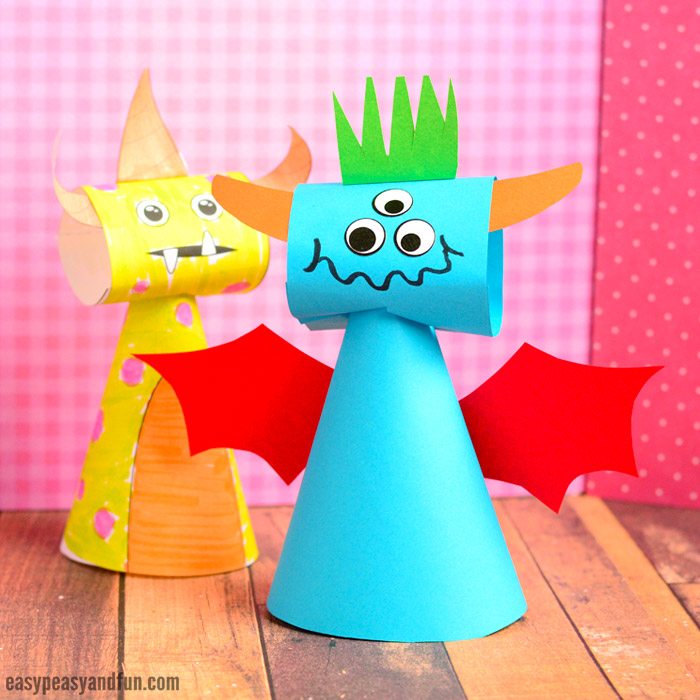
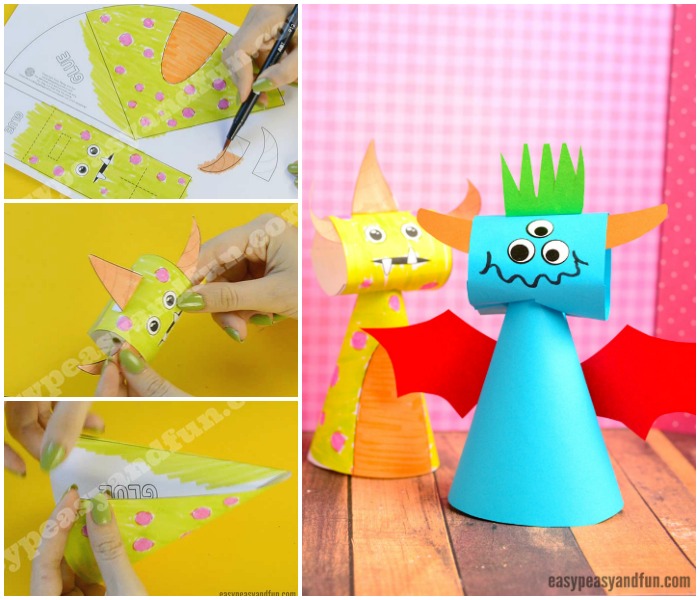
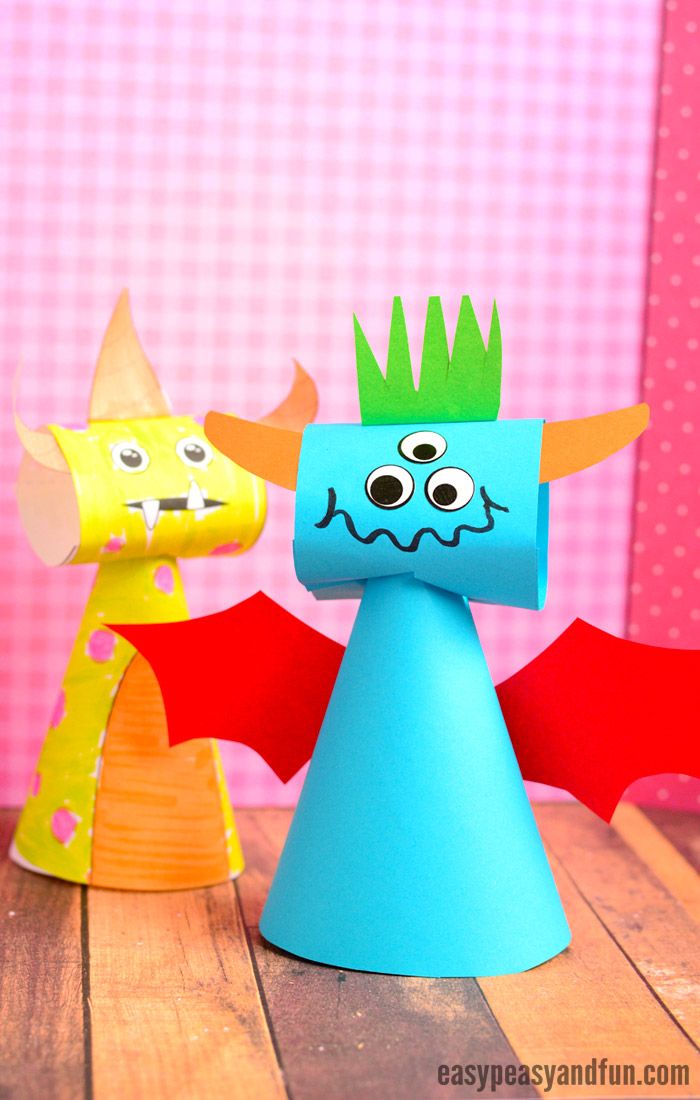
Time to make a paper cone monster craft! Print out our template, bring out your coloring supplies or colored paper and make super silly monsters.
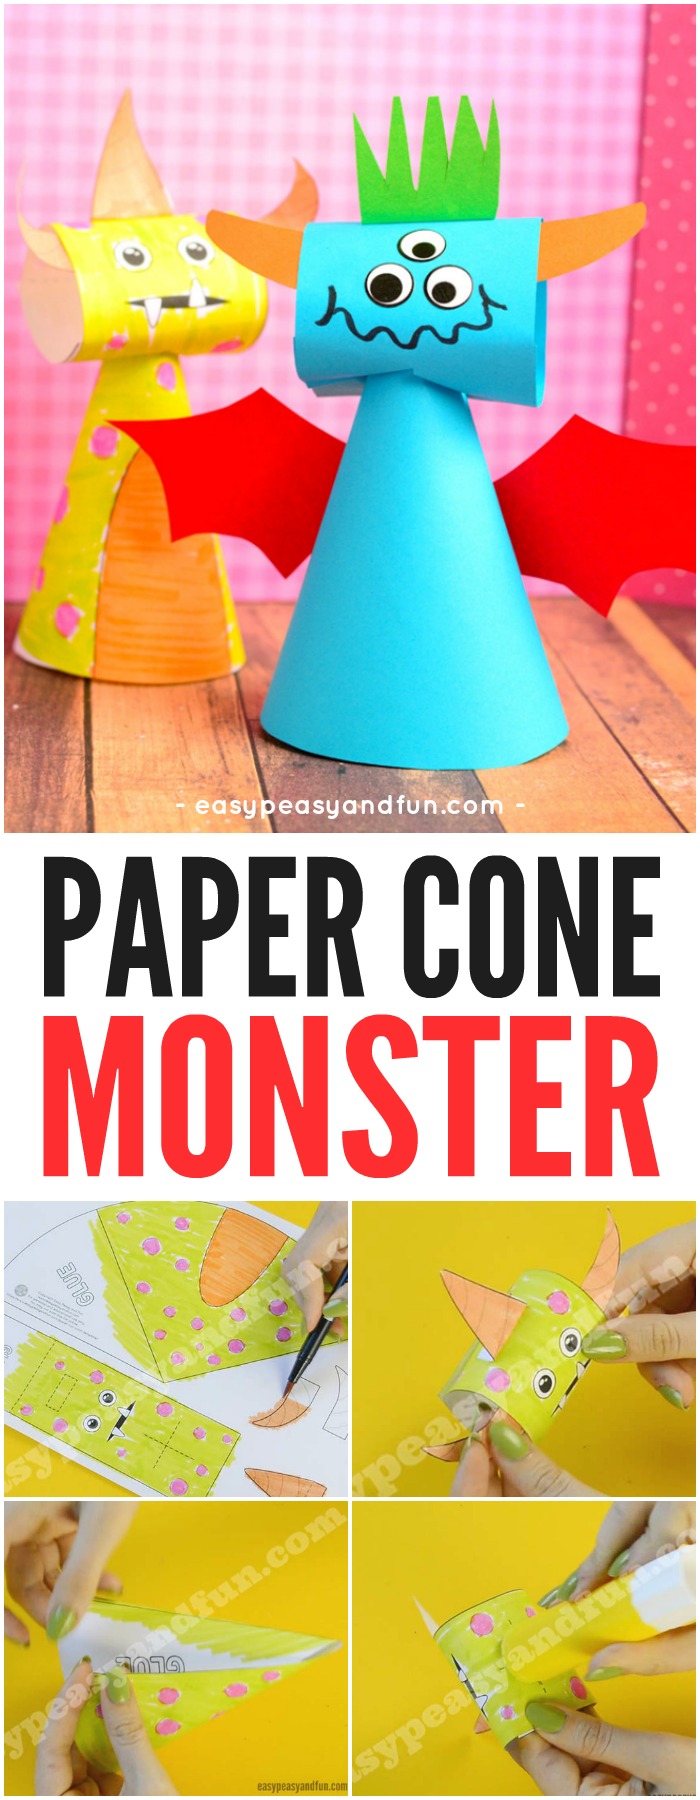

We are so happy to add these silly cone monsters to our collection of Halloween crafts for kids, these are fun to make and fun to play with too! Pssst we also have a cone cat craft if your kids will love these.
We love making monster crafts, they allow for so much silliness and creativity as there really are not rules on how a monster should look like.
Want to give it 10 eyes, sure sounds just about right. Want for it to have 3 horns and a spiky tail? Yes, we think it will look absolutely cool.
Ready to go crazy making a ton of silly looking paper cone monsters? Grab the template at the bottom of this tutorial and lets get creative!
 How to Make a Paper Cone Monster Craft
What you need:
- our printable paper cone monster craft template (you can grab it at the very end of this tutorial)
- coloring supplies or colorful paper (regular print paper or construction paper)
- scissors
- glue
Additionally you can also use googly eyes, wiggle eye stickers, glitter glue, yarn or any other decorating material you can think of.
Let the silly fun begin!
Watch the video tutorial
Or Follow These Step by Step Instructions
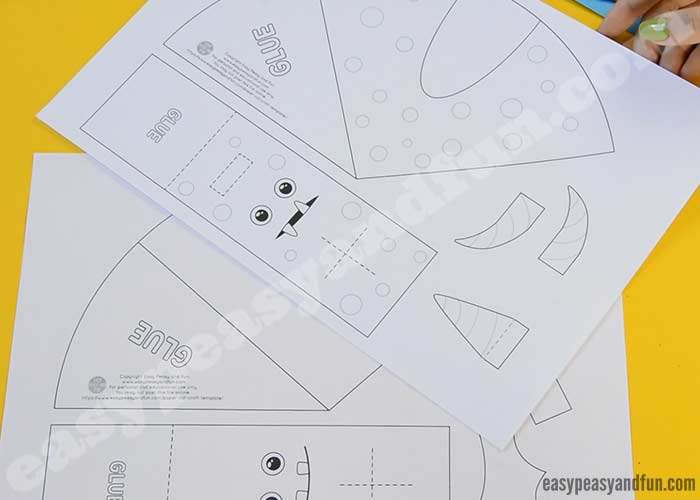
Print out our template (you can grab it at the end of this tutorial).
If you are going with our black and white template to color in – first color all the parts of the monster craft tempate.
We colored ours with markers as we do love the vivid colors.
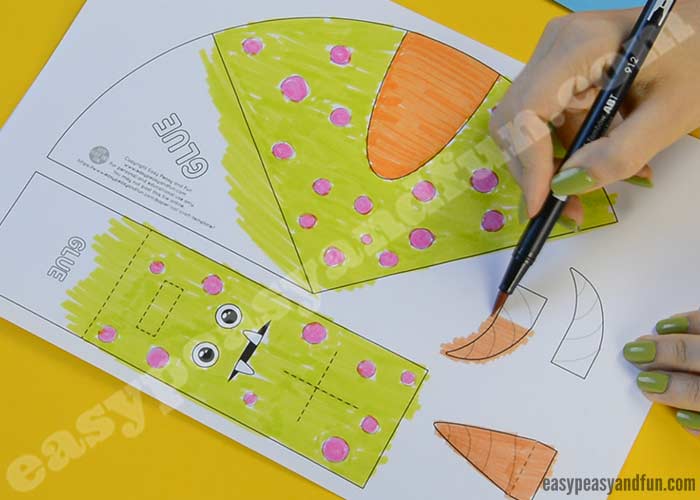
If you are working with colored paper, cut the monster parts out, and trace them on colored paper.
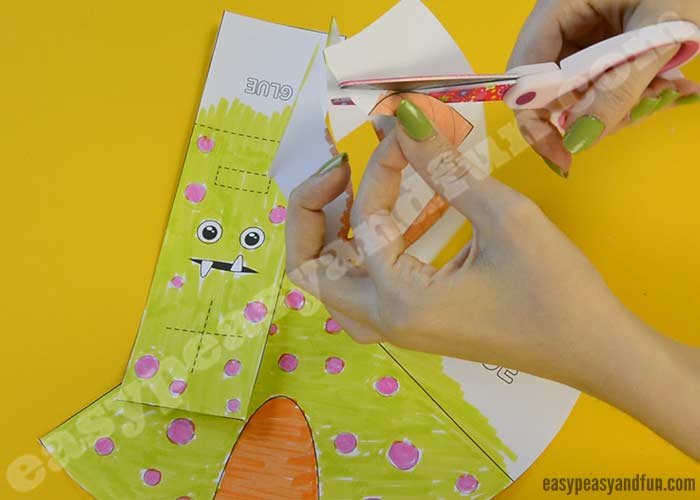

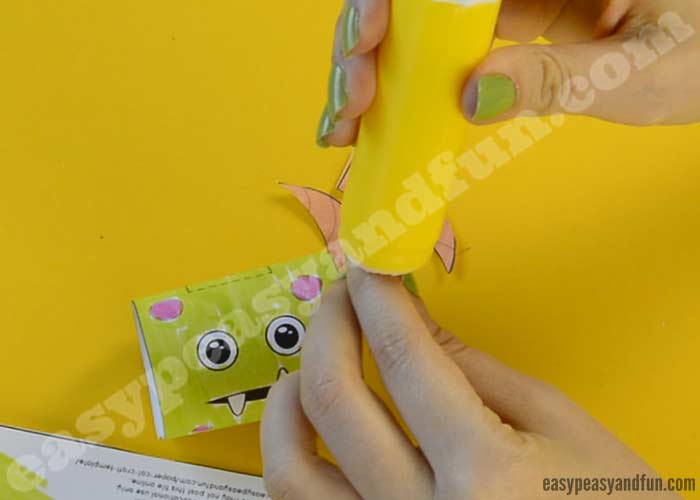
You can also use a paper clip to hold the roll in place and you can quickly move to the next step.
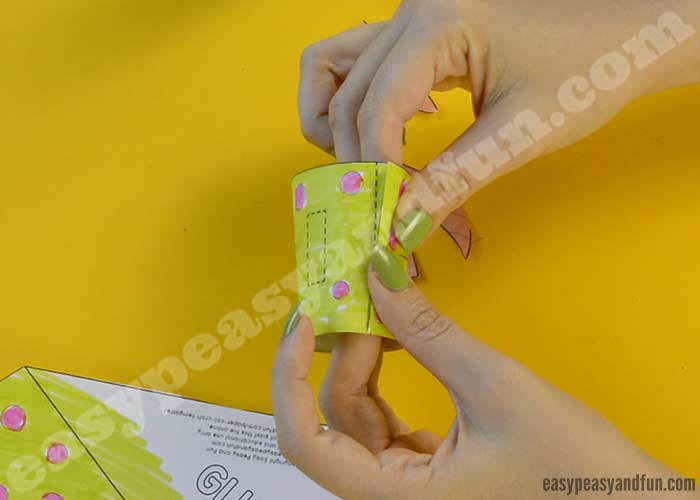
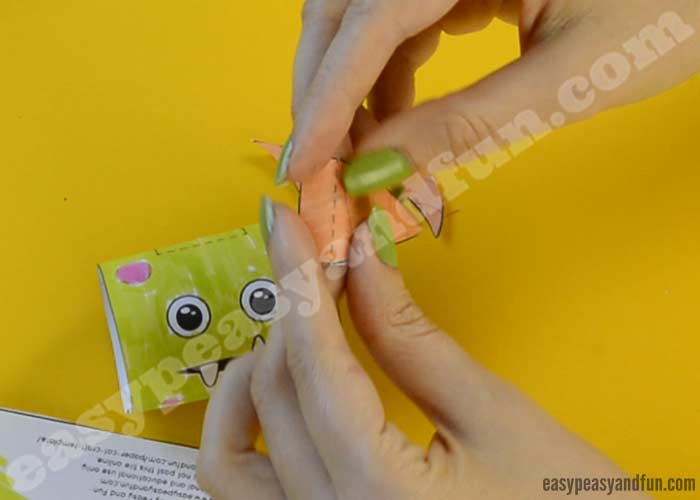
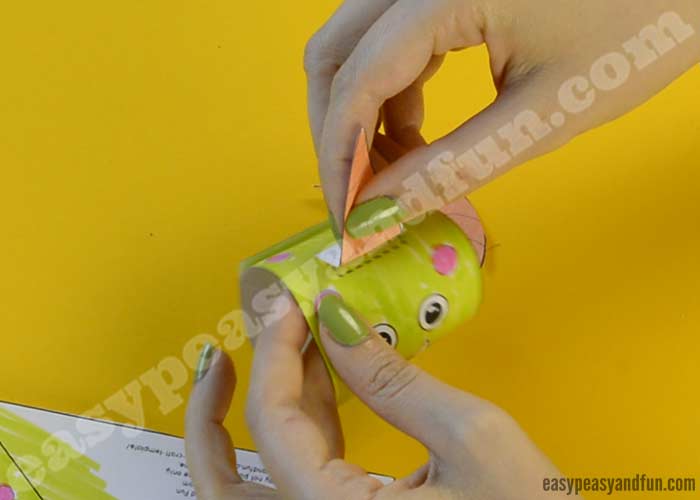
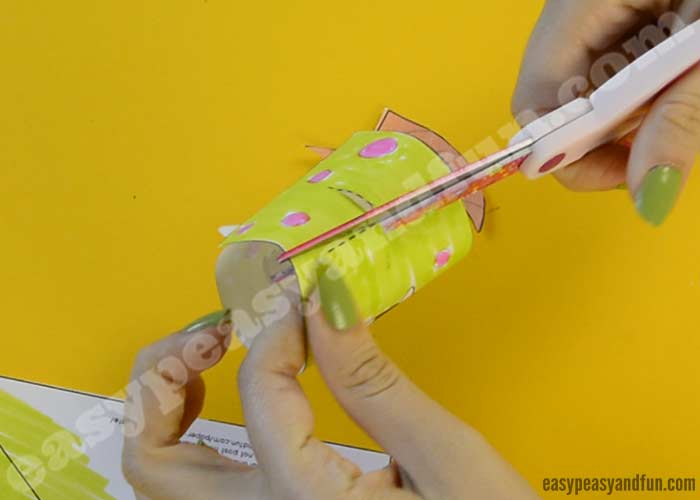
Now that the glue is dry, find the dashed line on the head part and cut into it.
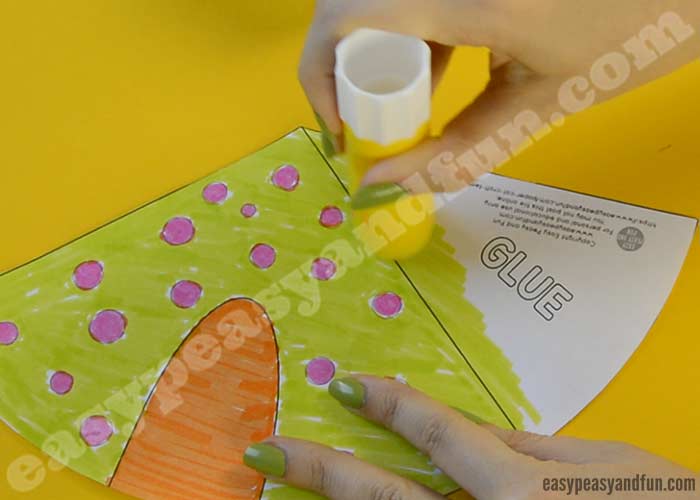
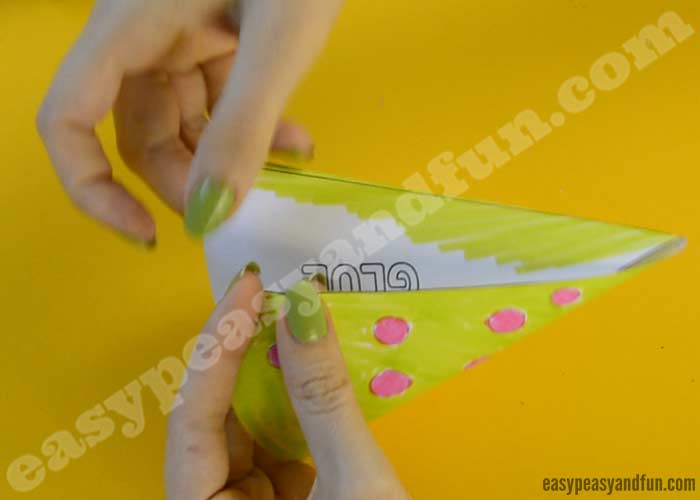
Time to make the body. Roll it into a cone, unroll.
Apply glue on the area designated for glue.
Let the glue dry.
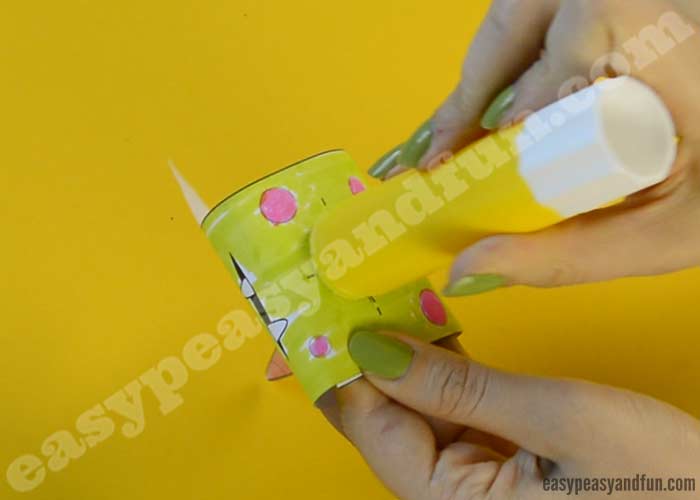
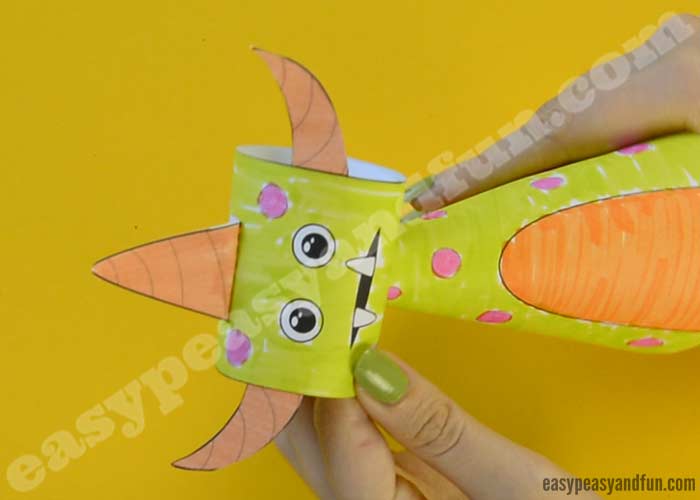
You could add a tail, a dozen hands or tentacles, wings and more.
 Grab the Paper Cone Monster Craft Template Here
Click to open or save: Paper Monster Craft Template
Want instant access to all of our printable crafts, activities, and resources?

With thousands of crafts, activities, worksheets, coloring pages, and drawing tutorials to print, you will always have just the resource you need at your disposal. Perfect for parents and teachers alike!

