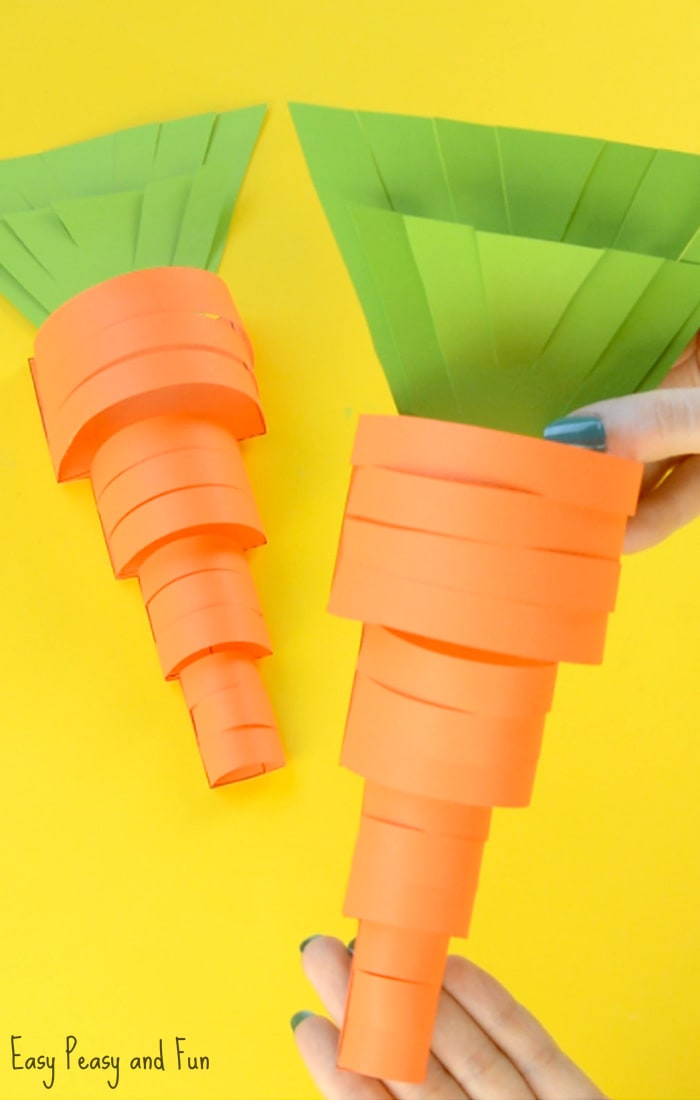
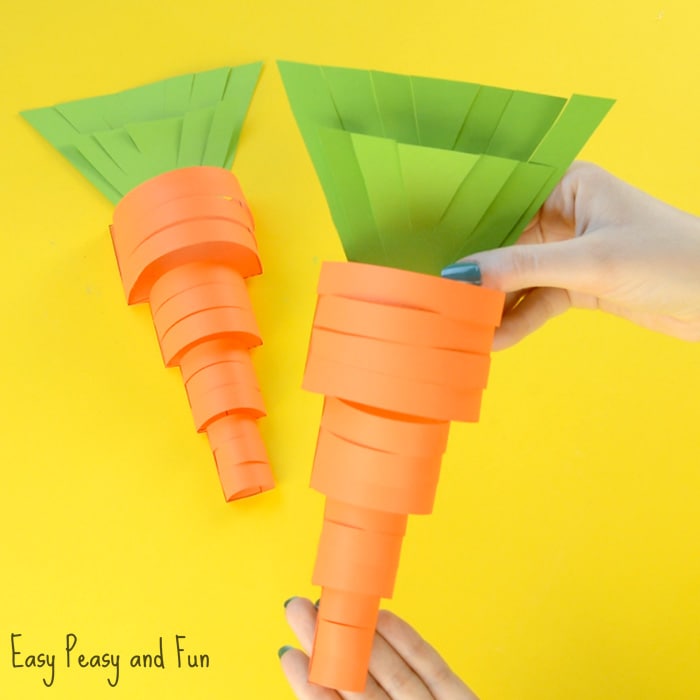
Bunnies and chick sure are cute but how about making a quirky looking carrot garland? We are showing you how to make a simple paper carrot craft that can easily be used as a fun decoration.
As this project requires lots of cutting it is a great fine motor exercise!
*this post contains affiliate links*
Carrots sure are delicious and we are sure bunnies would agree. They make for a great crafting subject just around Easter too.
We have been busy making all kinds of Easter crafts and have plenty of ideas for bunnies and chicks but carrots? It was about time we up our carrot game.
We love making 3D paper crafts, it’s just so much more fun to see the paper getting its dimension. We already have the most cool crocodile craft that pops to life when you make it and a cute caterpillar done in a similar way as this carrot and we we’re pretty sure this one should turn out great as well. And it really did.
This project will be super fun to do in the classroom (and at home naturally), you can grab our template (you will find it at the end of this tutorial) or just have the kids do their own planning to get just the right shape.
If you hang all of the end products you will get the cutest garland ever. Just imagine these paper crafts hanging on the wall of your home or in the classroom. No need to just stick to orange carrots either (although these are the most popular).
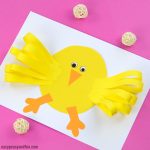
Want your garland to be even more fun? Mix it up by making paper bunnies (just search for paper bunny in the search bar on our website) and paper chicks (search for paper chicks) and adding them to the garland. Oh so fun!
Paper Carrot Craft
What you need
- our paper carrot craft template (you can grab it at the end of the tutorial)
- orange paper (heavier print paper or regular print paper both work out fine)
- green paper
- printer
- scissors
- glue
Tip: if your printer has a mind of its own as ours does, we recommend you first print one page and then the other. On first try we inserted one green and one orange sheet of paper and had the printer print the template. And the orange part printed on the green one and vice versa. We then inserted the orange paper first and then the green one and the printer (which we promise we love otherwise) printed them wrong again. Mind of its’ own!
Watch the Video Tutorial
Or Follow These Step by Step Instructions
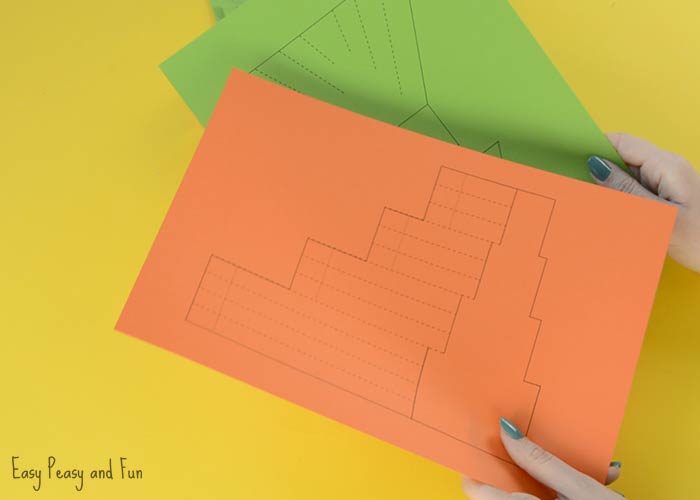
Print our template for this carrot craft.
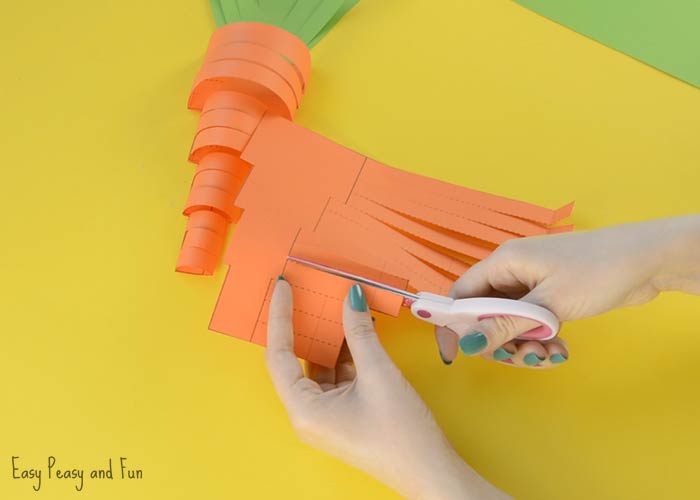
Get ready for some serious cutting!
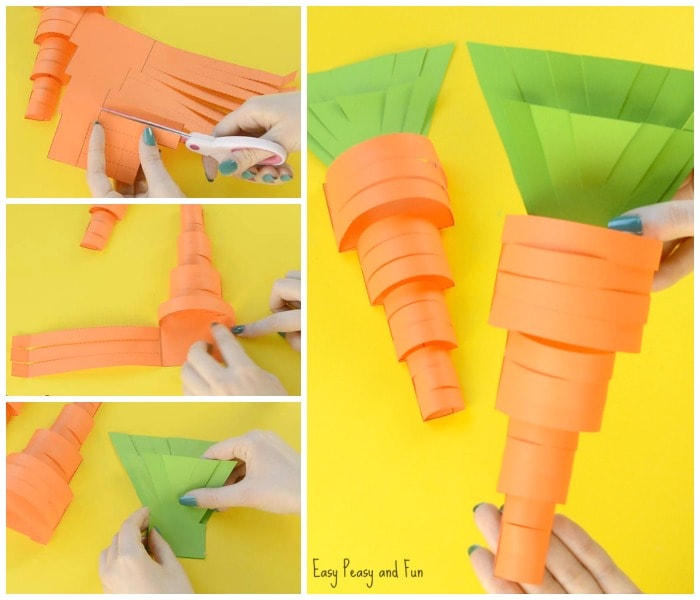
Start by cutting the craft outline. We kicked it off with cutting the root part of the carrot.
Once you have cut the outline, continue by cutting along the dashed lines.
Cut, cut, cut!
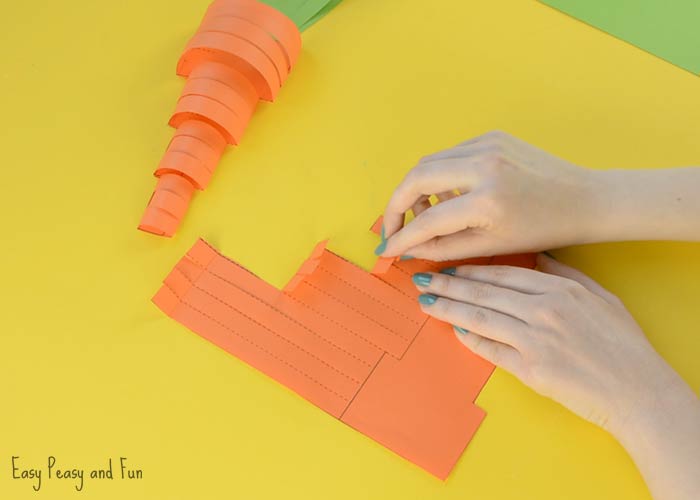
Now it’s time to do some folding.
You will see a line at the end of paper strips (that you have created by lots of cutting).
Fold along that line.
There is also a line at the base of the paper strips.
Fold along that line too.
Once all strips are folded at their base, unfold them.
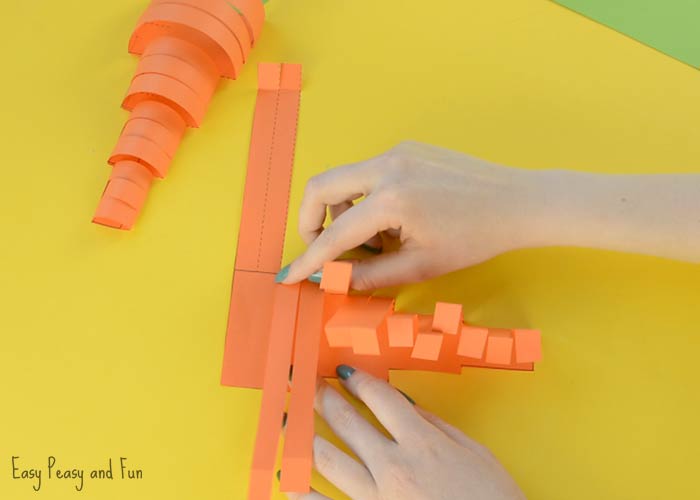
Time to glue!
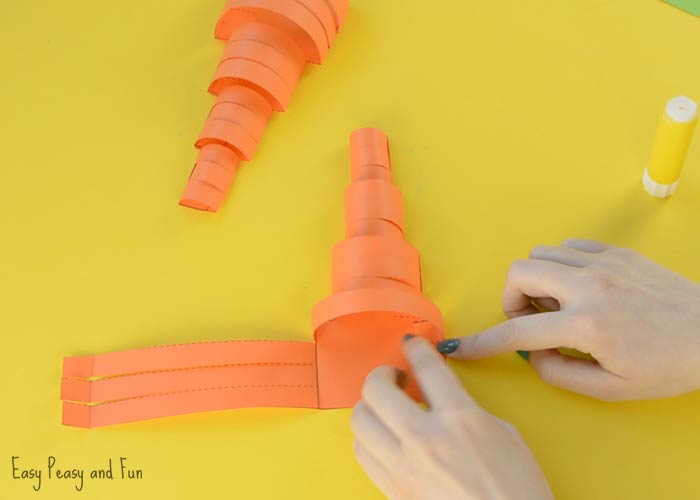
Let’s make some arches! Apply glue on the folded part at the end of the paper strips, make a arch and press down on the carrot root base.
Do the same with all strips of paper.
We recommend you start with the smallest arches and work your way through to the largest ones, it’s just easier to work in this direction.
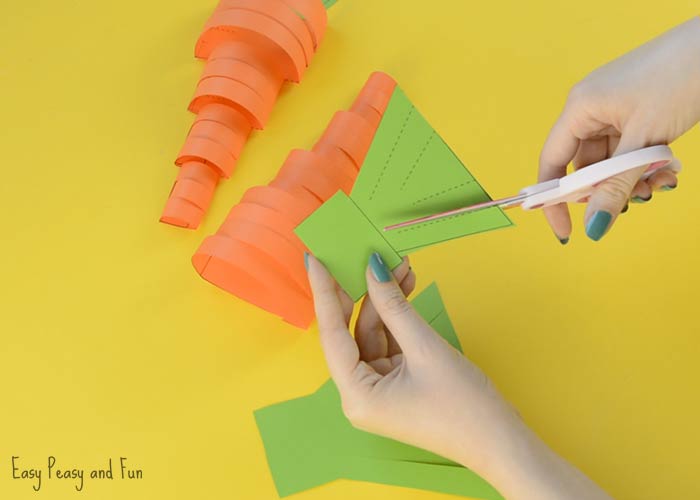
Now let’s cut the green part of the carrot.
Cut along the outline and along the dashed lines.
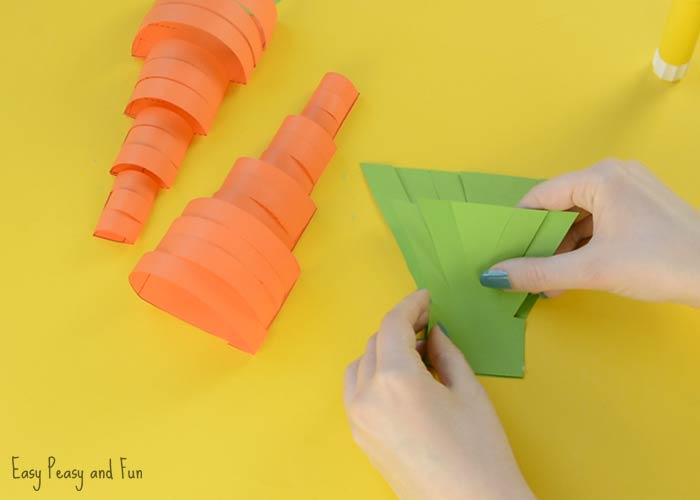
Glue the smaller part on the larger one.
Wait for the glue to dry.
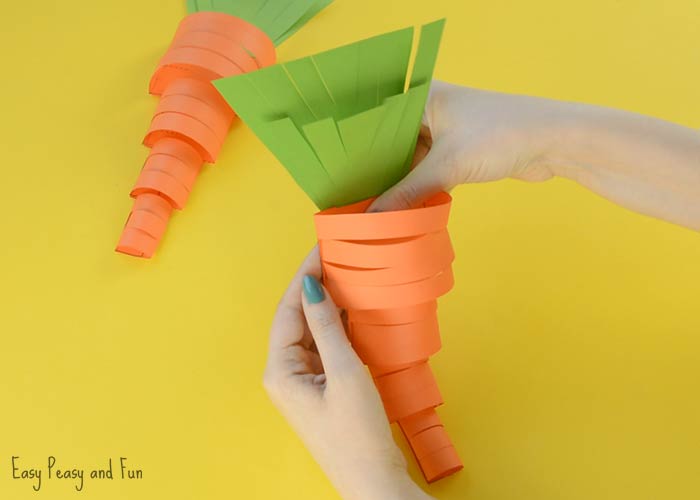
Glue the green part on the back of the orange part.
Let the glue dry.
Woohoo your paper carrot craft is all done!
Now rinse and repeat until you have a whole field of carrots at your disposal.
Once you have all your carrots made all there is left to do is to either stick them to walls, windows, furniture…. Well everywhere.
Or connect them with string to make a Eastery garland.
Get the Paper Carrot Craft Template Here
Want instant access to all of our printable crafts, activities, and resources?

With thousands of crafts, activities, worksheets, coloring pages, and drawing tutorials to print, you will always have just the resource you need at your disposal. Perfect for parents and teachers alike!


