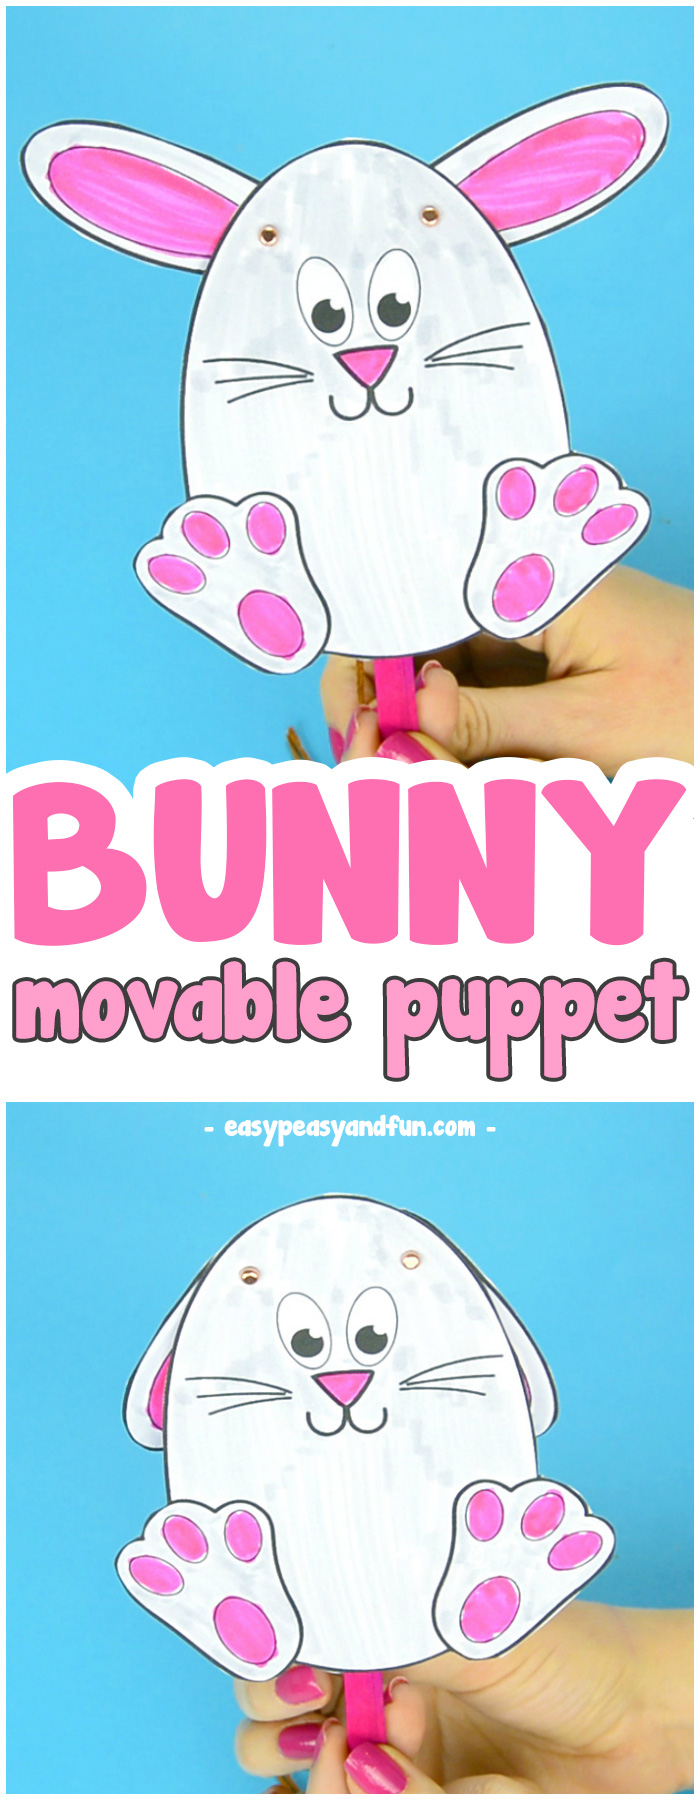
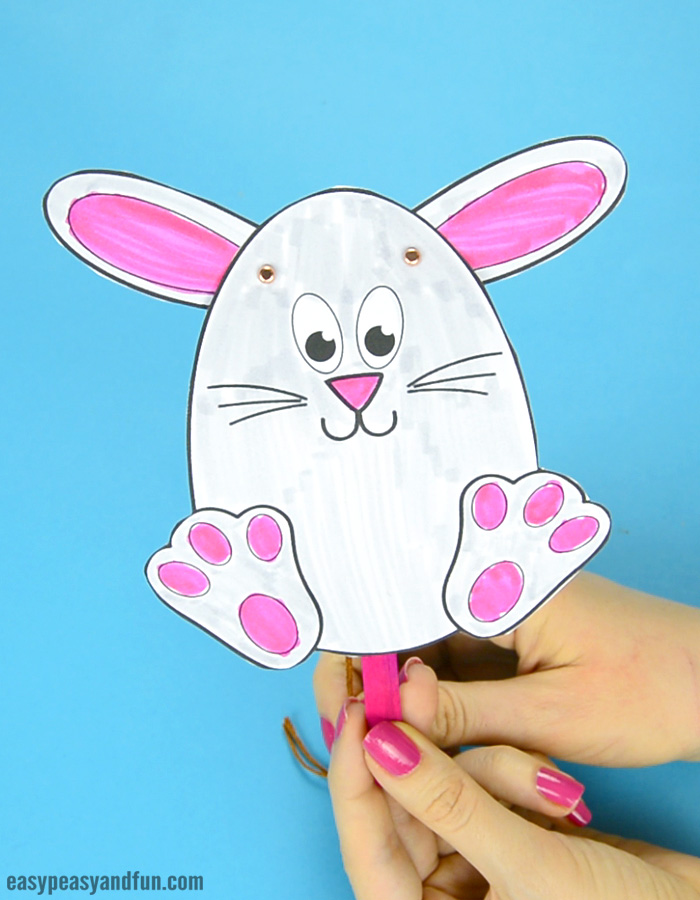
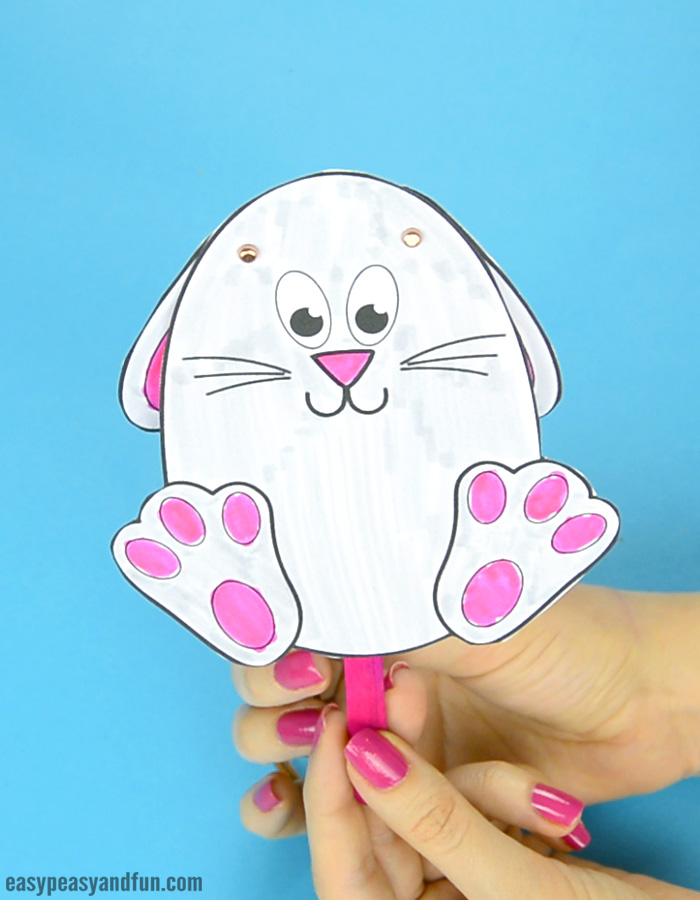
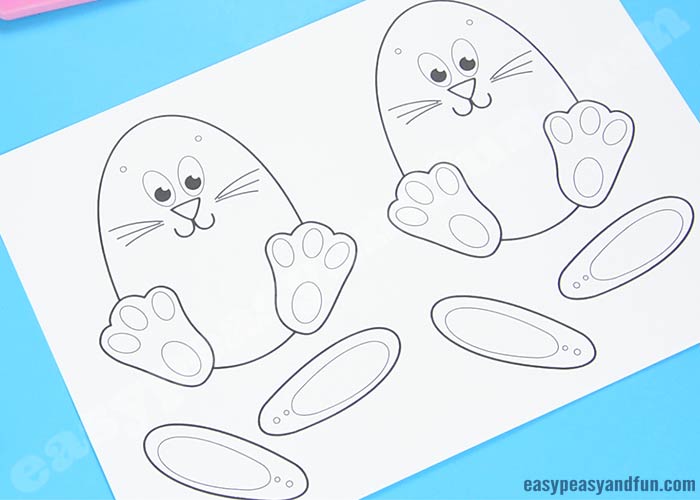
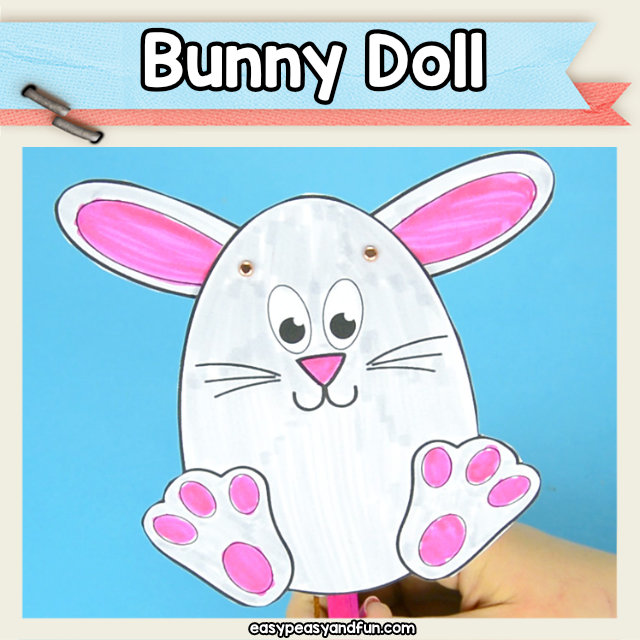
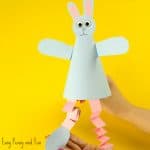
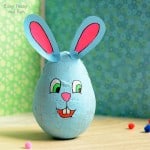
Wiggle the little ears with our cool movable Easter bunny paper doll. Print out the bunny template, color, assemble and play!
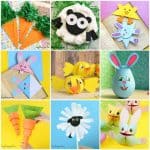
For a wonderful crafty session also see: Coolest Easter Craft Ideas
*this post contains affiliate links*
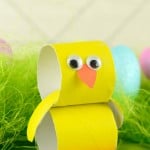
This cute bunny doll joins our movable Easter chick doll, and together they make quite a pair!
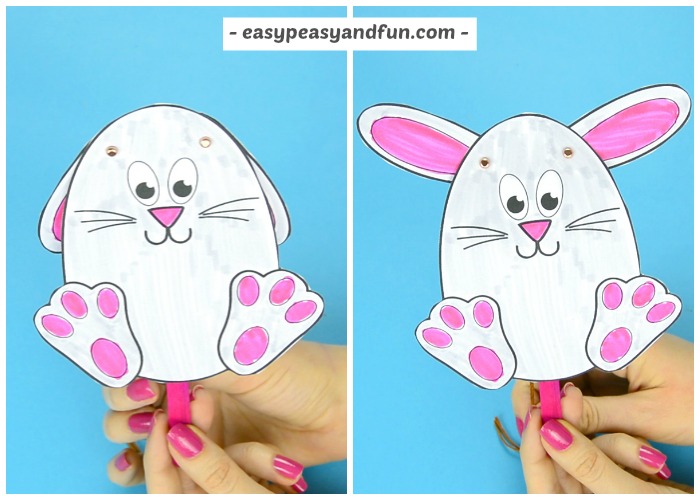
When you assemble this paper doll, the bunny rabbit will wiggle it’s ears as you pull the string up and down.
The template is designed so that it’s easy for kids to color and cut out so it’s suitable for younger kids too!
How to Make the Movable Easter Bunny Paper Doll with our Template
What you need
- our printable bunny template (you can grab it at the end of the step by step tutorial)
- cardstock (printer friendly) – you can also use regular print paper and laminate it
- coloring supplies (markers, crayons, inks, watercolor – whatever your kid loves the most)
- scissors
- skewer or similar tool to make the holes
- yarn (or similar)
- brads – larger ones for younger kids
- glue and craft stick optional
- plastic needle (optional)
Watch the Video Tutorial
See the Step by Step Instructions
Print out our template on cardstock or heavier print paper. You can also use regular paper but will have to laminate your bunny later on.
Color in the bunny. There are many colors you can use, we went with a gray bunny with pink details.
Pastel Easter colors will work out great for this one. If you are making this craft as a school project in the classroom, we can just imagine how wonderful a “rainbow” of colors will look with all the bunnies colored in their own unique way.
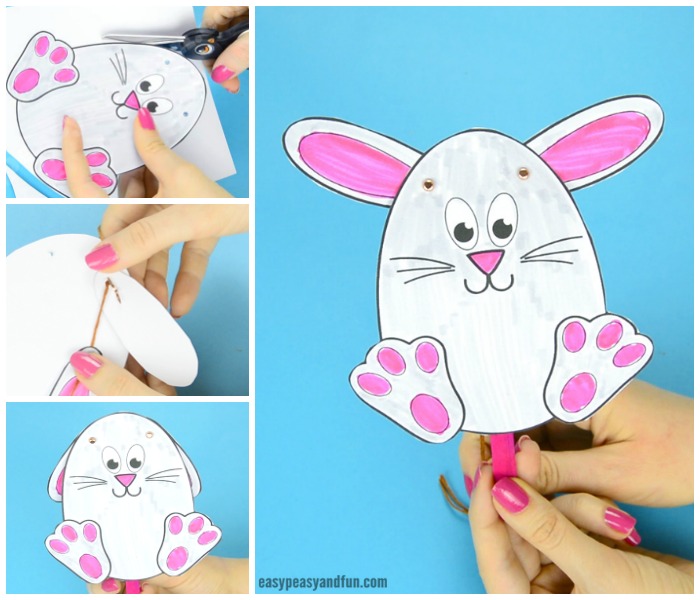
Before you cut out the bunny, poke holes (two are marked on the body of the bunny and two on each of the ears).
We used a skewer, younger kids can use plastic needles or have the adult do this part for them.
Cut out the bunny body and the ears.
Assembling the Doll
Next you need to string the thread through the outer holes of the ears.
You can make a “needle” out of cardstock or use kid friendly plastic needles.
Take a brad and push it through the hole on the bunny body, it has to come through on the back side of the design.
Place the bunny ear on top of the body, pushing the brad through the inner hole on the ear. Spread the brad.
You can turn the ear around a few times, and wiggle it a bit to make it more loose.
Repeat with the other ear on the other side.
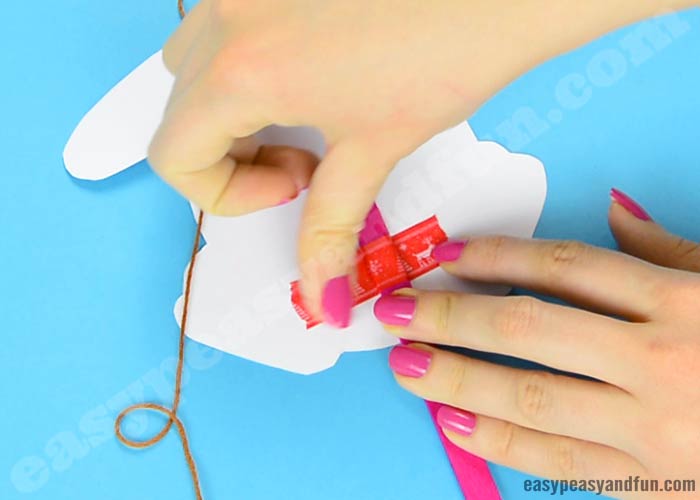
Stick a craft stick on the back of the bunny body.
The craft stick will make a great handle for your bunny paper doll and will also offer additional stability to your doll.
Tie the string together (it’s best to position the ears are hanging down when you tie the knot).
All done! Now pull the string up and down to make the bunny ears wiggle.
Get the Movable Easter Bunny Paper Doll
Happy Crafting
Want instant access to all of our printable crafts, activities, and resources?

With thousands of crafts, activities, worksheets, coloring pages, and drawing tutorials to print, you will always have just the resource you need at your disposal. Perfect for parents and teachers alike!

